


●
S-VHS SIMPLE PLAYBACK
●
CHILD LOCK
●
SHARP SUPER PICTURE
●
4 HEAD LONG PLAY
●
NICAM/IGR HI-FI STEREO
●
AUTO TUNING
●
NTSC SIMPLE PLAYBACK
GB
PL
H
CZ
RO
RUS
SK
MAGY
AR
1- 36
ČESKY
1- 36
ROMÂNĂ
1- 36
PУCCKИЙ
1- 36
SLOVENSKY
1- 36
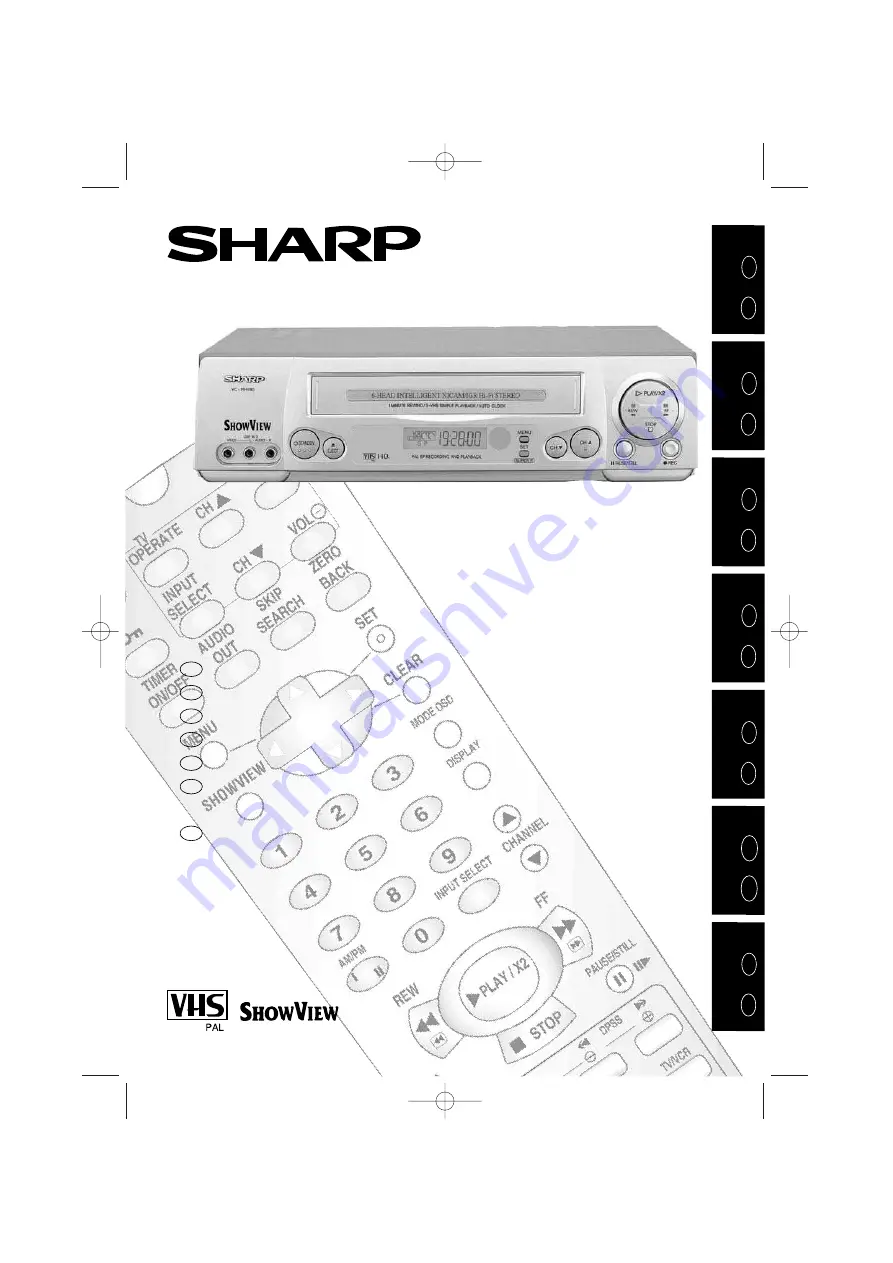
VC-MH780BM
VIDEO CASSETTE RECORDER
OPERATION MANUAL
MAGNETOWID
INSTRUKCJA OBSŁUGI
KÉPMAGNÓ
KEZELÉSI ÚTMUTATÓ
VIDEOREKORDÉR
PROVOZNÍ PŘÍRUČKA
VIDEOCASETOFON
MANUAL DE UTILIZARE
КАССЕТНЫЙ ВИДЕОМАГНИТОФОН
РУКОВОДСТВО ПО
ЭКСПЛУАТАЦИИ
VIDEO ZAZNAMENÁVAČ
PRÍRUČKA NA POUŽITIE
H
H
CZ
CZ
RO
RO
RUS
SK
SK
ENGLISH
1- 36
POLSKI
1- 36
GB
GB
PL
PL
RUS
VC-MH780BM Cover 4/12/01 12:58 pm Page 1
http://www.usersmanualguide.com/


