


04/12/15
XL-UH220HA_FRONT.fm
Thank you for purchasing this SHARP product.
To obtain the best performance from this product, please read this
manual carefully. It will guide you in operating your SHARP product.
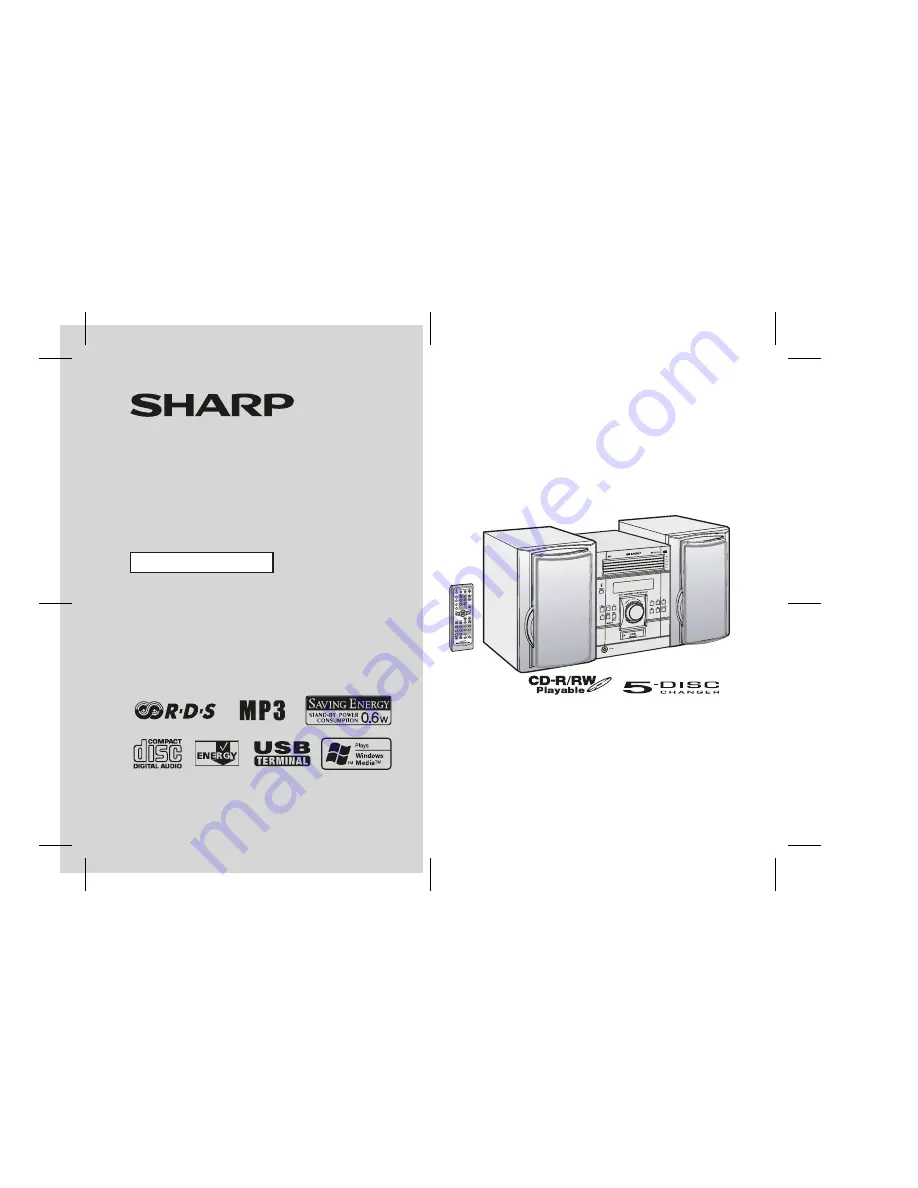
MICRO COMPONENT SYSTEM
XL-UH220H Micro Component System consisting of XL-UH220H (main
unit) and CP-UH220H (speaker system).
MODEL
OPERATION MANUAL
XL-UH220H
Note:
This product is not compatible with MTP and AAC file systems.
Summary of Contents for CP-UH220H
Page 41: ...MEMO MEMO 11 16 05 4 41 PM 1 ...
Page 42: ...MEMO MEMO 11 16 05 4 41 PM 3 ...


