


This document has been published to be used for
after sales service only.
The contents are subject to change without notice.
Parts marked with “
“ are important for maintaining the safety of the set.
Be sure to replace these parts with specified ones for maintaining the safety and performance of the set.
SHARP CORPORATION
SERVICE HANDBOOK
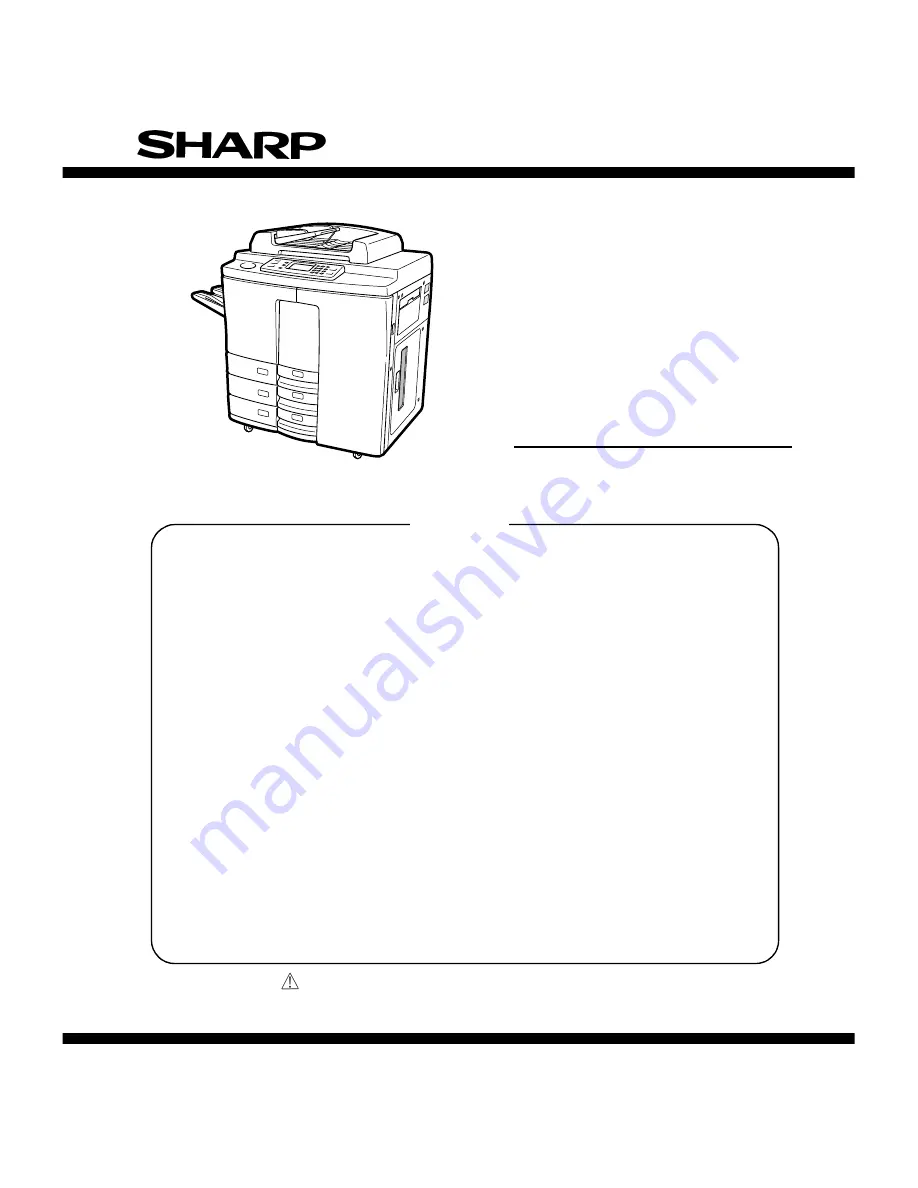
DIGITAL COPIER
MODEL
AR-650
[ 1 ] ADJUSTMENT . . . . . . . . . . . . . . . . . . . . . . . . . . . . . . . . . . . . . 1 - 1
[ 2 ] PERIODICAL MAINTENANCE . . . . . . . . . . . . . . . . . . . . . . . . . 2 - 1
[ 3 ] PRECAUTIONS FOR STRONG AND HANDLING SUPPLIES . . 3 - 1
[ 4 ] TROUBLESHOOTING . . . . . . . . . . . . . . . . . . . . . . . . . . . . . . . 4 - 1
[ 5 ] INSTALLATION INSTRUCTIONS
FOR FIRMWARE UPDATE THROUGH PC . . . . . . . . . . . . . . . 5 - 1
[ 6 ] MANUAL FOR FIRMWARE DOWNLOAD. . . . . . . . . . . . . . . . . 6 - 1
[ 7 ] HARNESS WIRING DIAGRAMS. . . . . . . . . . . . . . . . . . . . . . . . 7 - 1
CODE : 00ZAR650//H1E
CONTENTS
Summary of Contents for AR-650
Page 103: ...MAINTENANCE 2 6 Rear drive system 38 36 37 3 54 54 54 54 54 54 96 12 81 63 63 46 ...
Page 104: ...2 7 MAINTENANCE ADF front sectional view 100 104 109 105 106 102 108 99 101 103 107 98 ...
Page 122: ...SUPPLIES 3 10 13 CONNECT 15 CLOSE 2 1 14 CLOSE 1 2 16 TURN ON 17 PRESS 18 END ...
Page 169: ...Click Finish button then Virtual Modem installation is completed 5 5 ...
Page 179: ...To make the connection ONLINE mode click button before firmware downloading 5 15 ...
Page 194: ......
Page 195: ...MEMO ...
Page 196: ...MEMO ...
Page 197: ...MEMO ...
Page 198: ...MEMO ...
Page 199: ...MEMO ...


