


1
2
Printed in Malaysia
TINS-H217WJZZ
19P03-MA-NF
2T-C32BD1X
LED BACKLIGHT TV
OPERATION MANUAL
Dear SHARP customer
Thank you for your purchase of the SHARP LCD colour TV product. To ensure safety and many
years of trouble-free operation of your product, please read the Important Safety Precautions
carefully before using this product.
Contents
Page
Dear SHARP customer .........................1
Supplied accessories ...........................2
Important Safety Precautions .............3
Trademarks ...........................................4
Attaching the stand ..............................5
Antenna connection .............................6
Symbols placed on equipment ............6
Connecting external devices ...............7
Remote control unit .............................9
Part names ..........................................10
Turning the TV on/off .........................12
Easy setup ...........................................12
Digital setting ......................................12
Analogue setting .................................13
Menu operation...................................13
Initial setup ..........................................14
Information ..........................................17
Picture settings ...................................17
Page
Audio settings .....................................18
System options ...................................19
Programme Guide ..............................21
Info .......................................................21
ATV/DTV/RADIO buttons ...................21
Switching the analogue audio
format ..................................................22
EPG ......................................................23
SUPER ECO mode ..............................23
Colour adjustment and still image ....24
Teletext function .................................24
PC compatibility chart .......................25
USB Media Player ...............................26
Appendix .............................................29
Specifi cations .....................................30
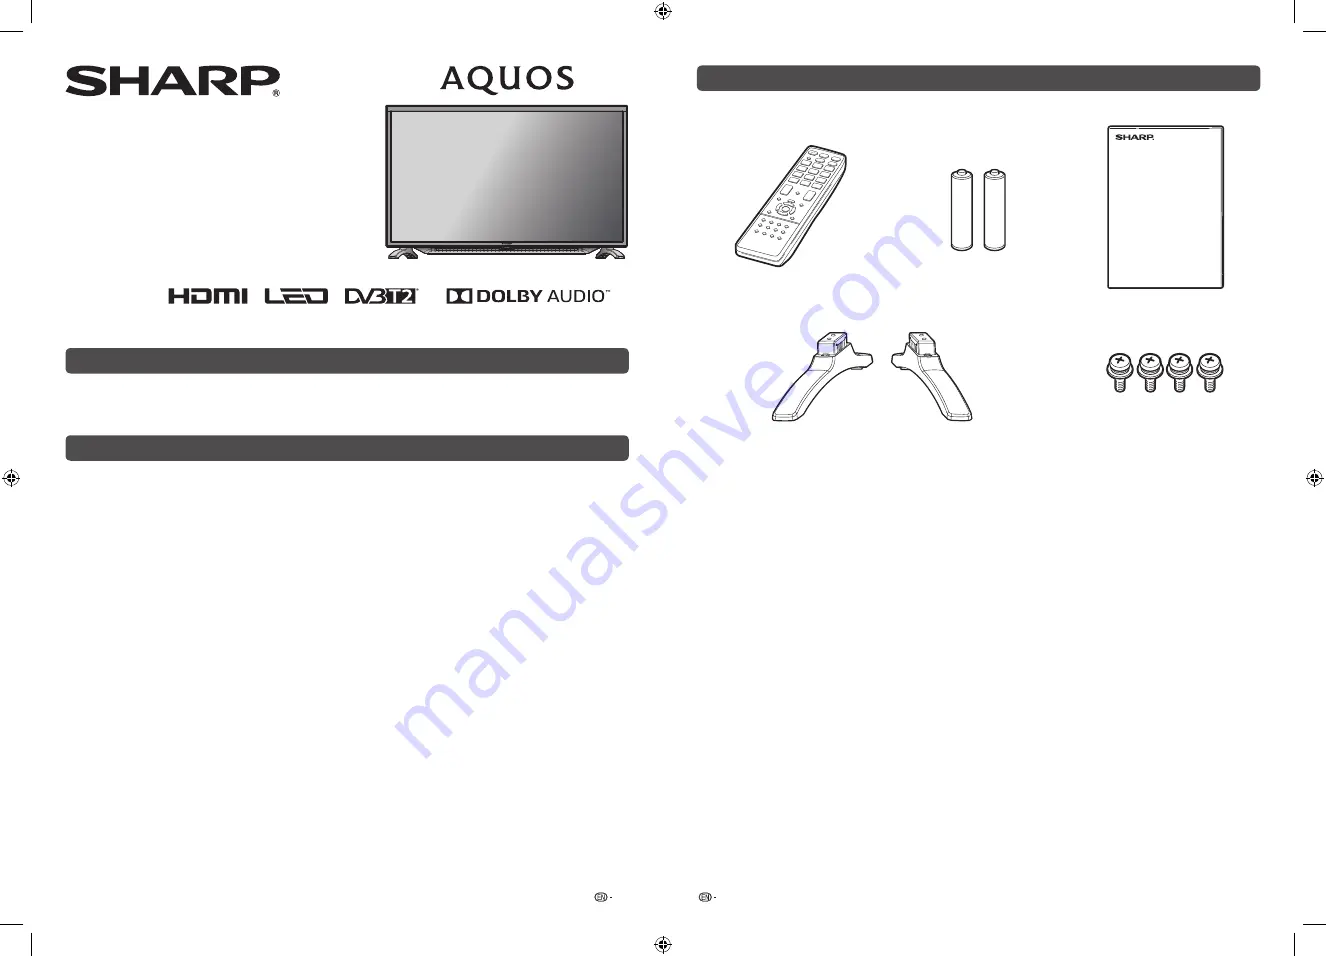
Supplied accessories
Remote control unit
“AAA” size battery (
g
2)
Operation manual
Stand unit
Stand assembly
Stand base
with letter “R”
Stand base
with letter “L”
Screws (
g
4)
2T-C32BD1X_H217_EN.indd 1
2T-C32BD1X_H217_EN.indd 1
1/10/2019 10:18:59 AM
1/10/2019 10:18:59 AM


