SEAL PROSEAL 44, Owner'S Operation Manual
The SEAL Proseal 44 is a reliable and durable sealing machine that is perfect for a variety of packaging needs. Ensure optimal performance by referring to the Owner's Operation Manual. Download your free manual from manualshive.com to access important information on operating your Proseal 44 efficiently.
Share
Download


Reviews:
No comments
Related manuals for PROSEAL 44
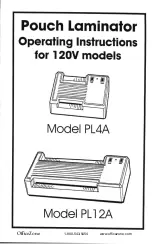
PL4A
Brand: Officezone Pages: 4

LPV1200 DUO SYSTEM
Brand: Drylam Pages: 40

KHL 32
Brand: Hama Pages: 10

LA4K
Brand: Exibel Pages: 4

Mars 95
Brand: Fellowes Pages: 4

GXL 125
Brand: Fellowes Pages: 5

EXL 45
Brand: Fellowes Pages: 5

Cosmic A3
Brand: Fellowes Pages: 40

A75-A4
Brand: Fellowes Pages: 40

Callisto A3
Brand: Fellowes Pages: 52

BB572510
Brand: Fellowes Pages: 58

L125 A4
Brand: Fellowes Pages: 70

Voyager A3
Brand: Fellowes Pages: 204

HeatSeal H65
Brand: GBC Pages: 15


