background image

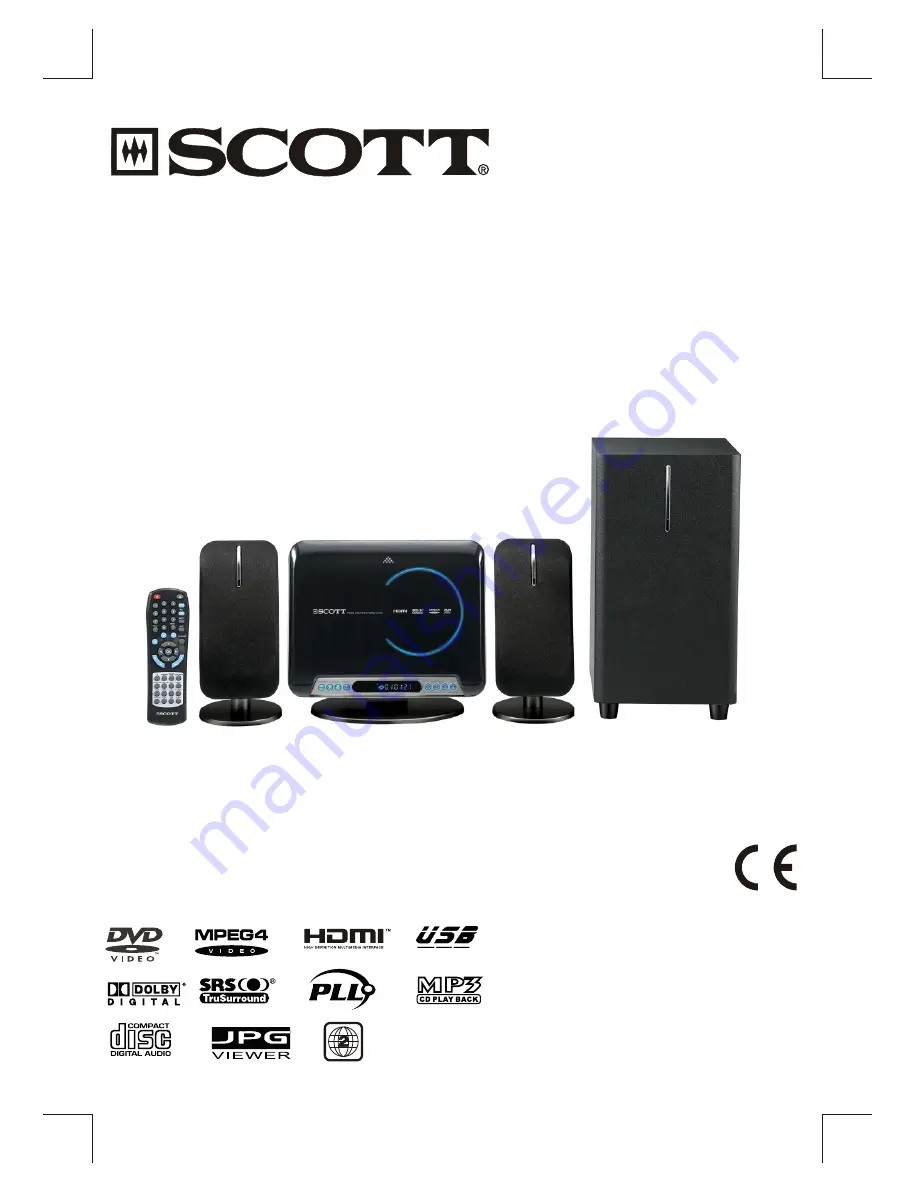
HOME CINEMA 2.1 CH
HOME CINEMA 2.1 CH
HEIMKINO 2.1 CH
HOME CINEMA 2.1 CH
HOME CINEMA 2.1 KANAALS
HOME THEATRE 2.1 CH

MANUEL D’INSTRUCTIONS

MANUALE DI ISTRUZIONI

GEBRAUCHSANLEITUNG

MANUAL DE INSTRUCCIONES

HANDLEIDING

OWNER’S MANUAL

     MODEL NO. MDX 100 SW

Summary of Contents for MDX 100 SW

Page 1: ...INEMA 2 1 CH HEIMKINO 2 1 CH HOME CINEMA 2 1 CH HOME CINEMA 2 1 KANAALS HOME THEATRE 2 1 CH MANUEL D INSTRUCTIONS MANUALE DI ISTRUZIONI GEBRAUCHSANLEITUNG MANUAL DE INSTRUCCIONES HANDLEIDING OWNER S M...

Page 2: ...ith arrowhead symbol within an equilateral triangle is intended to alert user to the presence of uninsulated dangerous voltage within the products enclosure that may be of sufficient magnitude to cons...

Page 3: ...y service or repairs to this product ask the service technician to perform safety checks to determine that the product is in proper operating condition It complies with CE requirements Read these inst...

Page 4: ...nd 6 516 132 Examine the contents of the box for your DVD Micro Theatre System It includes the following DVD Micro Theatre System with power cord Detachable Stand Remote Control with 2xAAA Batteries A...

Page 5: ...sc unplayable Caution Do not use solvents commercially available cleaners or antistatic spray to clean discs Region 2 2 There are several types of DVD Disc Single sided discs play for approximate 2 Ho...

Page 6: ...imer to go into standby mode automatically 16 TONE Press to select an EQ mode from the following FLAT R O C K P O P CLASSIC and JAZZ 17 EX BASS EXTRA BASS Press to turn EX BASS to Soft Bass Balance Ba...

Page 7: ...use the appliance 1 Power Cord 2 Front speakers output terminal 3 Subwoofer output terminal 4 FM and AM Antenna Terminal 5 Digital coaxial output 6 Video and Audio output 7 DIN SCART cable output 8 H...

Page 8: ...specified screws otherwise a malfunction may occur Be careful not to lose the removed screws Mounting on the stand With both hands guide the main unit along the sides of connecting socket until it is...

Page 9: ...crew holes into the wall with a distance of 100mm in between then remove the template 2 Drive the appropriate screws into the holes and tighten them making sure that you leave 5 5 mm between the screw...

Page 10: ...otection HDCP is used to protect digital content transmitted and received Because HDMI is an evolving technology it is possible that some devices may not operate properly with the DVD Home Theatre Sys...

Page 11: ...Connect the white and red output jacks on the AV cable white red to the audio input jacks L R on the TV 1 In DVD mode the DIN SCART cable socket only transmits the video signal to the TV not the audi...

Page 12: ...he player to the Digital Coaxial Audio In socket of the 5 1 Ch receiver For best sound quality use a COAXIAL AUDIO CABLE not included CONNECTIONS Radio connection AM antenna connection Stand the anten...

Page 13: ...efore Connecting This DVD Home Theatre System is designed to reproduce optimum sound quality when the supplied speakers are used If you wish to connect other speakers to the system instead of the supp...

Page 14: ...speaker terminal clip down insert the wire of speaker then release the clip Notes Do not remove an excessive amount of insulation on the wire in order to avoid the stripped portions of the wires from...

Page 15: ...e batteries when the remote control operating distance starts to reduce If the remote control is not to be used for a long time remove the batteries to avoid damage caused by battery leakage Inserting...

Page 16: ...s Use the number keys 0 9 to enter the four digit password and press OK to confirm The system is unlocked which means that you can adjust the setup for parental control If a mistake is made before pre...

Page 17: ...uage 2 2 AUDIO LANG Selects the audio language 2 3 SUBTITLE LANG Selects the subtitle displayed on the TV screen 2 4 DISC MENU Selects the disc menu language 1 3 SOURCE Select the available input sour...

Page 18: ...he top and bottom 16 9 Select this when the unit is connected to a wide screen TV Notes Some discs may not be able to play according to your selection due to the format that has been recorded onto a D...

Page 19: ...void loud sound such as explosion On Loud sounds such as explosions are tuned down sightly Off The unit plays back at the recording level on the disc 4 3 DIGITAL OUTPUT If an amplifier is connected to...

Page 20: ...d slow motion play at speed 1 2 1 4 1 8 1 16 1 32 Press to resume normal playback Note Slow motion is not applicable to CD playback 5 Skip Forward Backward When a disc is playing a chapter track can b...

Page 21: ...ss ANGLE PBC repeatedly to switch between PBC ON and OFF If PBC ON is selected the disc menu if available will appear on the TV Use the numeric keys 0 9 to select the options in the menu 11 AUDIO To s...

Page 22: ...rent track Press INFO twice to check the remaining time of current track Press INFO three times to check the playing time of current disc Press INFO four times to check the remaining time of current d...

Page 23: ...ould start The first two digits are for the hours The next two digits are for the minutes The last two digits are for the seconds After entering the time press OK to confirm The unit will then start p...

Page 24: ...on the screen and press OK to start the programmed playback 3 2 CD VCD SVCD Programming Enter the track numbers in Refer to DVD Programming for program operation 3 3 Clear the Programs Highlight the c...

Page 25: ...en PBC Playback Control ON and OFF If PBC ON is selected the Disc Menu if available will appear on the TV Use or Numeric keys 0 9 to select an option If PBC OFF is selected the unit will skip the disc...

Page 26: ...the picture horizontally rotate the picture 900 counter clockwise rotate the picture 900 clockwise 7 Audio MPEG 4 During playback press AUDIO FM ST to show the current playback audio language Press re...

Page 27: ...sent and insert the CD disc you want to record then select the track from which you would like to start encoding the unit will encode this track and record it on the USB device and will do the same fo...

Page 28: ...tion found Repeat this process until it stops at the desired station To save a radio station 1 When the desired radio station is tuned Press and hold OK until the frequency flashes on the display 2 Pr...

Page 29: ...h off the Sleep Timer press SLEEP repeatedly until SLEEP OFF is displayed Connect a set of stereo headphones to the jack on the unit for private listening without disturbing others The speakers are au...

Page 30: ...ns on the computer to ensure reliable CD R disc recording CD R CD RW MP3 Files DVD Video DVD R DVD RW discs Video CD VCD Audio CDs 8 and 12 cm Audio CDs CD R CD RW DVD R DVD R DVD RW and DVD RW discs...

Page 31: ...ling rate that is conversion to WMA format of at least 64Kbps and up to 192Kbps are not of high enough quality Conversely files with compression rates over 192Kbps will not be of any higher quality Su...

Page 32: ...rrectly Adjust the antenna location and position to obtain the best signal reception Tune to the correct radio channel frequency Place the antenna further away from any equipment that may be causing t...

Page 33: ...able x 1 Audio Output left right subwoofer x 1 Coaxial Output x 1 HDMI output x 1 USB Port Type 1 1 Maximum Capacity supported by the USB Port 2G Some external hard disks may not be supported particul...

Page 34: ...er cutting down the template along dashed line fix it on the wall where you want to hang 2 Drive two screws into the wall with the drawing hole on the template Caution Avoid fixing template askew Cut...

Reviews: