manualshive.com logo in svg
background image

WARNING!

Only for use by children over 10 years old. Only for use under the supervision of an 
adult. This toy contains functional sharp needle, sharp edge on scalpel, scissors, 
spatula, tweezers, and prepared slide.

CAUTION!

Read the instructions before use, follow them and keep 
them for reference.

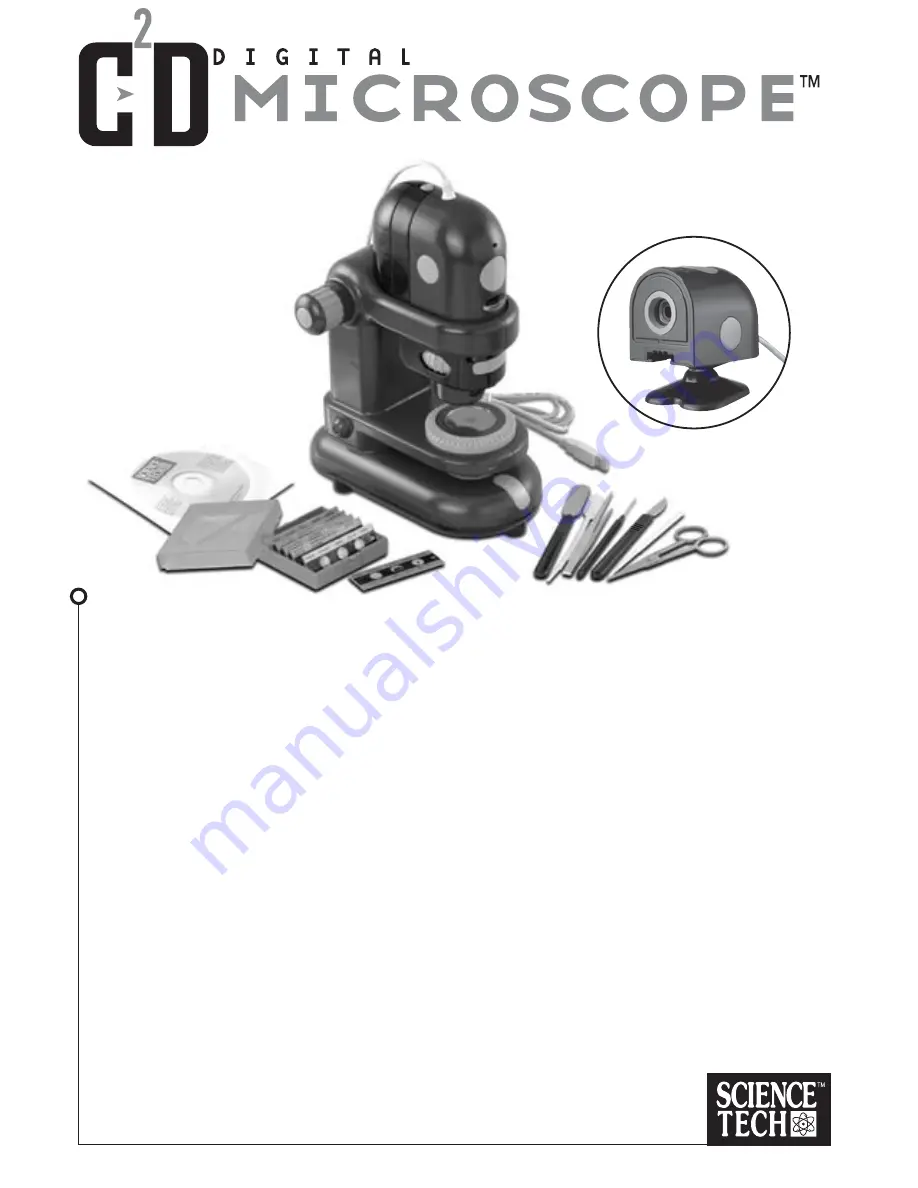
10x • 60x • 120x • 220x

*

  C

2

D Digital Microscope

*

  C

2

D Camera Stand

*

  USB Cable (5ft. or 1.5m )

*

  Software (CD-ROM)

*

  Six Prepared Slides with Case

*

  Dissecting Tools

*   

Instruction Manual

Содержание C2D 10X

Страница 1: ...sharp needle sharp edge on scalpel scissors spatula tweezers and prepared slide CAUTION Read the instructions before use follow them and keep them for reference 10x 60x 120x 220x C2 D Digital Microsc...

Страница 2: ...truction manual helps to you Set up your C2 D Digital Microscope Maintain it Change bulb when required Troubleshoot any problems that arise ABOUT THE C 2 D DIGITAL MICROSCOPE ABOUT THE C 2 D DIGITAL M...

Страница 3: ...ix prepared slides Seven Scientific Instruments WARNING Only for us e by ch ild ren ov er 10 ye ars old Only for us e un de r the su pe rvision of an ad ult Th is toy co ntains func tio na l sh arp ne...

Страница 4: ...with Case 6 Stainless Steel Spatula 7 Stainless Steel Scissors 8 Stainless Steel Tweezers 9 Stainless Steel Needle 10 Stainless Steel Scalpel 11 Stirring Rod 12 Dropper 13 Instruction Manual USB Cabl...

Страница 5: ...ows compatible sound device Mouse and Keyboard This C2D Digital Microscope supports Microsoft Video for Windows VFW You can use third party software that supports VFW to access this product This C2D D...

Страница 6: ...will be activated automatically STEP ONE Install Device Driver NOW CONNECT THE C2 D DIGITAL MICROSCOPE TO THE COMPUTER 2 After connecting the C2 D Digital Microscope to the computer you will see a new...

Страница 7: ...Next Back Cancel Next Cancel 5 Next Cancel Next Cancel Back 3 Click the button Next 4 Click the button again and you will see the following screen Next...

Страница 8: ...xt 6 Once the new hardware device has been installed properly please proceed to step two to install the C2 D software Once the hardware has been installed properly click the button to finish the devic...

Страница 9: ...mponents It does not mean that your computer has crashed You might have to restart your computer Next Cancel Finish 1 Click the button to finish the application software installation Next USING THE C2...

Страница 10: ...ent Color Filter Aperture 8 Focusing 1 Focus the image on the screen with the focusing knob 2 You should be able to see the image become closer or further away as the focus knob is adjusted very slowl...

Страница 11: ...Changing Magnification Change the magnification of the image by turning the Revolving Turret Ring Taking Images Images on the screen can be captured by pressing the Shutter Button USING HANDHELD MICR...

Страница 12: ...to start making video to My records NOTE Press this button again to finish recording My records Images A list of images have been saved in your hard disk You can select the record and view them from t...

Страница 13: ...ld not have any effect unless you have installed the appropriate printer driver Copy to clipboard Click button to copy the image to the clipboard TIPS You can utilize this feature to process the image...

Страница 14: ...r on the Seek Bar You can locate frames directly without playing the whole video sequentially Play Click button to start playing the video Stop Click button to stop immediately Pause Click button to s...

Страница 15: ...Bulb Replacement Use a Philips screw driver to open the light compartment Bulb Specification 2 2V DC 150mA CARE MAINTENANCE CARE MAINTENANCE 13...

Страница 16: ...lease refer to the section Care Maintenance to replace the bulb Error found when loading image into the memory Run ScanDisk to check your hard disk for logical and physical errors ScanDisk can then re...

Отзывы: