

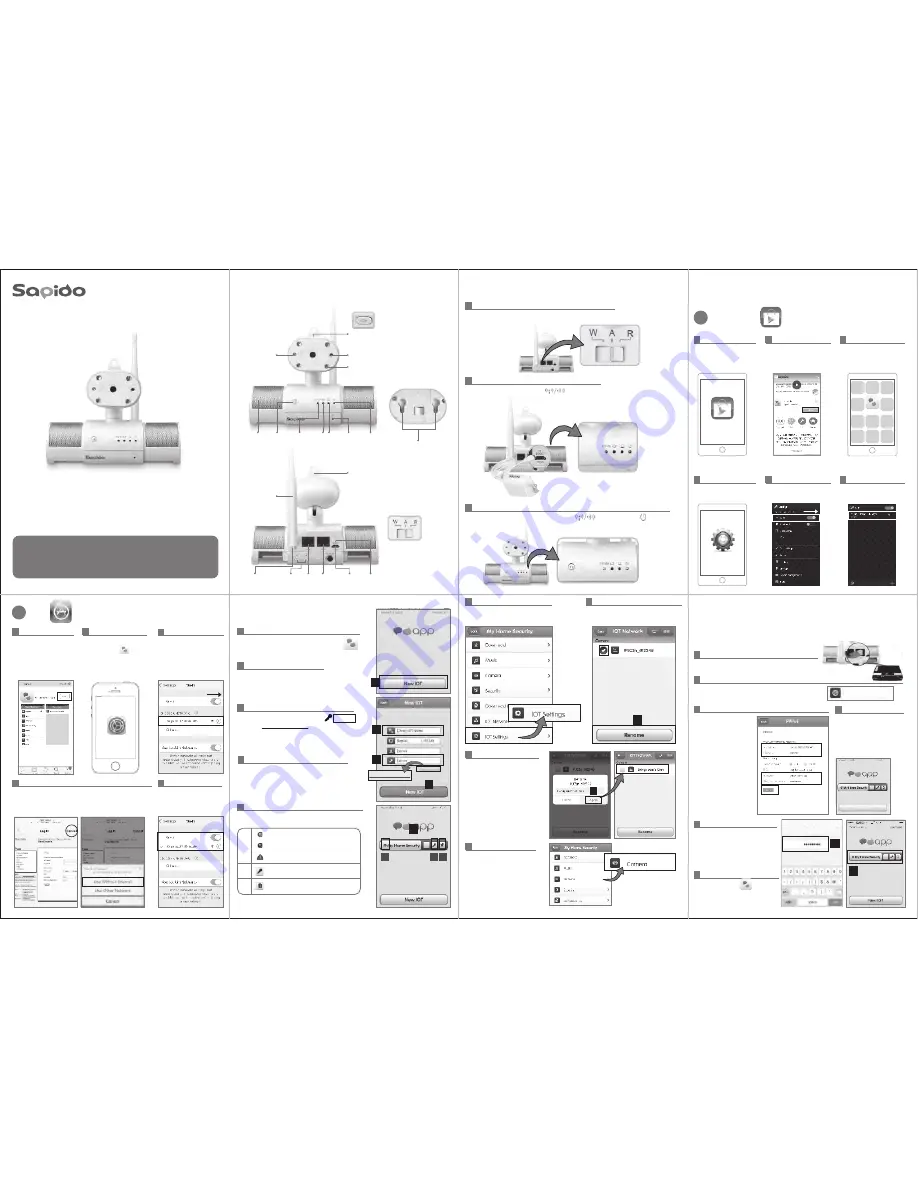
Sapido
Smart Cloud Night Vision Camera Router supports Sapido
Mobile APP to offer the real-time monitoring and security
detection. Send a push notification when intruders are detected
and trigger alarm to keep the home safe anytime everwhere.
H.264 IP Cam Router
Smart Cloud Night Vision Camera with Audio Wireless Router
IPJC2n
Quick Installation Guide
( v1.0 )
Android
1
iOS
2
3
Complete the APP installation,
and Sapido icon will show
on smartphone desktop
Sapido
1
Go to Google Play store
2
Search for “
Sapido
” and
INSTALL
4
Go to Smartphone/Tablet's
Settings
5
Turn on
Wi-Fi
and search for
IPJC2n WiFi signal
6
Connect to IPJC2n
2
Complete the APP installation,
and Sapido icon will show
on smartphone desktop.
Go to Smartphone/Tablet's
Settings
.
1
Go to APP Store.
Search for “
Sapido
” and
Download.
3
Turn on Wi-Fi
→
search for
IPJC2n WiFi signal
1
Switch to “
R
” (Router) to set up as the first Router at Home.
2
Power on, the “
Wireless/ WPS
” will flash red.
3
Wait for 30 seconds till the “
Wireless/WPS
”
and the ”
Power
” LED turn
green.
5
Successfully connected to
IPJC2n.
4
Connect to Sapido IPJC2n WiFi network, it will pop out
the login page, please select “
Cancel”
and “
Use Without
Internet
”.
Sapido_IPJC2n_d12345
IPJC2n
Sapido_IPJC2n_d12345
Sapido_IPJC2n_d12345
IPJC2n
SAPIDO_IPJC2n_d12345
Hardware Content
Step 1-1.
Hardware Installation
Step 2.
Download APP
Step 3.
Internet Settings
Step 5.
IOT Settings
Step 4.
1
2
Please create your “
IOT Name
”.
For example: “
My Home Security
”
3
Please enter the default password “
admin
” ,
then click
Change Password
to setup your new
password.
4
Click “
New IOT
” and wait for the connection.
1
Find Sapido APP icon and Click “
New IOT
”
5
You'll find the New IOT Account in APP login page.
(Green)Online
(Grey)Offline
(Red)Alert Message
Change Password
Delete IOT Account
A
C
B
IPJC2n
4
2
3
Change password
5
A
B C
6
Login the Account and Go to
“
IOT Settings”
7
IPJC2n is successfully added on the list.
Choose IPJC2n and click “Rename”.
WALL MOUNT HOLE
R - ROUTER MODE
A - AP MODE
W - WIRELESS AP MODE
RECORDING BUTTON
INFRARED NIGHT VISION LED
CAMERA LED
SPEAKER WPS
BUTTON
Wireless/
WPS LED
WAN
LED
LAN
LED
POWER
LED
MICROPHONE
SPEAKER
LED
USB FLASH DRIVE
ANTENNA
R/A/W
MODE SWITCH
WAN
PORT
LAN
PORT
VOLUME
RESET
Micro USB
POWER PORT
7
8
8
Enter the new device name
and click “Apply”. Click “Back”
to the APP main page.
9
Go to APP main page and
choose “Camera” to watch
the real-time surveillance.
1
Connect the Ethernet cable to IPJC2n's WAN port
Setup the internet connection to enjoy the real-time surveillance and
receive the push notificaiton on a smartphone or tablet when you are
away from the home.
6
5
If you don't have 3G/4G network,
please connect WDG71n Wi-Fi to
check the
Internet Settings
Password
Enter Password
Enter The Password For “Sapido_IPJC2n_d12345”
Cancel
5
6
Open Sapido APP and you'll
see the IOT account
2
Go to “Internet Settings” in APP main page,
it will automatically detect the WAN type (Internet)
Internet Settings
3
It will direct to the setting
page.
For xDSL Setting, please
enter the username and
password provided by ISP.
Wireless Encryption
WPA2
is recommended with at
least 8 letters/numbers.
Click
Apply
to complete
the Internet Settings.
(Please remember your
WiFi Password)
4
New IOT
After the internet setup,
you'll be guided to the first
login page. You can use
smartphone 3G/4G
network to login APP and
check the Internet Settings.


