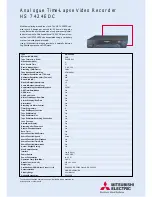
Service Manual
Video Cassette
Recorder
VHR-VT821A
(Product Code: 1 682 333 57)
(Australia)
REFERENCE No. SM2200001
FILE NO.
The components designated by a symbol ( ) in this schematic diagram designates components whose value are of special
significance to product safety. Should any component designated by a symbol need to be replaced, use only the part designated
in the parts List. Do not deviate from the resistance, wattage, and voltage ratings shown.
NOTE:
Substitute parts may be supplied as the service parts.
N.S.P.: Not available as service parts.
1.
2.
Design and specifications are subject to change without notice.
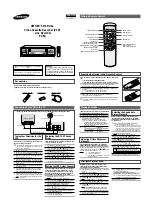
PRODUCT SAFETY NOTICE
VHR-VT821A / NZ
(Product Code: 1 682 333 58)
(New Zealand)