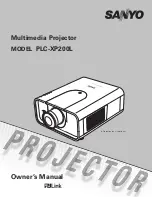
Sanyo PLC-XU10, Owner'S Manual
The Sanyo PLC-XU10 is a high-quality projector designed for optimal performance and convenience. Enhance your presentations with its impressive brightness and sharp image quality. Ensure you get the most out of your projector by downloading the free Owner's Manual from manualshive.com, offering a comprehensive guide to maximize its features and capabilities.
Share
Download


Reviews:
No comments
Related manuals for PLC-XU10

IP65
Brand: Lampo Pages: 2

AL-RG130-RM1
Brand: Shenzhen Optlaser Technologies Co., Ltd Pages: 8

LPJ-300WH
Brand: LENCO Pages: 148

2301166
Brand: Renkforce Pages: 88

PJ506D - SVGA DLP Projector
Brand: ViewSonic Pages: 41

TW695UT-3D
Brand: Optoma Pages: 2

Professional PowerCenter PRO 5100
Brand: Monster Power Pages: 74
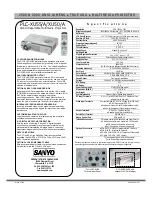
PLC-XU50
Brand: Sanyo Pages: 1
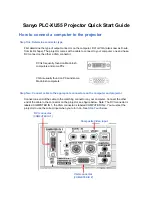
PLC-XU55
Brand: Sanyo Pages: 3
PLC--XP200L
Brand: Sanyo Pages: 2
PLC--XP200L
Brand: Sanyo Pages: 12
PLC-XU50
Brand: Sanyo Pages: 72
PDG-DXL2000 - 2000 Lumens
Brand: Sanyo Pages: 73
PLC-XU50
Brand: Sanyo Pages: 90
PLC--XP200L
Brand: Sanyo Pages: 88
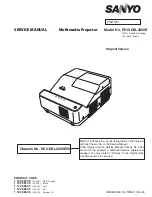
PDG-DXL2000E
Brand: Sanyo Pages: 98
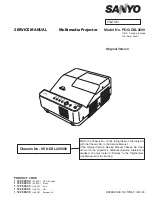
PDG-DXL2000 - 2000 Lumens
Brand: Sanyo Pages: 98
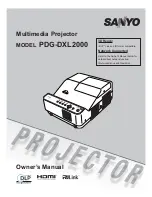
PDG-DXL2000 - 2000 Lumens
Brand: Sanyo Pages: 142


