Sanyo ICR-FP500, Instruction Manual
The Sanyo ICR-FP500 is an innovative device designed to streamline your audio recording needs. With its cutting-edge features and user-friendly interface, this product is perfect for capturing crisp, high-quality sound. Ensure optimal use by referring to our comprehensive Instruction Manual available for free download on manualshive.com.
Share
Download


Reviews:
No comments
Related manuals for ICR-FP500

quartz3 BPR zero
Brand: RBR Pages: 20

Diginotice
Brand: Grundig Pages: 12

CX-R190
Brand: Coby Pages: 1

HDRV200F
Brand: Sylvania Pages: 91

EWR10D5
Brand: Emerson Pages: 82

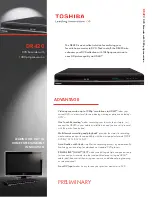
DR430KC
Brand: Toshiba Pages: 2
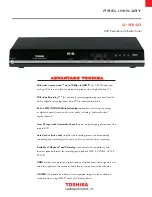
DR550 - DVD Recorder With TV Tuner
Brand: Toshiba Pages: 2
DR420
Brand: Toshiba Pages: 2

D-RW2SU
Brand: Toshiba Pages: 2

D-R560 - DVD Recorder With TV Tuner
Brand: Toshiba Pages: 2

D-R5 - DVD Recorder With TV Tuner
Brand: Toshiba Pages: 2

D-R410
Brand: Toshiba Pages: 2

D-R400
Brand: Toshiba Pages: 2

D-R4
Brand: Toshiba Pages: 2
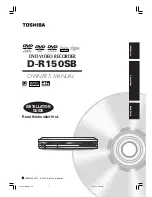
D-R150SB
Brand: Toshiba Pages: 48

D-R2SC
Brand: Toshiba Pages: 56

D-R1SU
Brand: Toshiba Pages: 58

DVR D-R17DTKB
Brand: Toshiba Pages: 88


