background image

Using Your Documentation 1

Using Your Documentation

Congratulations on your purchase of a notebook computer. Whether you are new to
using a portable computer or are an experienced user, this user’s manual can help you
get the most from your computer.

Manual Documentation Conventions

Information Icons

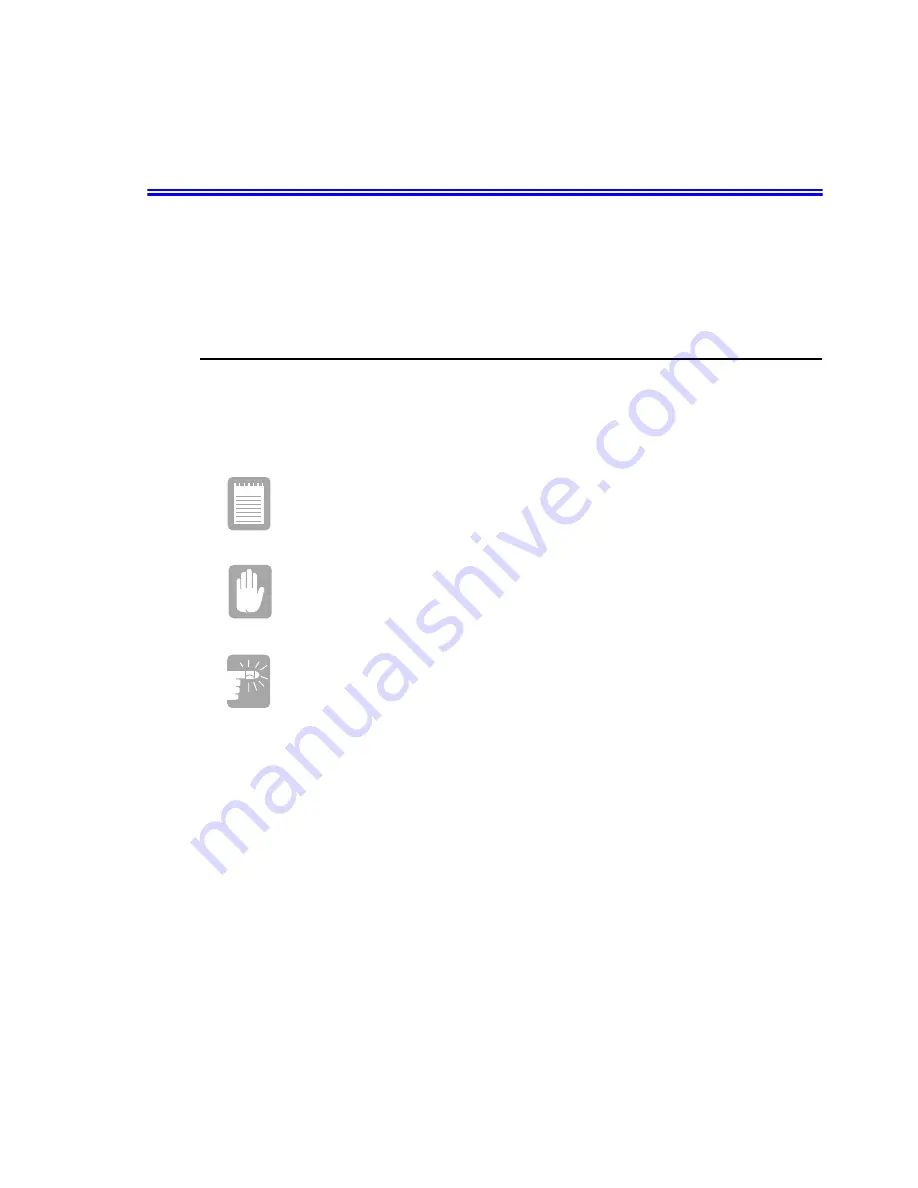
Three icons and their associated messages appear in this manual:

A note informs you of special circumstances.

A caution warns you of possible damage to equipment or data.

A warning indicates the possibility of personal injury.

Keyboard Conventions

Keys that you need to press to perform certain functions are shown in the manual
enclosed in angle brackets. For example,

<Ctrl>

indicates the control key (Ctrl on the keyboard).

If you need to press two keys at the same time, the key names are shown joined by a
plus sign. For example,

<Alt+Pg Up>

means that you should press the Alt key and hold it and then press th e PgUp key.

Summary of Contents for SENS Pro 760

Page 1: ...s manual A note informs you of special circumstances A caution warns you of possible damage to equipment or data A warning indicates the possibility of personal injury Keyboard Conventions Keys that you need to press to perform certain functions are shown in the manual enclosed in angle brackets For example Ctrl indicates the control key Ctrl on the keyboard If you need to press two keys at the sa...

Page 2: ...ctory with several software programs installed The software may include its own online or printed documentation Refer to the documentation or the Help options in the software for more information The figures and illustrations in this manual may not be identical to those on your system Action Process Comment Click Depress the mouse touchpad left button and release This will cause a process to begin...

Page 3: ...ur system is very powerful and can perform all of the functions of a desktop computer Where Everything Is The following sections PC Equipment Locations and Docking Bay Equipment Locations will explain the details of the notebook computer and the docking station as well as other basic operations to dock and undock the computer You are provided with a notebook computer and its docking station shown ...

Page 4: ...in this section show you the location of important items on the computer Figure 2 Front View of PC Internet Key LED s Touchpad Speaker Microphone Jack Headphone Jack MP3 Remote Controller Jack Touchpad Buttons Keyboard Power Button LCD Display Fan Vent Video Port ...

Page 5: ...bottom view of the PC without the Docking Station attached See Using the Multi Bay Docking Station on page 30 Figure 5 Bottom View of PC USB Port DC in Port PC Card Slot LAN Serial Port Modem Port Kensington Lock Battery Compartment Battery Latch Memory Module Compartment Docking Connector Battery Latch ...

Page 6: ...Figure 6 Docking Station Front Top Figure 7 Docking Station Back Docking Release Latch Docking Pins FDD Release Latch CD DVD Release Latch Docking Connector Undocking Button Docking Hook CD DVD Drive FDD Floppy Disk Drive Docking Hook Kensington Lock TV Out Port PS 2 Port USB Port USB Port LAN Port DC in Port Speaker Docking Release Latch Printer Port ...

Page 7: ... PC The docking station is installed to the system at the point of purchase Connect the AC adapter to a docking when it is installed to a system Undocking your Computer Power Off To remove your computer from the docking station with the power off complete the following steps 1 Turn off the system 2 Disconnect the AC adapter Speaker FDD Drive CD DVD Drive ...

Page 8: ...the system Power On 1 Press the PC detach button on front of the docking 2 When xxxx message shows on the screen then hold and pull two release latches 3 Remove a system 4 Attach the AC adapter to a system Use Start PC detach instead of the PC detach button Docking your Computer Power Off To install your computer into the docking station with the power off complete the following steps 1 Disconnect...

Page 9: ...of a system until it clicks into a docking fully Power on To dock your computer with the power on just reverse the directions in the power on undocking section When it is connected properly then xxxxx message shows Press a system to make sure that a docking connector is completely connected to the system Back of the System Front of the System Hook ...

Page 10: ...nto the same slot Battery may be used wether the computer is in the docking station or not Battery 2 may only be used when the PC is not in the docking station Ensure that both battery latches are slid fully toward the center of the computer AC Adapter Your computer runs on power from the battery in the computer or from an electrical outlet The first time that you use your computer fully charge th...

Page 11: ...as soon as you plug the power cord into an electrical outlet The battery charges faster if the computer is turned off during charging If the battery is fully depleted and the computer is turned off the battery charges in about 3 hours If the computer is turned on the battery charges in about 5 hours When the battery is charging the battery charge light is amber When the battery is fully charged th...

Page 12: ...ly read each screen and follow the simple directions You must complete this process in order to use your computer A tutorial is provided if you require it Understanding POST When you turn on your computer a routine called POST Power On Self Test automatically runs to test the computer components Several messages appear on the screen during POST Screen messages are built into the computer to report...

Page 13: ...ease the display brightness Turning Off Your Computer APM Advanced Power Management Mode To turn off the computer 1 Click Start on the taskbar 2 Click Shut Down 3 Select the shut down option 4 Click OK or Yes If the operating system is Windows 98 2000 Me the computer turns off ACPI Advanced Configuration and Power Interface Mode Your computer supports ACPI mode If your operating system supports AC...

Page 14: ... button for over 4 seconds Restarting Your Computer You may need to restart reboot your computer when installing hardware or software or if the computer does not respond to your input A warm or soft boot prompts you to save your files turns off the computer and then restarts the computer A cold boot turns off the computer without saving your files To perform a warm or soft boot 1 Click Start on th...

Page 15: ... than a desktop computer A fan inside your computer runs when needed to help eliminate heat Make sure the fan vent on the right side of your computer is not blocked when you use the computer See Figure 2 on page 4 for the location of the vent Occasionally check the vents and remove any accumulated dust on the outside Avoid using or storing the computer in extremely hot or cold areas such as a car ...

Page 16: ...ggage Allow the computer and disks to go through the X ray security devices Do not hand carry disks through the walk through metal detectors which can cause loss of data Make sure that the battery is charged or the power cord is easily accessible You may be required to turn on the computer for airport security personnel Be prepared to turn off the computer during take off and landing Locking your ...

Page 17: ...r computer unplug it immediately and do the following If you spill liquid on the keyboard drain as much of the liquid from the keyboard as possible Be careful not to let the liquid drip onto the LCD panel Allow the system to dry for several days before trying to use it If you spill liquid on an external keyboard or keypad unplug it and drain as much of the liquid as possible Allow the keyboard to ...

Page 18: ...s damage the polarized LCD screen If your screen is damaged contact your authorized manufacturer s service center for a replacement Storing the Computer for Long Periods If possible leave the power cord connected to the computer and an electrical outlet when the computer is not in use This extends the life of the battery and keeps the battery fully charged If you will not be using the computer for...

Page 19: ...eys on the keyboard can be grouped into the following categories Full sized Alphanumeric typewriter keys are arranged like a standard typewriter keyboard QWERTY and are used for text entry The Windows key on the right side of the spacebar open Windows menus and perform other special functions Function keys when pressed together with the Fn key enable special functions Cursor and Screen control key...

Page 20: ...ic function Figure 15 Numeric Keypad Press the Num Lock key to turn on the embedded numeric keypad The numeric functions of the keypad are enabled and the Num Lock light turns on See System Status Lights on page 25 for the location of the Num Lock light While the numeric functions are enabled you can temporarily return a key to its normal function by pressing Fn and the key For example to type the...

Page 21: ...ases the audio volume Fn F9 Rest Puts the computer into Suspend mode To resume normal operation from rest press the power button See Using Power Management Options on page 89 for more information about the rest mode Fn F10 Brightness down Decreases the LCD brightness Fn F11 Brightness up Increases the LCD brightness Fn F12 Scroll In some applications sets the cursor control keys to scroll the page...

Page 22: ...g the Keyboard Internet Explorer Quick Start Button Use the internet quick start button to start Internet Explorer just by pressing one button Figure 16 Internet Explorer Quick Start Button i Internet Explorer ...

Page 23: ... Operation Press on the touchpad gently The touchpad responds to light pressure The following sections will basically explain how to use the touchpad Double Click Tap Select the window by tapping once on a touchpad You can maximize the window by double tapping the touch pad quickly or you can use the touchpad buttons Drag Move 1 Click on the window which you want to drag using the touchpad 2 Press...

Page 24: ...e 19 Scrolling using the touchpad You can use the buttons below the touchpad in the same way you would use standard mouse buttons For more information on these features and other features supported by your mouse driver such as button assignment see the Mouse properties in the Control Panel For information on attaching and using another pointing device or keyboard with your computer see Connecting ...

Page 25: ...ard to a numeric keypad add cross reference Caps Lock Changes all alpha or letter input into capital letters No changes occur to numeric and special keys Scroll Lock Scroll lock in certain software Device Light Green Using Hard disk Note There is a light inside the FDD that is on when the disk is being accessed you must look closely Power Light Green System power on Blinking Low battery Battery Li...

Page 26: ...e you connect a peripheral device Connecting a peripheral device with your computer turned on may seriously damage the device or your computer Figure 21 Peripheral Connectors Headphone jack Headphone Jack MP3 Remote Controller Jack Video Port on right side USB Port DC in Port PC Card Slot LAN Serial Port Modem Port Printer Port USB Port USB Port TV Out Port LAN Port PS 2 mouse keyboard port DC in ...

Page 27: ...Plug a parallel device such as a parallel printer this 25 pin port Video port Plug the interface cable of an external monitor into this 15 pin connector and then plug the monitor power cord into a grounded outlet USB universal serial bus port Connect USB devices to this port USB devices include keyboards pointing devices and monitors Modem jack Connect a telephone line to connect to the internet o...

Page 28: ...he slot Installing a LAN Cable Before you can obtain information on the Internet send e mail or transfer files to or from another computer you must install the LAN drivers see Using the LAN on page 66 and install the LAN cable There are two ways to hook up to a LAN You may plug directly into the back of the computer or use a LAN cable adapter To install the LAN cable to the back of the computer si...

Page 29: ... AT Serial Device Cable The LAN Serial port allow the use of serial devices such as a serial mouse To install the Serial adapter simply plug the adapter cable into the LAN Serial slot on the left side of the computer See Figure 23 on page 29 Figure 24 AT Serial Cable LAN Serial Port ...

Page 30: ...a 3 5 device Below is a listing of the device types you may install in your docking bay 5 25 Drives CD ROM DVD ROM CD RW 3 50 Drives Zip drive 2nd HDD Changing Devices This section will discuss changing 5 25 and 3 5 devices The docking bay is the portion of the docking station where you change devices Figure 25 Changing Devices 3 5 Device 5 25 Device ...

Page 31: ...em from the docking station 3 Slide the 5 25 bay latch toward the middle of the docking bay 4 The device will pop out about an inch 5 Remove the device 6 Insert the new 5 25 device into the docking bay until the bay latch clicks Changing a 3 5 Device The method of changing a 3 5 device is same as changing a 5 25 device except you have to use 3 5 bay latch instead of 5 25 s Figure 25 ...

Page 32: ...is smaller but more power efficient than a floppy drive in a desktop computer To get the best performance from your floppy drive use high quality floppy disks To use a floppy disk in your computer insert it into the floppy drive Figure 26 Figure 26 Inserting a Floppy Disk To remove a floppy disk press the eject button on the floppy drive The floppy drive light on the computer is on when the comput...

Page 33: ... disc if you have finished using it 3 Push the tray in gently to close the drive tray Figure 27 A light on the drive tray is on when the computer is reading from a CD Do not remove a disc when this light is on Figure 27 Using the CD DVD ROM Drive Install and start a CD based program as you would run a program on a floppy disk See your operating system documentation for more information on running ...

Page 34: ... into your CD ROM drive a Press the button on the CD ROM drive and its tray slides out b Insert a CD label side up c Push the tray in to close the drive tray The Windows Media Player button appears on the taskbar The disc begins to play A light on the drive tray is on when the computer plays a CD Do not remove a disc when this light is on 2 To adjust the sound press the following key combinations ...

Page 35: ...l with DVD ROM drives 1 Start Windows and insert the CD Labelled DVD Player into the DVD ROM Drive 2 The Installation application will start automatically so follow the on screen instructions to complete the installation 3 Reboot the system 4 Make sure that DMA access is enabled for the DVD Drive a From Control Panel open the System icon b Select the Device Manager tab c Click the Plus sign beside...

Page 36: ...as already been formatted Do not format the hard drive Doing so destroys all data contained on the drive If you need to format a new drive or want to erase all data on your existing hard drive refer to the manual for your operating system The drive in your computer maybe divided into partitions The file allocation table enables the partitions to locate files and directories Your computer recognize...

Page 37: ...your CD ROM drive a Press the button on the CD ROM drive and its tray slides out b Insert a CD label side up c Push the tray in to close the drive tray The Windows Media Player button appears on the taskbar the disc begins to play If the disk does not play click on the windows media player icon on the Windows task bar then navigate to the CD drive using the file open menu A light on the drive tray...

Page 38: ...elp menu in the Windows Media Player window Double click Windows Media Player icon on the LCD display window Volume Control Using the Keyboard Changing the volume with your keyboard Use Fn F7 to decrease the volume or Fn F8 to increase the volume Using the Volume Control Icon Double click the volume control icon on a tray bar on down side of the LCD screen and control volume in Volume Control as f...

Page 39: ...cessories Windows Movie Maker Figure 29 Windows Movie Maker MP3 Player Voice Recorder Your system has MP3 player integrated inside the computer chassis You can download songs from internet and save them on your system flash memory then you can listen to the music even while the system is powered off The flash memory size of the MP3 Player is 32 MB but the memory size could be different from system...

Page 40: ...ke a new folder on your system hard drive to store your MP3 files Play Stop FF Forward Equalizer Preset Classic Rock Pop REW Rewind Power slide bar Off 1 Music 2 Voice Ear phone connector LCD REC Erase REP Repeat Repeat repeat one MP3 file All repeat every MP3 file Shuffle mix the order of the file VOL Volume HOLD Lock the MP3 remote controller buttons except the Power slide bar ...

Reviews: