Samsung CL-21K30M1, Owner'S Instructions Manual
The Samsung CL-21K30M1 Owner's Instructions Manual is available for free download on manualshive.com. This comprehensive manual provides all the necessary information and step-by-step guidance to maximize your experience with the Samsung CL-21K30M1. Get the manual now and unlock the full potential of your product.
Share
Download


Reviews:
No comments
Related manuals for CL-21K30M1

LE2000
Brand: Bematech Pages: 18

PPC-612
Brand: Advantech Pages: 7

P2043S
Brand: FATEK Pages: 7

NP-5**A Series
Brand: IVC Displays Pages: 93

APC-8122 Series
Brand: Aaeon Pages: 54

IKARPC-07A-BT
Brand: IEI Technology Pages: 108
W3706MC
Brand: Dell Pages: 218

PPC-150P-D2 Series
Brand: ICOP Technology Pages: 45

32HF5445
Brand: Philips Pages: 3

32HF7543
Brand: Philips Pages: 18

32HF5335D
Brand: Philips Pages: 3

32HF5335D
Brand: Philips Pages: 2

32FD9954
Brand: Philips Pages: 18

32HF7444 - annexe 2
Brand: Philips Pages: 2
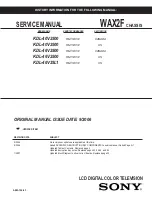
BRAVIA KDL-46V2500
Brand: Sony Pages: 88

BRAVIA KDL-46V2500
Brand: Sony Pages: 208

BRAVIA KDL-46V3000
Brand: Sony Pages: 300

BDH4222V/00
Brand: Philips Pages: 35


