


All rights reserved. Copying in whole or in part is prohibited
All rights reserved. Copying in whole or in part is prohibited
without expressed written authorization from the manufacturer.
without expressed written authorization from the manufacturer.
1
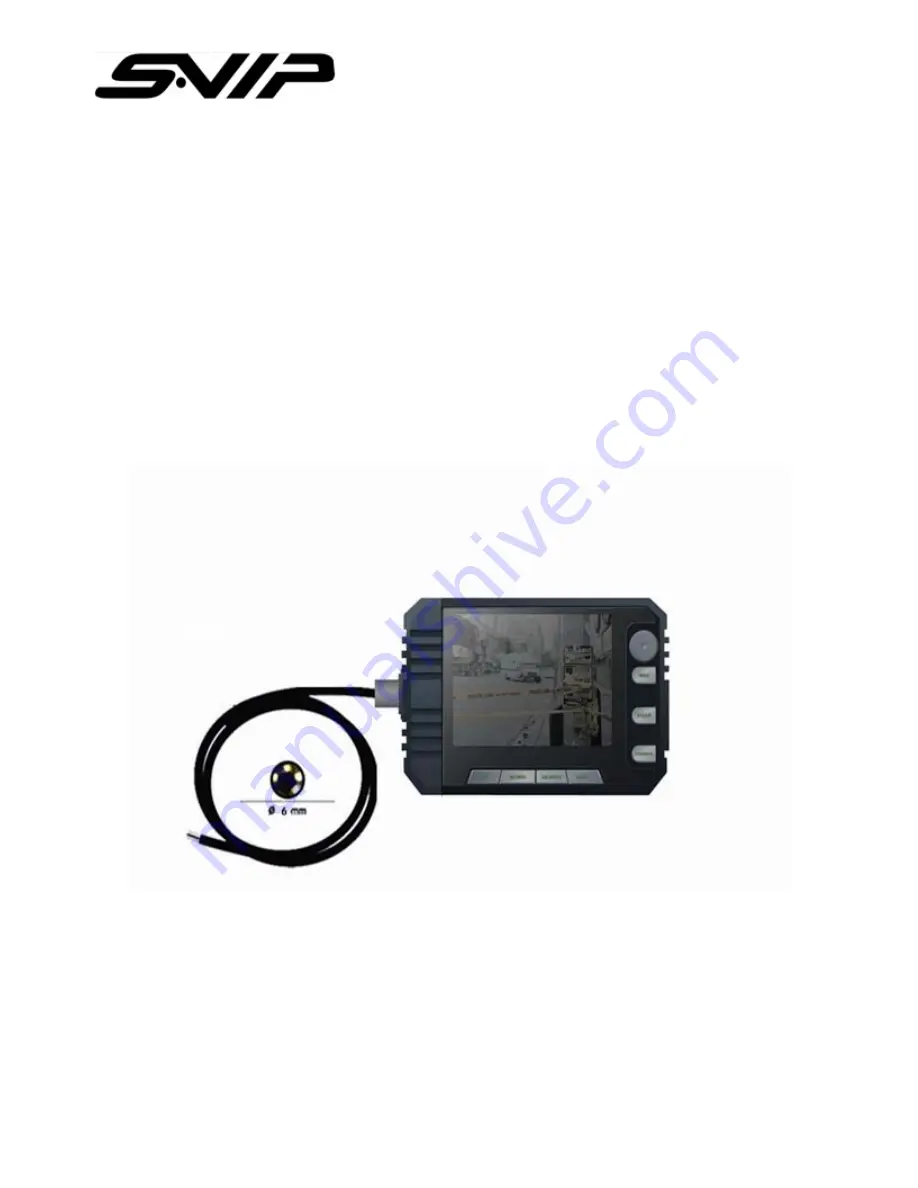
Endoscope Digital Video Recorder
(SDV-02)
User Manual


