background image


Vehicle Access Control 
Pedestrian Access Control 
Safety & Security Equipment 


T: +61 7 3205 1123 

www.rotech.com.au 

e: [email protected] 


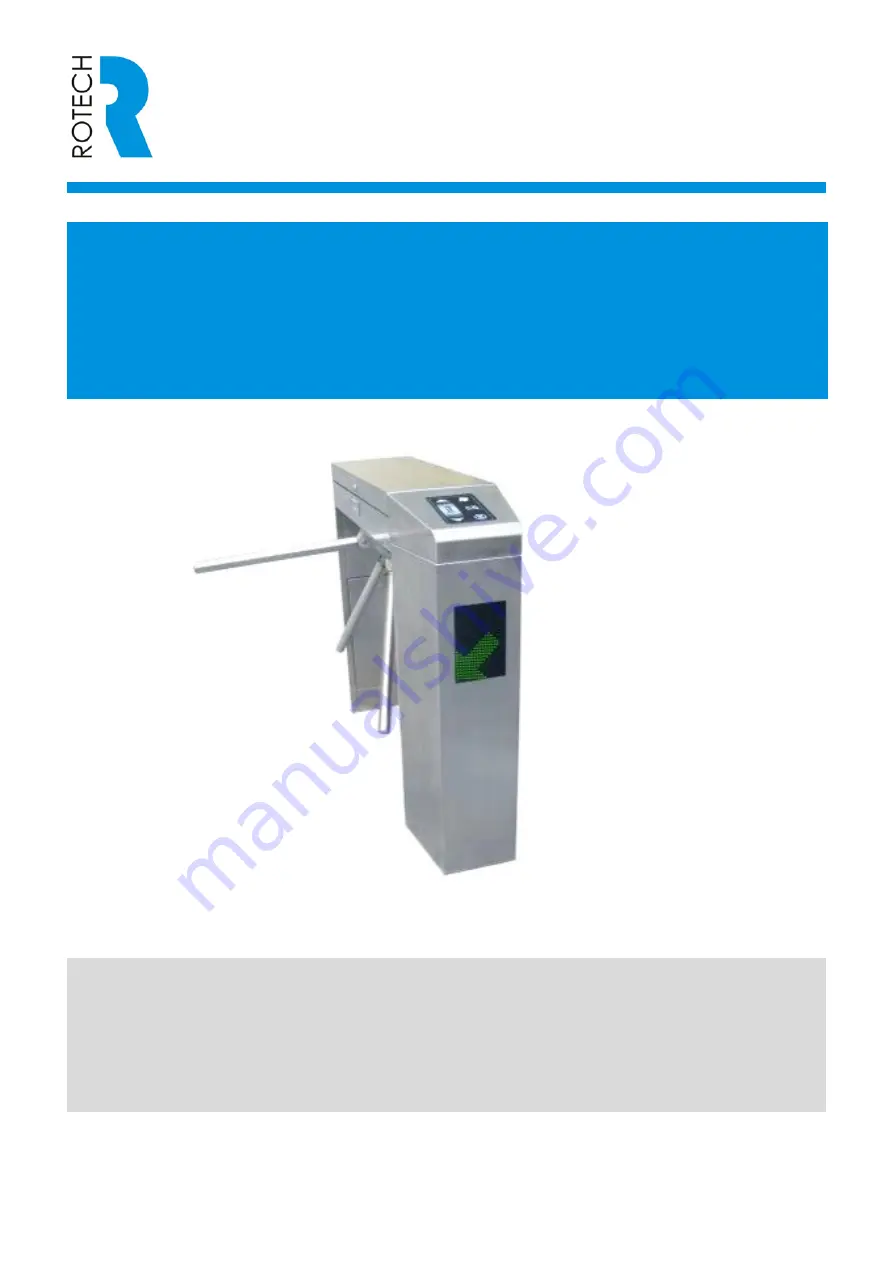
TRISTAR J18 AT 

TURNSTILE Instructions 

(V11/19)


Unpacking the turnstile


First remove the top cover of the wooden crate, then the side cover. The turnstile inside the 

crate can now be pulled out of the crate. Do not remove the plastic wrapping until the turn- 

stile is ready to be used as this will prevent any damage to the stainless steel cabinet. 

Summary of Contents for TRISTAR J18 AT

Page 1: ...TAR J18 AT TURNSTILE Instructions V11 19 Unpacking the turnstile First remove the top cover of the wooden crate then the side cover The turnstile inside the crate can now be pulled out of the crate Do...

Page 2: ...environment 30 70 Relative humidity 95 3 Standard features 3 1 Easy set up using the LED display 3 2 Accurate positioning using the encoder 3 3 The control panel shows the status of all key component...

Page 3: ...nter can be connected to count the number of people passing through the turnstile 4 3 RS485 communication PC command through serial port 4 4 Audible and or visual alarm to indicate attempted forced en...

Page 4: ...4 7 Z3D001A Control Panel...

Page 5: ...a self test the turnstile is now ready set the parameters 8 1 Main board control buttons and LED display Figure 11 Digital Tube 8 2 Parameter set up For example If you wish to change parameter P 01 c...

Page 6: ...e turnstile Value is 0 70 default 50 P 10 Reset speed when the bar is off center The value is 0 50 The larger the value the more accurate the accuracy but the greater the jitter default 34 P 11 Speed...

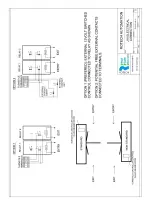
Page 7: ...status indicator blue light ZYL status indicator yellow light IO5 Alarm interface ALM Alarm output signal ALM Alarm output signal ALM GND IO7 Forward reversed counting Arm drop signal input B1 Reserv...

Page 8: ...wear if OK add lubricant Arm is slow returning to start position Adjust tension springs Emergency arm drop off not working or arm won t lock in position when power on Adjust the position of the relea...

Page 9: ...Dimensions NOTE The concrete pad should be 20Mpa min 150 mm thick cured for 7 days on a suitably compacted foundation Hold down anchors 4 to be 12mm dia x 100mm into the concrete Control panel in Entr...

Page 10: ...al cleaning wipe down exterior surfaces with thinners then polish with stainless steel polish If outdoor polish every 3 months In wet environments daily cleaning with water polish every 4 weeks to pre...

Page 11: ......

Reviews: