background image

USING THE UNIT SAFELY

   .  .  .  .  .  .  .  .  .  .  .  .  .  .  .  .  .  .  .  .  .  .  .  .  .  .  .  .  .  .  .  .  2

IMPORTANT NOTES

   .  .  .  .  .  .  .  .  .  .  .  .  .  .  .  .  .  .  .  .  .  .  .  .  .  .  .  .  .  .  .  .  .  .  .  .  .  4

Getting Ready

   .  .  .  .  .  .  .  .  .  .  .  .  .  .  .  .  .  .  .  .  .  .  .  .  .  .  .  .  .  .  .  .  .  .  .  .  .  .  .  .  .  .  .  5

Making the Power Automatically Turn off After a Time 

(AUTO OFF)

   .  .  .  .  .  .  .  .  .  .  .  .  .  .  .  .  .  .  .  .  .  .  .  .  .  .  .  .  .  .  .  .  .  .  .  .  .  .  .  .  .  .  .  .  .  .  10

Making Hi-Hat Settings

   .  .  .  .  .  .  .  .  .  .  .  .  .  .  .  .  .  .  .  .  .  .  .  .  .  .  .  .  .  .  .  .  .  .  .  10

Performing

   .  .  .  .  .  .  .  .  .  .  .  .  .  .  .  .  .  .  .  .  .  .  .  .  .  .  .  .  .  .  .  .  .  .  .  .  .  .  .  .  .  .  .  .  .  .  15

Drum Kits and Instruments

   .  .  .  .  .  .  .  .  .  .  .  .  .  .  .  .  .  .  .  .  .  .  .  .  .  .  .  .  .  .  .  .  15

Selecting a Drum Kit

   .  .  .  .  .  .  .  .  .  .  .  .  .  .  .  .  .  .  .  .  .  .  .  .  .  .  .  .  .  .  .  .  .  .  .  .  .  .  15

Selecting a Drum Kit from the List

   .  .  .  .  .  .  .  .  .  .  .  .  .  .  .  .  .  .  .  .  .  .  .  .  .  15

Cross-Stick Function

   .  .  .  .  .  .  .  .  .  .  .  .  .  .  .  .  .  .  .  .  .  .  .  .  .  .  .  .  .  .  .  .  .  .  .  .  .  15

Playing with the Click

   .  .  .  .  .  .  .  .  .  .  .  .  .  .  .  .  .  .  .  .  .  .  .  .  .  .  .  .  .  .  .  .  .  .  .  .  .  16

Performing Along with a Song

   .  .  .  .  .  .  .  .  .  .  .  .  .  .  .  .  .  .  .  .  .  .  .  .  .  .  .  .  16

Performing Along with an Audio Player Song

   .  .  .  .  .  .  .  .  .  .  .  .  .  .  16

Performing Along with a TD-50X Song

   .  .  .  .  .  .  .  .  .  .  .  .  .  .  .  .  .  .  .  .  16

Rhythm Training (Coach Mode)

   .  .  .  .  .  .  .  .  .  .  .  .  .  .  .  .  .  .  .  .  .  .  .  .  .  .  .  .  17

Correctly Playing in Time with the Beat (TIME CHECK)

   .  .  .  .  .  .  17

Developing Internal Timing Sense (QUIET COUNT)

   .  .  .  .  .  .  .  .  .  18

WARM UPS

   .  .  .  .  .  .  .  .  .  .  .  .  .  .  .  .  .  .  .  .  .  .  .  .  .  .  .  .  .  .  .  .  .  .  .  .  .  .  .  .  .  .  .  .  .  .  18

Registering/Recalling Favorite Drum Kits (FAVORITE)

   .  .  .  .  .  .  .  19

Recording

   .  .  .  .  .  .  .  .  .  .  .  .  .  .  .  .  .  .  .  .  .  .  .  .  .  .  .  .  .  .  .  .  .  .  .  .  .  .  .  .  .  .  .  .  .  .  .  20

Recording a Performance

   .  .  .  .  .  .  .  .  .  .  .  .  .  .  .  .  .  .  .  .  .  .  .  .  .  .  .  .  .  .  .  .  .  20

Recording Your Performance Along with a Song

   .  .  .  .  .  .  .  .  .  .  .  20

Recording on a Connected Computer

   .  .  .  .  .  .  .  .  .  .  .  .  .  .  .  .  .  .  .  .  .  .  21

Installing the USB Driver

   .  .  .  .  .  .  .  .  .  .  .  .  .  .  .  .  .  .  .  .  .  .  .  .  .  .  .  .  .  .  .  .  .  .  21

Customizing a Kit

   .  .  .  .  .  .  .  .  .  .  .  .  .  .  .  .  .  .  .  .  .  .  .  .  .  .  .  .  .  .  .  .  .  .  .  .  .  .  .  22

Editing an Instrument (INSTRUMENT)

   .  .  .  .  .  .  .  .  .  .  .  .  .  .  .  .  .  .  .  .  .  22

Selecting an Instrument

   .  .  .  .  .  .  .  .  .  .  .  .  .  .  .  .  .  .  .  .  .  .  .  .  .  .  .  .  .  .  .  .  .  .  22

Simulating the Ambience of a Performance Space 

(AMBIENCE)

   .  .  .  .  .  .  .  .  .  .  .  .  .  .  .  .  .  .  .  .  .  .  .  .  .  .  .  .  .  .  .  .  .  .  .  .  .  .  .  .  .  .  .  .  .  .  23

Editing the Mixer (MIXER)

   .  .  .  .  .  .  .  .  .  .  .  .  .  .  .  .  .  .  .  .  .  .  .  .  .  .  .  .  .  .  .  .  .  23

Adjusting the Volume of Each Pad

   .  .  .  .  .  .  .  .  .  .  .  .  .  .  .  .  .  .  .  .  .  .  .  .  23

Applying Effects

   .  .  .  .  .  .  .  .  .  .  .  .  .  .  .  .  .  .  .  .  .  .  .  .  .  .  .  .  .  .  .  .  .  .  .  .  .  .  .  .  .  23

Comparing with or Reverting to the Unedited Drum Kit 

(SNAPSHOT)

   .  .  .  .  .  .  .  .  .  .  .  .  .  .  .  .  .  .  .  .  .  .  .  .  .  .  .  .  .  .  .  .  .  .  .  .  .  .  .  .  .  .  .  .  .  .  24

Editing a Drum Kit (MENU)

   .  .  .  .  .  .  .  .  .  .  .  .  .  .  .  .  .  .  .  .  .  .  .  .  .  .  .  .  .  .  .  .  24

Setting the Volume

   .  .  .  .  .  .  .  .  .  .  .  .  .  .  .  .  .  .  .  .  .  .  .  .  .  .  .  .  .  .  .  .  .  .  .  .  .  .  24

Specifying the Illumination Color of the [KIT] Button and 

Knobs

   .  .  .  .  .  .  .  .  .  .  .  .  .  .  .  .  .  .  .  .  .  .  .  .  .  .  .  .  .  .  .  .  .  .  .  .  .  .  .  .  .  .  .  .  .  .  .  .  .  .  .  25

Renaming the Drum Kit

   .  .  .  .  .  .  .  .  .  .  .  .  .  .  .  .  .  .  .  .  .  .  .  .  .  .  .  .  .  .  .  .  .  .  25

Importing and Playing Audio Files (USER SAMPLE)

   .  .  .  .  .  .  .  .  .  25

Importing an Audio File

   .  .  .  .  .  .  .  .  .  .  .  .  .  .  .  .  .  .  .  .  .  .  .  .  .  .  .  .  .  .  .  .  .  .  26

Assigning a User Sample to an Instrument and Playing It

   .  .  .  26

Settings

   .  .  .  .  .  .  .  .  .  .  .  .  .  .  .  .  .  .  .  .  .  .  .  .  .  .  .  .  .  .  .  .  .  .  .  .  .  .  .  .  .  .  .  .  .  .  .  .  .  27

Trigger Settings

   .  .  .  .  .  .  .  .  .  .  .  .  .  .  .  .  .  .  .  .  .  .  .  .  .  .  .  .  .  .  .  .  .  .  .  .  .  .  .  .  .  .  27

Specifying the Pad Type

   .  .  .  .  .  .  .  .  .  .  .  .  .  .  .  .  .  .  .  .  .  .  .  .  .  .  .  .  .  .  .  .  .  .  27

Adjusting the Sensitivity of Individual Pads

   .  .  .  .  .  .  .  .  .  .  .  .  .  .  .  .  27

Backing Up Data

   .  .  .  .  .  .  .  .  .  .  .  .  .  .  .  .  .  .  .  .  .  .  .  .  .  .  .  .  .  .  .  .  .  .  .  .  .  .  .  .  .  .  28

Backing Up to SD Card

   .  .  .  .  .  .  .  .  .  .  .  .  .  .  .  .  .  .  .  .  .  .  .  .  .  .  .  .  .  .  .  .  .  .  .  28

Loading Backup Data from an SD Card

   .  .  .  .  .  .  .  .  .  .  .  .  .  .  .  .  .  .  .  .  28

Formatting an SD Card

   .  .  .  .  .  .  .  .  .  .  .  .  .  .  .  .  .  .  .  .  .  .  .  .  .  .  .  .  .  .  .  .  .  .  .  .  29

Settings for the Entire TD-50X (SETUP)

   .  .  .  .  .  .  .  .  .  .  .  .  .  .  .  .  .  .  .  .  .  29

Returning to the Factory Settings

   .  .  .  .  .  .  .  .  .  .  .  .  .  .  .  .  .  .  .  .  .  .  .  .  .  29

Main Specifications

   .  .  .  .  .  .  .  .  .  .  .  .  .  .  .  .  .  .  .  .  .  .  .  .  .  .  .  .  .  .  .  .  .  .  .  .  .  30

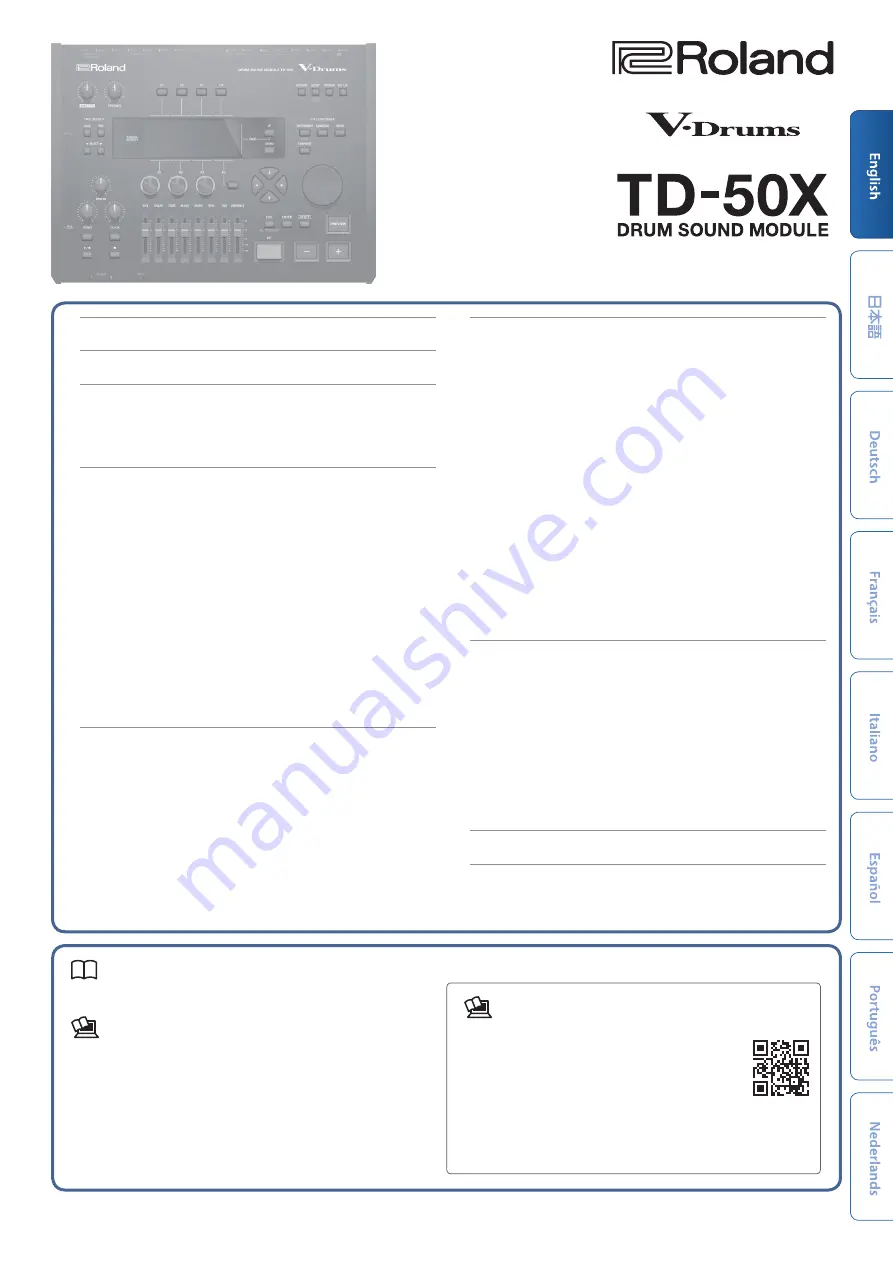
 Quick Start (this document)

Read this first. It explains basic operation.

 PDF Manual (download from the web)


5

Reference Manual

This explains all the functions of the TD-50X.


5

Data List

This explains the parameters and sound of the TD-50X.


5

MIDI Implementation

This is detailed information about MIDI messages.

 To obtain the PDF manual

1 . 

Enter the following URL in your 

computer.

http://www .roland .com/support/

I

2 . 

Choose “TD-50X” as the product name.

Before using this unit, carefully read “IMPORTANT SAFETY INSTRUCTIONS” (inside front cover), “USING THE UNIT SAFELY” (p. 2), and “IMPORTANT NOTES” 

(p. 4). After reading, keep the document(s) where it will be available for immediate reference.
© 2021 

Roland Corporation

Quick Start

Summary of Contents for V-Drums TD-50X

Page 1: ...Kit MENU 24 Setting the Volume 24 Specifying the Illumination Color of the KIT Button and Knobs 25 Renaming the Drum Kit 25 Importing and Playing Audio Files USER SAMPLE 25 Importing an Audio File 26...

Page 2: ...may cause hearing loss If you ever experience any hearing loss or ringing in the ears you should immediately stop using the unit and consult a specialized physician Do not allow foreign objects or liq...

Page 3: ...mulated Disconnect the power plug whenever the unit will not be used for an extended period of time Fire may result in the unlikely event that a breakdown occurs Route all power cords and cables in su...

Page 4: ...sliders or other controls and when using its jacks and connectors Rough handling can lead to malfunctions Never strike or apply strong pressure to the display When disconnecting all cables grasp the c...

Page 5: ...R1 R3 knobs rotary knobs The functions of these knobs changes depending on the indication in the display They adjust the values that are shown in the lower part of the display PAGE UP DOWN buttons By...

Page 6: ...ke large changes in edited values 8 KIT CUSTOMIZE INSTRUMENT button Allows you to specify an instrument sound By holding down the SHIFT button and pressing the INSTRUMENT button you can move directly...

Page 7: ...eadphones here Even if headphones are connected sound is output from the various output jacks MIX IN jack Connect your audio player smartphone or other audio playback device here Settings for pads tha...

Page 8: ...ording device If you want to output in mono connect only the L MONO jack of the MASTER OUT UNBALANCED jacks Pin assignment of the MASTER OUT BALANCED jacks G TRIGGER IN jack Connect cymbal hi hat kick...

Page 9: ...elapsed without any pad being struck or any operation being performed the unit will turn off automatically If the Auto Off function is set to OFF this screen won t appear MEMO If a pad that supports d...

Page 10: ...auto off function is set to 4 HOURS the message WARNING AUTO OFF The TD 50X will turn off in 30 min will appear 30 minutes before turning the TD 50X off Making Hi Hat Settings When using the VH 14D d...

Page 11: ...5 EXECUTE button The VH Offset parameter is set automatically approx 3 seconds The TRIGGER button stops flashing and remains lit 8 Press the KIT button to return to the DRUM KIT screen If you need mak...

Page 12: ...witching tabs and specifying functions F1 F5 buttons R1 R3 knobs You can use the F1 F5 buttons to switch the tabs that are shown at the top of the display or specify the functions that are shown at th...

Page 13: ...ou play rim shots changes the nuance Normal rim shot Open rim shot Strike the head and rim simultaneously Shallow rim shot Simultaneously strike the head near the rim and the rim itself Hi Hat Open cl...

Page 14: ...ation Bell shot This is the technique of striking the bell When the bell area shown in the illustration is struck the bell sound is heard Connect a compatible pad to the TRIGGER IN 10 RIDE BELL jack o...

Page 15: ...een appears 2 Use the buttons or dial to select a drum kit About the DRUM KIT screen This is the TD 50X s main screen it will appear when you press a KIT button Drum kit number User sample icon shown...

Page 16: ...rtphone to the MIX IN jack and perform along with a song 1 Connect an audio player to the MIX IN jack p 7 p 8 2 Play back the audio player 3 Turn the MIX IN knob to adjust the volume of the song Perfo...

Page 17: ...ch Mode which are designed to make your practicing as effective as possible This provides three menus TIME CHECK QUIET COUNT and WARM UPS These help you improve your speed control accuracy and enduran...

Page 18: ...ccording to your level of skill MEMO After starting WARM UPS you can press the F5 PAUSE button to pause or resume While paused you can press the F4 STOP button to stop 1 In the WARM UPS screen press t...

Page 19: ...ress the F3 FAVORITE button 5 Turn the R2 knob to turn favorites ON 6 Press the KIT button to return to the DRUM KIT screen Drum kits that are registered as a favorite will show an icon in the DRUM KI...

Page 20: ...s the s button to start recording 5 Press the s button once again to stop recording Playback 6 Press the s button The recorded performance plays back MEMO You can also turn the R1 knob to select anoth...

Page 21: ...For details refer to Reference Manual PDF Installing the USB Driver The USB driver is software that transfers data between the TD 50X and your computer software In order to transmit and receive audio...

Page 22: ...ess the F1 INST button 4 Select the pad that you want to edit 5 Turn the R1 knob to select an instrument 6 Press the KIT button to return to the DRUM KIT screen For details on the instruments that you...

Page 23: ...s the MIXER button The Mixer setting screen appears 2 Select the pad that you want to edit p 22 3 Edit the mixer settings 4 Press the KIT button to return to the DRUM KIT screen Adjusting theVolume of...

Page 24: ...nt drum kit settings F2 STOCK button Drum kit settings saved in STOCK F3 UNDO button Settings immediately after selecting the drum kit 7 If you want to return the current drum kit settings to the stat...

Page 25: ...nation Cursor buttons Move the cursor to the character that you want to change buttons dial Change the character R1 ABC knob Select uppercase characters R2 abc knob Select lowercase characters R3 123...

Page 26: ...t contains no data MEMO You can import multiple audio files all at once IMPORT ALL For details refer to Reference Manual PDF 7 Press the F5 IMPORT button A confirmation message appears If you decide t...

Page 27: ...ank number Trigger type 4 Select the pad that you want to edit p 22 You can also use the cursor buttons to make a selection Pad Explanation K KICK S SNARE T1 4 TOM1 4 HH HI HAT C1 2 CRASH1 2 R RIDE A1...

Page 28: ...he F5 SAVE button MEMO If you want to assign a name to the backup data press the F4 NAME button and assign a name p 25 7 Press the F5 EXECUTE button A confirmation message appears If you decide to can...

Page 29: ...ings for the preview button the MIX IN jacks and the display CONTROL Assign functions to the footswitch and pads MIDI Make MIDI settings AUTO OFF Make AUTO OFF settings p 10 Menu Explanation INFO Chec...

Page 30: ...Storage approx 40 000 notes Export File Format WAV 44 1 kHz 16 bits SMF Display Graphic LCD 256 x 80 dots TRIGGER ACTIVITY Indicator LED Power Supply AC 117 V AC 220 V AC 230 V AC 240 V Power Consump...

Reviews: