background image

1

QUICK START

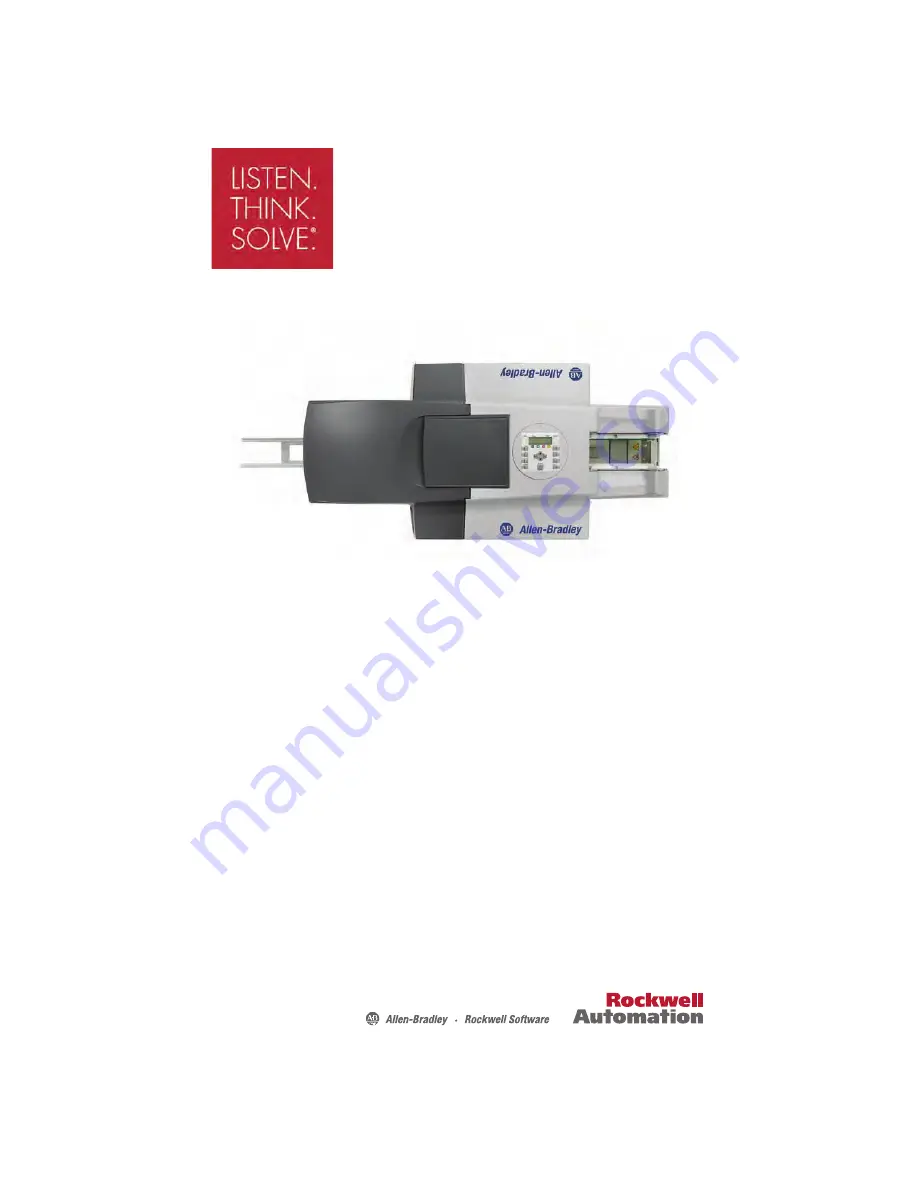
Bulletin 1492 Allen-Bradley ClearMark™ Printer

Table of Contents

Introduction

This guide provides the basic information required to start up your ClearMark printer. For 
detailed information on specific product features or configurations, refer to the ClearMark 
printer user manual, publication 1492-UM008*-EN-P. Read this guide carefully before you 
use the ClearMark printer and retain it for future reference.

Section

Page

Unpacking and Inspecting

2

Installation Requirements

3

Preparing the System

3

Driver and Software Installation

5

Calibrating the ClearMark Printer

8

Printing with the ClearMark Printer

13

Summary of Contents for Allen-Bradley ClearMark

Page 1: ...cific product features or configurations refer to the ClearMark printer user manual publication 1492 UM008 EN P Read this guide carefully before you use the ClearMark printer and retain it for future reference Section Page Unpacking and Inspecting 2 Installation Requirements 3 Preparing the System 3 Driver and Software Installation 5 Calibrating the ClearMark Printer 8 Printing with the ClearMark ...

Page 2: ...e 4 Check the delivery contents Printer Power cord USB cable Quick Start Guide this document ClearMark Printer user manual ClearTools Software user manual Printer driver and ClearTools software CD Two marker cards Cat No 1492 M5X5 Output rail Grips ATTENTION Printer weight is approximately 65 lb Always use two people and make use of the grips when moving ...

Page 3: ...0 60 Hz 4 A Figure 2 Printer Overview and Clearance Requirements in mm Preparing the System Figure 3 Insert output rail 1 Insert the output rail Maintenance Cover for Printing System Ink Cartridge Cover Operating and Control Panel Display Maintenance Cover for Waste Pad Output Rail Loader Input 9 84 250 mm 7 87 100 mm 9 84 250 mm 3 94 100 mm 3 94 100 mm ...

Page 4: ... cards into the printer see picture on printer for insertion Figure 5 Power and data connections 3 Make the necessary power and data connections ATTENTION Do not open the printer covers during operation Power Cord USB Cable Network Cable if desired ...

Page 5: ...ve The CD starts automatically If not locate setup exe found on the CD 2 Please select your language and confirm by clicking the button Figure 7 Printer Driver Installation 1 First install the printer driver a Select Install Printer Driver ClearMark Printer 32 bit Vista XP Win2000 Windows 7 or 64 bit Windows Vista Windows 7 ...

Page 6: ...Connect with USB cable and click Next 4 Confirm that the printer is off and click Next 5 Turn on the printer 6 Click No for default printer 7 Choose Never display status monitor and click Next Figure 8 Status Monitor 8 Click Finish The driver is now installed ...

Page 7: ...Select Install Software ClearTools Vista XP Win2000 Windows 7 Figure 9 Software Installation 10 Click Next 11 Accept the license agreement and click Next 12 Click Next 13 Click Install 14 Click Finish The ClearTools software is now installed ...

Page 8: ...t column 5 marker tags down place a capital X as shown See Figure 10 Note It is critical to select this tag Figure 10 4 On the display on the top of the printer press the Heating 1 and Heating 2 buttons so that the LED lights are off a The printed card can be cleaned with water and used again b The distances required for calibrating the printer are not distorted by the heat effects 5 Select File P...

Page 9: ...e 11 Figure 11 7 Click Map The 1492 M5X5 is now linked to this printer 8 Click OK with the As Printer selected See Figure 11 9 Click Calibration 10 Verify a value of 7 in the box marked Left and a 66 in the box marked Top See Figure 12 11 Click Save Figure 12 7 6 9 13 8 11 10 ...

Page 10: ...aximum increments of 0 5 mm 18 After making a change Click Save Then click Print to check the card a If centered go to step 19 If not go back to step 15 Figure 13 Figure 14 If X appears on this half of the card increase the Left number to move it back to center If X appears on this half of the card decrease the Left number to move it back to center If X appears on this half of the card increase th...

Page 11: ...st column because it will not move with these upcoming changes 20 Go to File Print and click Print Figure 15 21 If the X is centered you are done calibrating and are ready to print See section on printing 22 If the X is not centered Go to File Set Printer Correction See Figure 16 Figure 16 19 21 25 23 24 ...

Page 12: ...rMark printer on page 13 If not centered go back to Step 22 If X appears on this half of the card decrease the Actual Width X number to move it back to center If X appears on this half of the card increase the Actual Width X number to move it back to center If X appears on this half of the card increase the Actual Height Y number to move it back to center If X appears on this half of the card decr...

Page 13: ...t catalog select a desired card Ex 1492 M5X10 from the variant list and double click on it Figure 19 3 To select all the cells on the marker card hit Ctrl A Or select Edit Select All Figure 20 4 Select the consecutive numbering icon from the toolbar has 1 2 3 on it or hit F8 on the keyboard See Figure 20 4 ...

Page 14: ...utive Numbering 5 Click OK and the card will be numbered 1 through 144 See Figure 21 Figure 22 6 If desired the direction of the text can be changed by clicking the orientation icons See Figure 22 7 Select File Print 5 6 ...

Page 15: ...the GelSprinter GX 3000 3050N printer driver 9 Click Map Note Every time you are printing a new type of marker card for the first time you must map the printer prior to printing 10 Click Print to print the marked card Figure 23 9 9 10 8 ...

Page 16: ... October 2011 Copyright 2011 Rockwell Automation Inc All Rights Reserved Printed in Germany Allen Bradley Listen Think Solve Rockwell Automation Rockwell Software ClearMark and ClearTools are trademarks of Rockwell Automation Inc ...

Reviews: