Summary of Contents for Videomatic VEO
Page 1: ...User manual Videomatic VEO EN ...
Page 2: ......
Page 4: ...Place and date of issue ...
Page 13: ......
Page 31: ...Notes ...
Page 32: ......
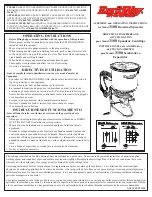
The Reinecker Videomatic VEO is a cutting-edge assistive technology device designed to help individuals with visual impairments. Enhance your independence with this advanced solution, and get started by downloading the free user manual available exclusively at manualshive.com. It's your one-stop resource for all the necessary instructions and guidance.
Page 1: ...User manual Videomatic VEO EN ...
Page 2: ......
Page 4: ...Place and date of issue ...
Page 13: ......
Page 31: ...Notes ...
Page 32: ......