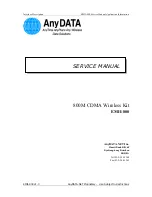
1. Insert the SIM card,
according to the picture
to the right.
Check before inserting:
a. SIM card must be active
(some GSM providers
insist that the SIM card is
registered before use).
b. That you have credits on
your prepaid phone card
c. That the PIN code is inactive and that no voice
mail is activated (check by inserting the card into a
mobile phone) Check with your GSM provider if you
are not sure.
d. Caller ID support (verify that the telephone num-
ber of incoming calls are displayed by inserting the
SIM card into a mobile phone)
e. Check that you inserted the SIM card the right
way up (see the picture above)
f. The unit must be turned off before you insert the
SIM card (there should be no connection
to ground, and no connection between the two
black cables). This is also what you should do if you
want to disengage the alarm during a longer period
– make sure there is no connection to ground or
between the two black cables.
Take your time while following the instructions be-
low. Should it take too long between each step the
alarm will go into its “sleep mode”. Wake it up again,
simply by pressing the unlock-button on the remote
control. When pressing the unlock-button, the RF
LED should be turned on. This means the remote
control has contact with the SBX-3. If this doesn’t
work, see SBX-3 operating manual.
2. Connect the SBX-3 as shown in the diagram on
the next page. The red cable is connected to (+) and
the two black cables to ground (-). If the grey cable
is not being used, connect it to ground (-). Make
sure you have good GPS - & GSM reception.
3. Now the SBX-3 unit will read the SIM card. The
red GPS LED is on and the green SYS LED is flas
-
hing.
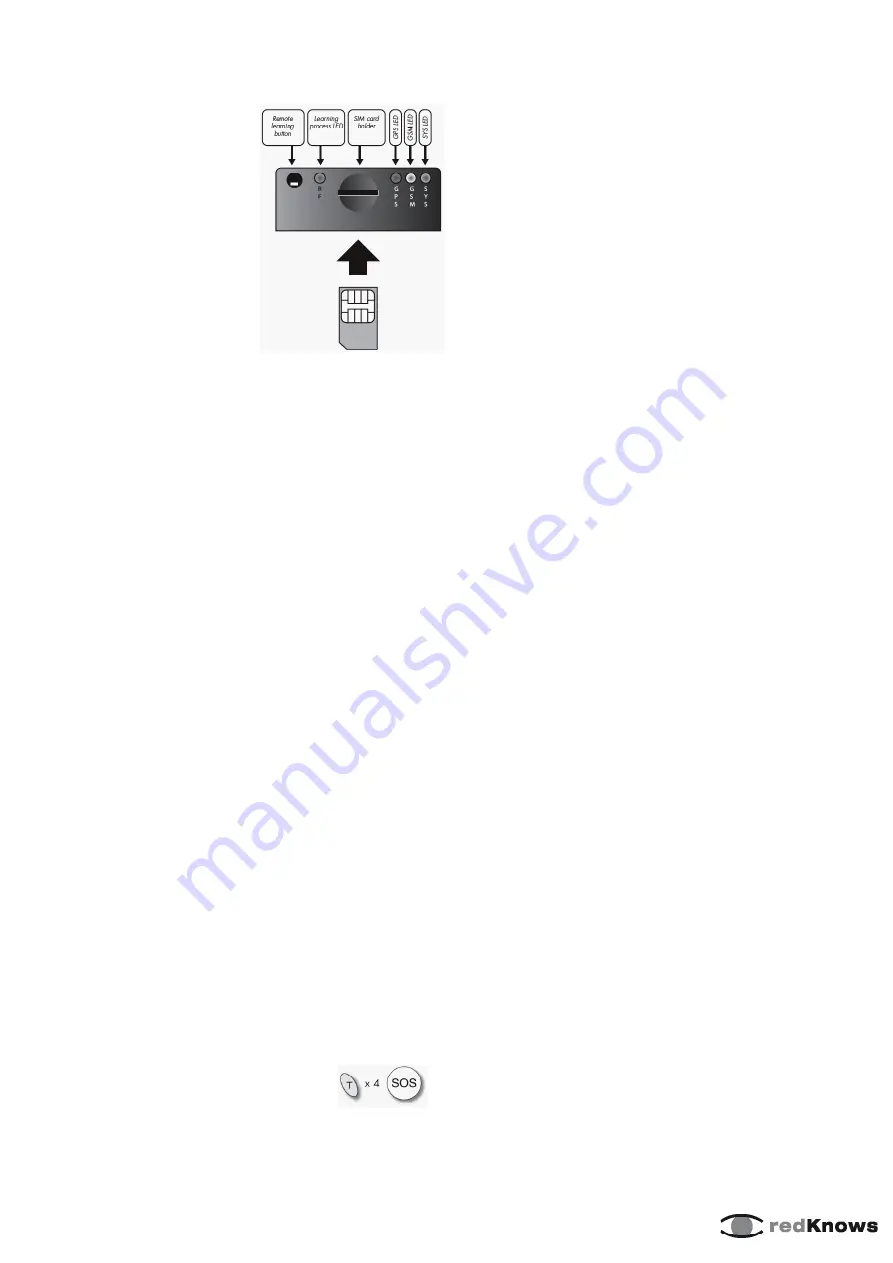
4. Press the T button four times
on the remote control, and then
the SOS button once. The SIM card
is initialized with the basic settings (SETUP code
and phone book entries). The red GPS LED is flas
-
hing, and the green SYS LED is on.
5. Wait until both the yellow GSM LED and the
green SYS LED are flashing. The red GPS LED
should be on, steady or flashing, depending on
whether it has established contact with the GPS sa-
tellites. In other words, all LEDs are flashing when
the system is activated! (You don’t have to wait for
the red LED to start flashing before you go to step
6.)
Note!
The red GPS LED should have started to
flash within 60 minutes from activating the alarm.
6. Now it is time to enter www.redknows.com and
specify the phone numbers that should receive
SMS from the SBX-3, and which number that
should receive status SMS or listen through the
microphone.
Click on “EZStart redKnows” in the menu and
create a personal account by entering an e-mail
address as your user name and a password. If
needed, change language in the menu at the upper
right. The account you create is personal. Save you
user name and password!
a. Click on flap 2, Personal info, and enter your
personal information. Don’t forget to save! (Click
on SAVE) At the bottom of the page is the button
”Generate Document”, you click on when you want
to print out a document to send to your insurance
company (in case they will give you a discount for
installing a GPS alarm & tracking system).
b. Continue to flap 3, Checklist and do the check
stated before you continue with the next step.
c. Basic Setup, flap 4. Enter the mobile phone
number (SIM-card number) for the SBX-3 and the
mobile number for alarm receiver 1 (e.g your own
mobile phone). Don’t forget to save before continu-
ing to the next step! (click on SAVE)
d. Flap 5, Advanced settings. Under advanced set-
tings you can choose to enter mobile numbers to
other alarm receivers. At the bottom of the page you
enter the settings for the Geofence alarm. We re-
commend to set the Geofence at 0,08. Don’t forget
to click on SAVE.
e. Continue to Send, flap 6. By clicking on the Send
button one or two SMS will be created, depending
on the amount of information in the message. If
two SMS are being created, you will have to click
on send once more after a couple of minutes. The
information is sent to your SBX-3.
Quickstart - redKnows SBX-3 Mini Tracker
TURN OVER