

Please read this user’s guide before
installing, setting up and using your new product
www.radioshack.com
Your mouse comes with two AAA rechargeable batteries. Additional batteries are available at RadioShack
or online at www.radioshack.com.
26-765
27 MHz RF Wireless
Rechargeable Optical Mouse
Thank you for purchasing your Wireless
Rechargeable Optical Mouse from RadioShack. Your
new mouse operates with digital radio technology.
You can use the mouse on any computer equipped
with a USB interface. Your mouse uses radio
frequencies to send data to the tranceiver, which
forwards the data to your computer. It can operate
on one of two channels, CH1 and CH2.
Two RadioShack NiMH Rechargeable Batteries
User’s Guide
PS/2 Connector
Install CD
Charging Base
(Tranceiver)
27 MHz RF Wireless
Rechargeable Optical Mouse
AC Adapter
battery notes
• It takes about 12-16 hours to fully charge the batteries
for the fi rst time and about 2 hours thereafter.
• Dispose of old batteries promptly and properly.
• Do not burn or bury batteries.
• Use only fresh batteries of the required size and
recommended type.
• Do not mix batteries of different sizes or chemistries.
• If you do not plan to use your mouse for a week
or more, remove the batteries. Batteries can leak
chemicals that can damage electronic parts.
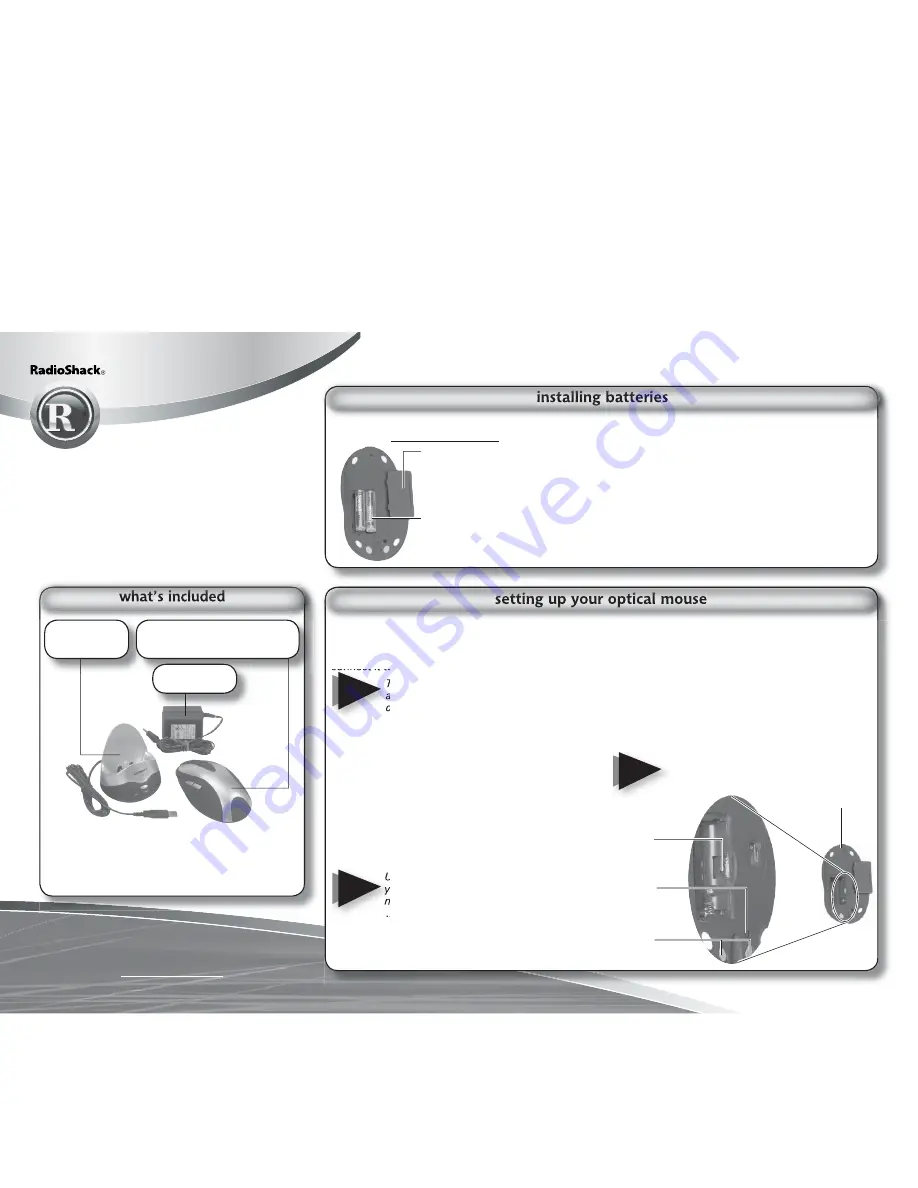
1. Remove
the
battery
compartment cover on the
bottom of the mouse. Replace
when fi nished.
2. Insert batteries as indicated by
the polarity symbols (+ and -)
marked inside the battery
compartment.
connect the tranceiver
Connect the tranceiver’s cable to the USB port
on your computer, or use the PS/2 connector to
connect it to your PS/2 port.
The tranceiver has two lights “CHARG”
and “RX,” indicating the state of
charging and connection.
NOTE
set the channel
You can choose one of two channels,
CH1
and
CH2
. Remove interference by changing the
channel.
1. Remove the battery compartment cover on the
mouse. Slide the
CH1/CH2
switch inside the
compartment to the desired setting. Replace
the cover.
2. Press the
CONNECT
button on the tranceiver.
3. Press the
CONNECT
button on the bottom of
the mouse.
If you notice any interference, due to
the presence of another wireless optical
mouse, change the channel.
install the mouse driver
Your mouse works with Microsoft Windows
98/2000/ME/XP/NT.
1. Exit all open Windows applications.
2. Insert the supplied Install CD into your CD-ROM
driver.
3. If you do not have auto-run set on your
computer, go to My Computer, double-click on
your CD-ROM drive, and select the setup fi le.
4. Follow the on-screen instructions to complete
the installation.
Uninstall your old mouse driver before
you install the software for your new
mouse.
If you change your mouse connection
(i.e.: from USB to PS/2 or vice versa),
you may have to reinstall the driver and
reset the mouse’s button functions.
NOTE
NOTE
CH1/CH2
switch
CONNECT
button
Charging
Contacts
Bottom view
of Mouse


