


email: [email protected]
Tel: 01452 733933 Fax 01452 733939
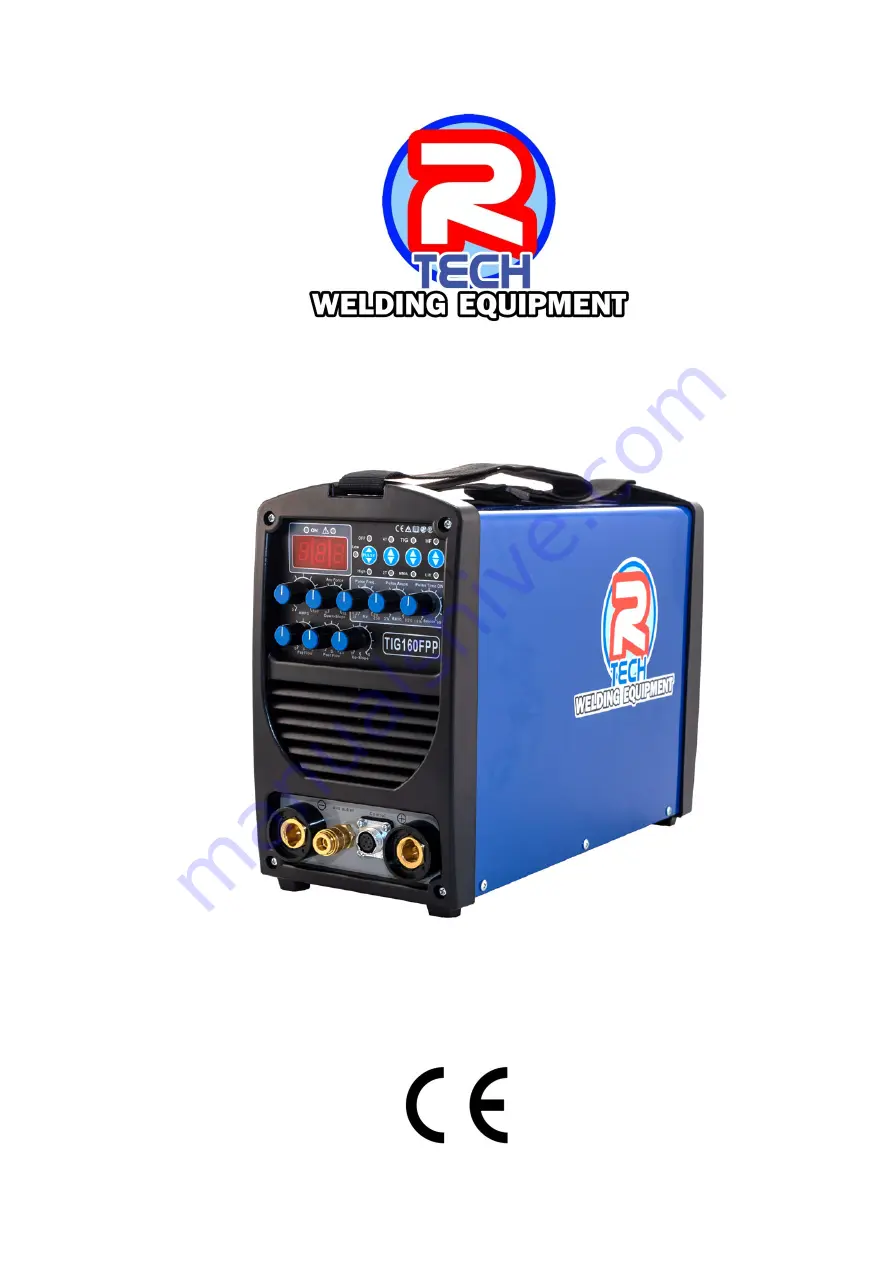
TIG160FPP DC TIG WELDER 240V
OPERATION INSTRUCTIONS
Version 2020-12
"R-Tech TIG160FPP" - компактный и мощный инверторный аппарат для TIG-сварки. На нашем сайте вы можете бесплатно скачать Руководство по эксплуатации для полного понимания всех функций и возможностей этого устройства. manualshive.com - ваш источник бесплатных руководств в формате PDF.
email: [email protected]
Tel: 01452 733933 Fax 01452 733939
TIG160FPP DC TIG WELDER 240V
OPERATION INSTRUCTIONS
Version 2020-12


