Psion Teklogix PX750, User Manual
The Psion Teklogix PX750 is a rugged and reliable handheld computer designed for tough working conditions. To make the most of your device, download the free User Manual from our website for detailed instructions on how to optimize its performance and functionality.
Share
Download


Reviews:
No comments
Related manuals for PX750

Handheld Device
Brand: Ogo Pages: 100

DS2Smart
Brand: ACD Pages: 63

Tungsten T
Brand: Palm Pages: 290
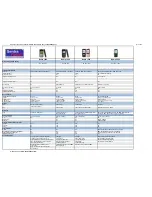
1200 - Cell Phone 4 MB
Brand: Nokia Pages: 14

1200 - Cell Phone 4 MB
Brand: Nokia Pages: 132

1200 - Cell Phone 4 MB
Brand: Nokia Pages: 77

HMT-1Z1
Brand: RealWear Pages: 106

Wireless i730 Windows Mobile 5.0 Update...
Brand: Samsung Pages: 12

GT78-V
Brand: AMobile Pages: 10

K430
Brand: AMobile Pages: 61

G47
Brand: AMobile Pages: 63


