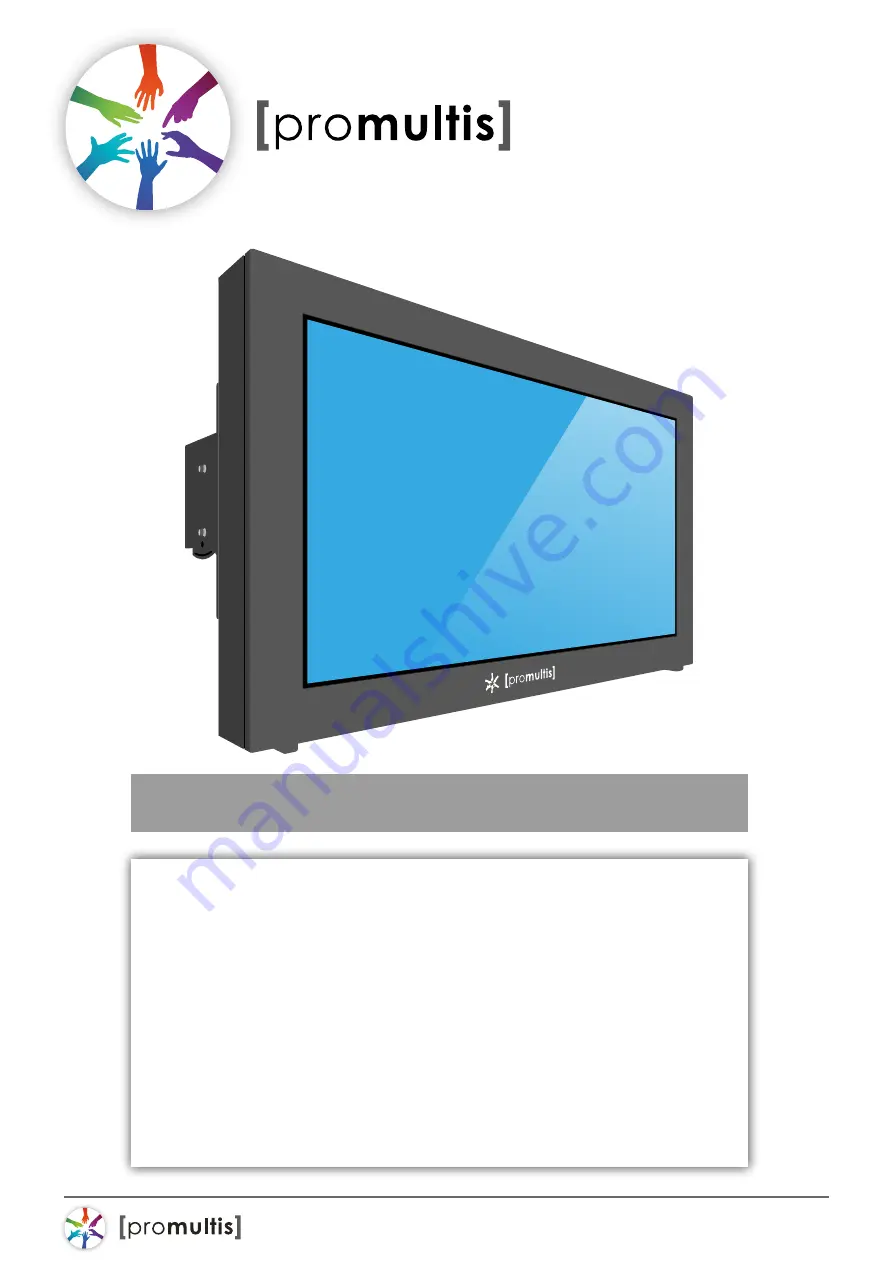
background image

For more exciting multitouch products visit

www.promultis.info

or call +44 (0) 239 251 2794

MULTITOUCH SOLUTIONS

U S E R ’ S  M A N U A L

CAUTION
• 

Changes or modifications not expressly approved by the party responsible 

for compliance could void the user’s authority to operate the equipment.

• 

This User’s Manual  includes detailed usage instructions for your product.


• 

Please read this manual thoroughly.

• 

Figures and illustrations in this User Manual are provided for reference only 

and may differ from actual equipment appearance. Equipment design 


and specifications may be changed without notice.


• 

Due to the processes required for manufacturing a large format Projected 

Capacitive product Promultis will only accept warranty requests for units 

that have a blemish, mark or smear on the touch skin that is 5% or larger 

than the total interactive area.

outdoor

screen

Summary of Contents for Outdoor Screen

Page 1: ...age instructions for your product Please read this manual thoroughly Figures and illustrations in this User Manual are provided for reference only and may differ from actual equipment appearance Equipment design and specifications may be changed without notice Due to the processes required for manufacturing a large format Projected Capacitive product Promultis will only accept warranty requests fo...

Page 2: ... liquid absorbent cloth prior to cleaning For more exciting multitouch products visit www promultis info or call 44 0 239 251 2794 MULTITOUCH SOLUTIONS outdoorscreen 1 Start up and shut down 1 The unit is plug and play 2 Connect the plug into socket and switch on 3 The screen will automatically power up directly into Windows 4 All settings and applications can be accessed via the touch screen ...

Page 3: ...romultis info or call 44 0 239 251 2794 MULTITOUCH SOLUTIONS outdoorscreen TOUCH SCREEN LOCKING CATCHES OPTIONAL DIGITAL SIGNAGE PLAYER PLAYER CONNECTIVITY MOUNTING BRACKET IP65 RATED OUTER CASING TIMER CONTROL SPEAKER AIRCON 3 Outdoor screen interior ...

Page 4: ...tal Signage Player 3 1 To initiate touch on the screen the unit requires to be connected to an appropriate Player 2 Connect the Device into the power socket and switch on 3 Connect a USB cable to the unit slot and the Device s USB slot 4 Connect a HDMI cable to the unit slot and the Device s HDMI slot 5 The screen should then have enabled touch ...

Page 5: ...ton week hour minute adjust to current time then press button clock then it will display the current time Step 3 Press button timer then the screen will display 1NO on the screen means the first time to turn on then press button week hour minute to setting the time to turn on Step 4 Again press button timer then the screen will display 1OFF means the first time to turn off then press week hour min...

Page 6: ... press button timer then the screen will display 2ON 2OFF 3ON 3OFF 7ON 7OFF you can follow these steps to setting the time to turn on off Step 6 Timer setting finished then press button clock then the screen will display the current time NOTE if you do not press clock it will go back to clock pattern after 30 seconds 5 Timer controller ...

Reviews: