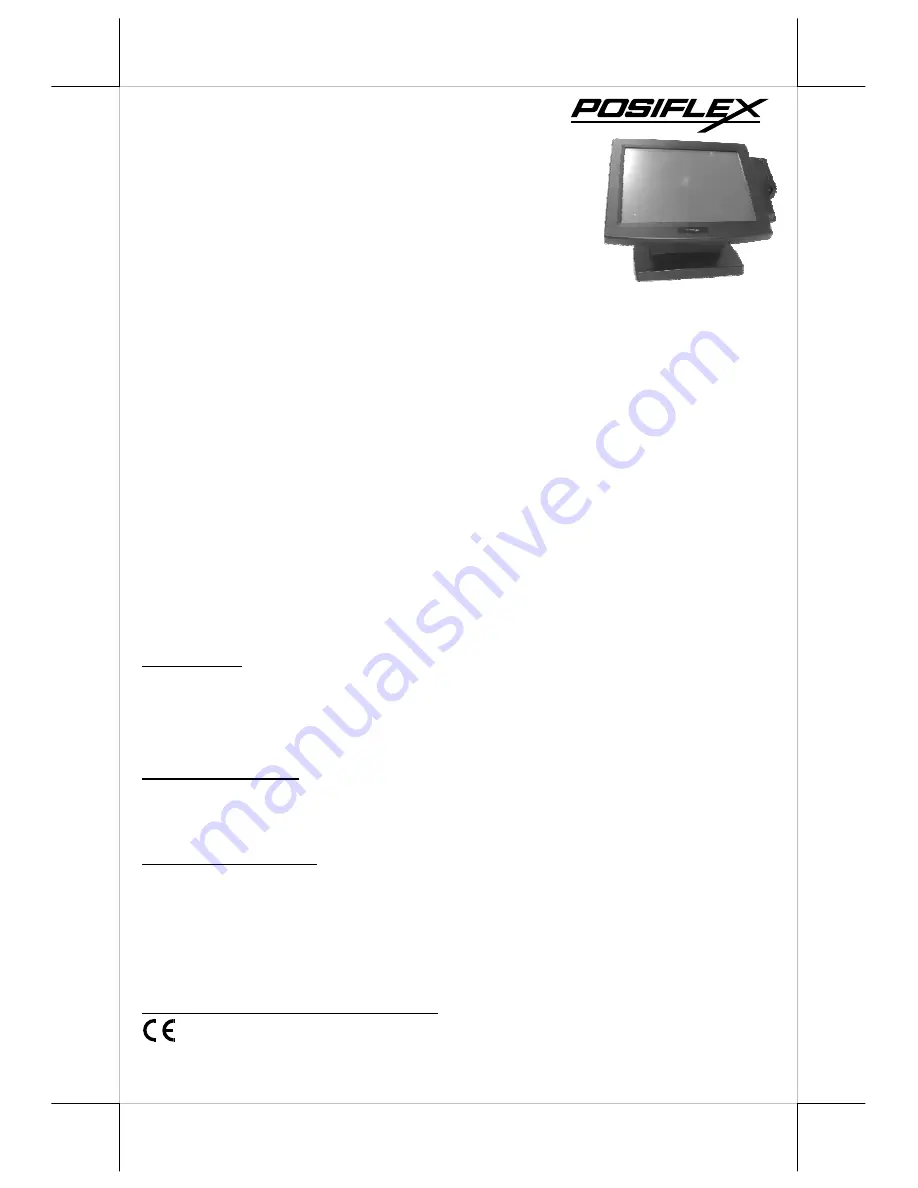
Part 1
I. FEATURES
•
Most stable 15” LCD monitor with tilt adjust for
industrial and commercial use.
•
Application covers POS, Factory Automation etc.
•
High quality 15” TFT LCD panel with scaling function for full screen
display
•
Easy maintenance structure allowing easy cleaning
•
Tilt adjustable yet robust and wobble free construction
•
Recommended LCD resolution: 1024 x 768
•
Resistive type extra long life touch panel in USB interface supports touch
panel function including left/right button, double click, drag & drop(For
TM-7115/7115N)
•
Touch beep can be pitch adjusted/enabled/disabled by software control(For
TM-7115/7115N)
•
Connect to host through VGA port plus USB port (for all models) and/or
COM port (for TM-7115/7115N’s RS232 touch model only)
•
Support 2 downlink USB ports
FCC NOTICE
This equipment generates, uses, and can radiate radio frequency energy and, if not installed and used in accordance with the
instructions manual, may cause interference to radio communications. It has been tested and found to comply with limits for a Class
A digital device pursuant to subpart J of Part 15 of FCC Rules, which are designed to provide reasonable protection against
interference when operated in a commercial environment. Operation of this equipment in a residential area is likely to cause
interference in which case the user at his own expense will be required to take whatever measures to correct the interference.
WARRANTY LIMITS
Warranty will terminate automatically when the machine is opened by any person other than the authorized technicians. The user
should consult his/her dealer for the problem happened. Warranty voids if the user does not follow the instructions in application of
this merchandise. The manufacturer is by no means responsible for any damage or hazard caused by improper application.
ABOUT THIS MANUAL
This manual assists the user to utilize the Touch Monitor TM-7115 & TM-7115N. This product provides exquisite touch control
capability over a stable and adjustable LCD monitor with minimal footprint.
The manufacturer of the LM-/TM-7115/7115N touch monitor heartily apologizes to the user for reserving the right to change or to
modify this manual without notice due to the rapid and constant progress and improvement on science and technology. The user
may always obtain the most up to date information through any of our web sites: http://www.posiflex.com,
http://www.posiflex.com.tw, http://www.posiflexusa.com.
©
Copyright Posiflex Technology, Inc. 2010
TRADE MARKS AND SERVICE MARKS
POSIFLEX is a registered trademark of Posiflex Technology, Inc.
Other brand and product names are trademarks and registered trademarks and service marks of their respective owners.
P/N:
19690900030
LM-/TM-7115/7115N
LCD Touch Monitor
User’s Manual
Rev. B0


