background image


D

igital 

M

ultimedia 

P

rojector 


User’s Manual  

Thank you very much for purchasing this DLP™ Technology Projector. 

Please read this operating guide to ensure correct use of the device. After reading this manual, keep it 
for future reference. 
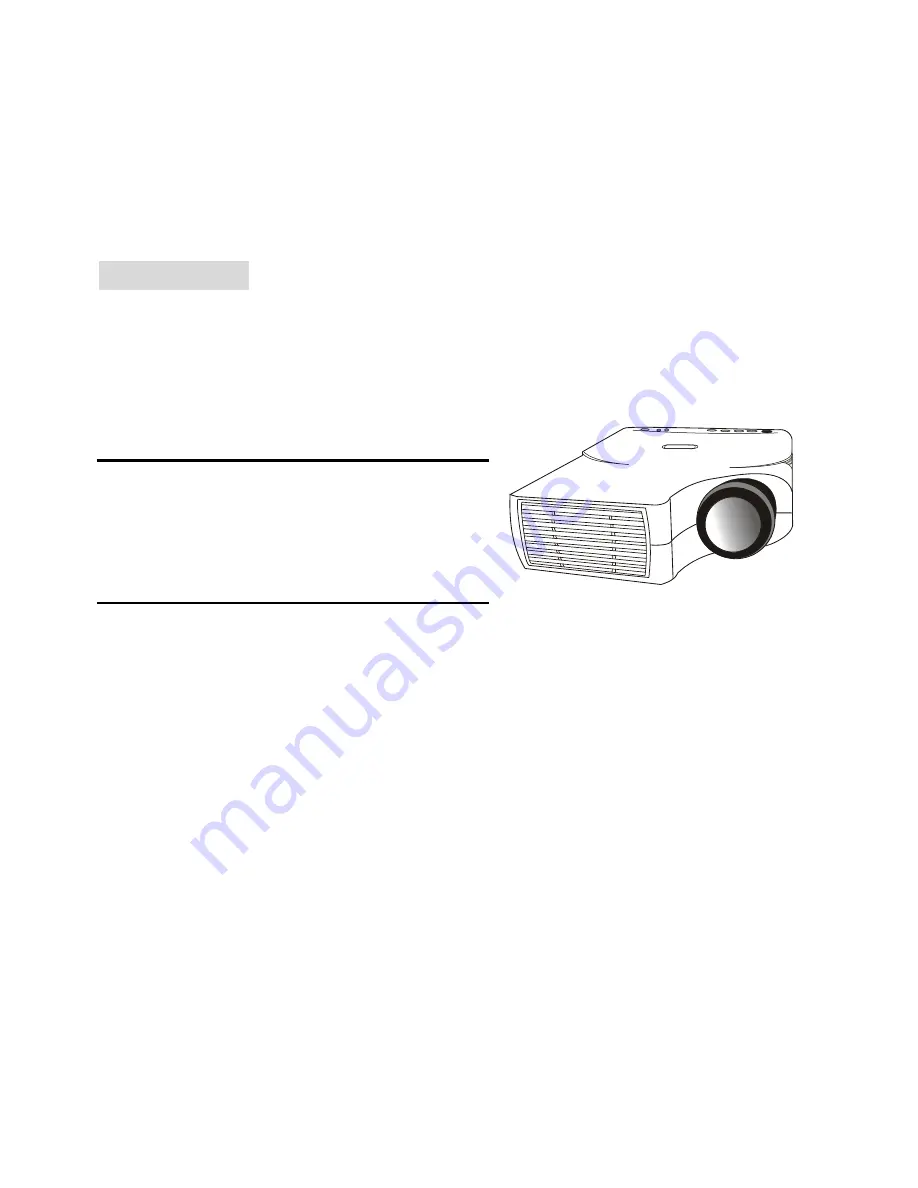


Outline 

This DLP™ Technology Projector can display various 
computer signals and NTSC/PAL/SECAM video signals. 


Features 

(1) 

High brightness 

(2) 

High resolution 

(3) 

Compact size, light weight for portability 

(4) 

RGB input terminal 

(5) 

RS232 Communication 

(6) 

Mouse emulation 

(7) 

Complies with VESA DDC1/2B specifications 


Summary of Contents for DLPTM Technology Projector

Page 1: ...the device After reading this manual keep it for future reference Outline This DLP Technology Projector can display various computer signals and NTSC PAL SECAM video signals Features 1 High brightness 2 High resolution 3 Compact size light weight for portability 4 RGB input terminal 5 RS232 Communication 6 Mouse emulation 7 Complies with VESA DDC1 2B specifications ...

Page 2: ...Read all of these instructions before you operate your projector and save for future reference 2 The lamp becomes extremely hot during operation Allow the projector to cool for approximately 45 minutes prior to removing the lamp assembly for replacement Do not operate lamps beyond the rated lamp life Excessive operation of lamps beyond rated life could cause them to explode in rare occasions 3 Pow...

Page 3: ... B Standby 8 External Control 8 A Control Pad 8 B Remote Control 10 Usage and Replacement of Lamp 12 A Lamp temperature Status LED Indicator 12 B Replacing the Lamp 13 OSD 15 Main OSD Menu 15 A Display Page 16 B Image Page 16 C Control Page 17 D Source Page 18 Other Correspondent Remote Functions and Messages 19 Maintenance and Troubleshooting 20 A Lamp Replacement 20 B Cleaning the Lens 20 C Trou...

Page 4: ......

Page 5: ... there is no keystone effect Even when projecting above or under the height of the line of vision image distortion if any can be adjusted using the hotkey KEYSTONE correction function E Multilanguage The OSD On Screen Display information screens and menus in 7 languages English French German Italian Spanish Simplified Chinese and Traditional Chinese provides you with additional information to help...

Page 6: ...on 2 SECAM France and Eastern Europe standard NTSC4 43 Middle East standard If users want to watch CATV AV box will serve the need Description A FRONT Figure 1 Front view B REAR Figure 2 Rear view C BOTTOM Figure 3 Bottom view ...

Page 7: ... 5 2 2 5 3 3 5 4 4 5 44 59 74 88 102 116 131 45 57 89 101 5 7 10 Max Zoom 30 44 59 74 88 102 116 131 145 203 300 Projection screen size diagonal length Min Zoom 23 34 45 57 68 79 89 101 112 154 225 Distance unit m 1 1 5 2 2 5 3 0 3 5 4 4 5 5 7 10 Figure 4 Positioning B Adjustable Feet Picture tilt and projection angle can be adjusted by twisting Adjustable Feet The projection angle can be adjusted...

Page 8: ...jector to prevent damage to the projector Caution The carry bag supplied is intended to protect the projector from dust and scratches on the surface of the cabinet It is not designed to protect the projector from external shock Do not transport the projector in an unsuitable transport case by using a courier or transport service This may cause damage to the projector Figure 6 Moving the projector ...

Page 9: ... are missing contact your dealer Please save the original box and packing materials in case you ever need to ship the unit Mac Adapter CDManual 15 pin D sub connector PS 2 Mouse adapter AAA Batteries User s Guide User s Guide Projector Remote Control ADB Mouse Adapter General Cable Serial Mouse Adapter Figure 7 Accessories ...

Page 10: ...User s Manual Connection 6 Connection A Connecting the Projector to Computer Notebook Figure 8 Connection to PC Figure 9 Connection to notebook 2 ...

Page 11: ...User s Manual Connection 7 B Connecting the Projector to Macintosh Power Book Figure 10 Connection to Macintosh Figure 11 Connection to Power Book ...

Page 12: ...f the projector B Standby Press the Standby On key the following messages will be displayed to make sure you really want to power off the unit Are you sure to power off Press Power again to power off The LED will then blink orange and the lamp will shut down but the fan will continue to run for about 1 minute to cool the lamp After the fan stops the LED will turn to a light solid orange Lamp Prote...

Page 13: ...of the projected image when keystone occurs MENU To call the OSD menu Standby On To turn the projection lamp on and off Standby On indicator Functions as an indicator showing the standby status Lamp status indicator Lights or blinks when the lamp does not light MAIN UNIT FUNCTION Menu To call the OSD menu To enter sub pages To select items 4 KEYSTONE To navigate through sub pages or to increase th...

Page 14: ...10 B Remote Control Stand by on Laser Exit Source Keystone Blank Freeze L Click R Click Volume Mute Add Erase Reverse Menu Magnify Channel down Channel up Scan Drag Return 1 2 3 4 5 6 7 8 9 0 scan LED Figure 14 Remote control ...

Page 15: ...lly magnifies a displayed picture Move the picture with the Disk Pad after pressing the Magnify button Disk Pad When the OSD menu is active Disk Pad acts as 56selecting device When the on screen menus are not active it works as mouse pad When the magnify function is active use disk pad to move through the picture Menu Call the OSD Menu To enter sub pages To select items Blank The blank screen is d...

Page 16: ...rs it is advisable to replace the projection lamp as soon as possible Figure 17 Lamp replacement warning signal Ⅰ PLEASE CHANGE A NEW LAMP AND RESET THE LAMP TIMER will be displayed on the screen if the lamp has been operated for 1400 hours see figure 17 Figure 18 Lamp replacement warning signal Ⅱ PLEASE CHANGE A NEW LAMP THE POWER WILL TURN OFF AFTER 20 HOURS will be displayed on the screen if th...

Page 17: ... the lamp to explode If it seems that the lamp has exploded for example an explosive sound is heard disconnect the power cord from the outlet and ask your dealer to replace the lamp The lamp is covered by a front glass panel and an air tight structure but in rare cases the reflector and the inside of the projector may be damaged by scattered broken pieces of glass which could cause injury while be...

Page 18: ...lamp is replaced reset the total operation time of the lamp Do not reset if the lamp has not been replaced Do not reset the timer without changing the lamp as this can cause the lamp to break Lamp Replacement Procedure Step 2 Step 3 Figure 20 Lamp replacement Step 1 Step 2 Step 3 Step 1 ...

Page 19: ...ress the Menu key and the main OSD menu structure will display as shown at right hand Fig 21 Whenever AV box is attached 4 sub pages will display in the menu Display page Image page Control page and Source page However if input is from PC and no AV box is attached Source page will not display in the menu Press the Menu key again to enter Display page items or press 3 KEYSTONE or 4 KEYSTONE to sele...

Page 20: ...out AV box Figure 23 Display sub page when the input source is video s video TV or CATV Setting effects Keystone Decrease Increase Brightness Dark Bright Contrast Lower Higher Color Balance Red Blue Source is PC Sharpness Soft Sharp Source is Video B Image Page Select the Image sub page and the first item Auto Resize will be highlighted There are five items on this page Auto Resize H Phase H Size ...

Page 21: ...em Position adjustments are saved when the projector is power off V Position move the image down move the image up Position adjustments are saved when the projector is power off Image Ratio 4 3 Normal 16 9 Wide System To select the input video system standard When an AV box or turner box is attached the projector will automatically detect the video system Color Less More Tint Red Green Source is V...

Page 22: ...f lamp will display on this item And you can reset the usage time of lamp from this item after you change a new lamp See page 15 D Source Page This Sub page will only show up whenever AV box is attached There are five items on this page Source Volume Treble Bass and Mute The priority of input signal detection a PC b S Video c Video When selecting input sources the projector will detect the selecte...

Page 23: ...message below will appear The message will disappear automatically 3 seconds after the volume is adjusted Magnify By pressing the magnify button the center of the picture can be magnified Press the button again and the image will be further magnified to a maximum of 4X Press the magnify button and the size of the magnified image will be reduced by 50 percent To return to the normal display mode pr...

Page 24: ... proper input source Ensure all cables are connected properly Adjust the brightness and contrast Remove the lens cap Is the POWER indictor flashing Is the STATUS Indicator flashing IMAGE ISN T SQUARE ON THE SCREEN Reposition the unit to improve its angle on the screen Is the vertical offset properly corrected using the keystone function POOR COLOR Select the correct video system Adjust brightness ...

Page 25: ...Mechanical Dimensions 24 3 cm L 6 2 cm H 19 8 cm W Net Weight 2 3 kg 5 0 lb Operational Temperature projector 10 to 40 Remote control D Preset Display ResolutionTable Resolution H Sync kHz V Sync Hz Remark 640x350 31 5 70 1 640x400 37 9 85 1 VESA 720x400 31 5 70 0 720x400 37 9 85 1 VESA 640x480 31 5 60 0 VESA 640x480 37 9 72 8 VESA 640x480 35 66 7 Macintosh 640x480 43 3 85 0 VESA 800x600 35 2 56 3...

Page 26: ... box Speaker RCA Jack For Video and Audio Input from VHS or V8 S Video Port For S Video Input AV box is sold separately and is not included in the standard configuration of accessories in the unit Please contact the dealer if you need the box or visit our web site for more information AV Control Pad Source Select the source Volume up Turn the volume upward Volume down Turn the volume downward ...

Page 27: ...ots in the correspondent position in the projector 2 Slowly push the box to fit the unit and meanwhile insert the box plug into the A V connector closely 3 Plug in the correct cord into the correspondent jack or port to perform A V function 4 Select inputs by pressing Source key and select channel by the channel up or down keys Figure 32 Connecting the Box Figure 30 Bottom View of AV box Figure 31...

Reviews: