Planet ISDN Internet Telephony PBX System IPX-1800N, User Manual
The Planet ISDN Internet Telephony PBX System IPX-1800N is a feature-rich communication solution. Enhance your business with this advanced system. Find the comprehensive user manual easily on our website, available for free download. Maximize the potential of your PBX system with step-by-step instructions from manualshive.com.
Share
Download


Reviews:
No comments
Related manuals for ISDN Internet Telephony PBX System IPX-1800N

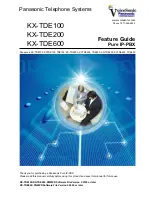
KX-TDE100
Brand: Panasonic Pages: 32
KX-TDE100
Brand: Panasonic Pages: 29
KX-TDE100
Brand: Panasonic Pages: 982
KX-TDE100
Brand: Panasonic Pages: 254
KX-TDE100
Brand: Panasonic Pages: 62
KX-TDE100
Brand: Panasonic Pages: 460

KX-T7565
Brand: Panasonic Pages: 296

UC300 Series
Brand: OpenVox Pages: 18

iCallDroid
Brand: OpenVox Pages: 38

UC300-A02EM1
Brand: OpenVox Pages: 161


