

ICA-HM220W
ICA-HM220W
their respective owners. Copyright © 2010 PLANET Technology Corp. All rights reserved.
PLANET Technology Corporation
11F, No. 96, Min Chuan Road, Hsin Tien, Taipei, Taiwan, R.O.C.
Tel: 886-2-2219-9518
Fax: 886-2-2219-9528
Email: [email protected]
www.planet.com.tw
Quick Guide
Quick Guide
2011-AB5380-000
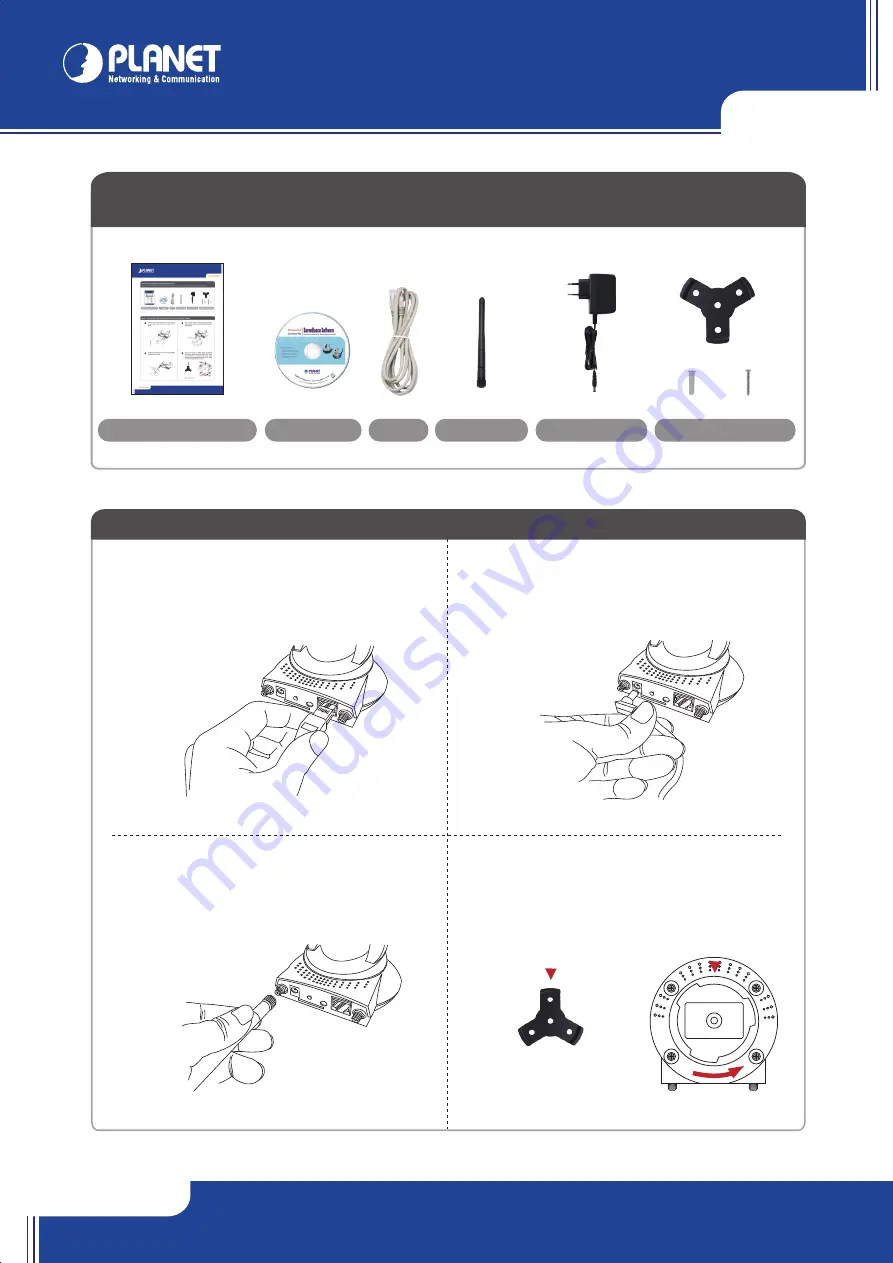
VERIFY THE CONTENTS INSIDE PACKAGE BOX
The package should contain the items plus ICA-HM220W. If any item is missing or damaged, please contact the seller immediately
Power Adapter
CD-ROM
RJ-45
Antenna x 2
Camera Mounting Kit
Quick Installation Guide
Step 2 : Computer Network Setup
Use web browser (Internet Explorer 6.0 or above) to connect to
192.168.0.20
(type this
address in the address bar of web browser). You’ll be prompted to input user name and
password:
admin / admin
.
Set your computer’s IP address to 192.168.0.x, where x is an integer between 1 to 254
(except 20 where is being used for the camera by default). If you don’t know how to do
this, please ask your network administrator, or refer to instructions on chapter 2.3.2 of
user manual.
Step 4 : Install ActiveX Control
After the ActiveX control was installed, the first image will be displayed. You should be able to see the images captured from the camera in the
web page now. For advanced configuration and setting such as P/T tour, wireless connection, please refer to instructions given in the CD-ROM
user guide.
When you see this message, click
Run
to download Plug-in
Step 1 : Please follow the following instructions to set up the camera
Further Configuration
For detail configuration, please check user’s manual on the bundled CD.
If you have any other questions, please contact the dealer where you purchased this product or you can contact PLANET directly at the following email
address: [email protected]
Plug the power adapter to wall socket and connect the
power connector to the power jack located at the back of
the IP camera.
Place the IP camera at a secure place, and point the
camera to the place you wish to monitor. If you wish to
hang the camera on the ceiling or wall, please use the
tripod connector (located at the bottom of the IP camera
as shown below) to secure the camera.
Step 3 : Login Prompt
After logged on, you should see the following messages,
please click
Download the latest ActiveX
link to download Plug-in so you can use this camera
Click
Run
to install Plug-in
Connect the Ethernet cable to your local area network,
and connect the other end to the LAN jack of this IP
camera.
Connect the antennas to the antenna base located at
the back of the IP camera.
å
ç
é
è
x 4
x 4
x 1
Lock
▼
: Locked position


