


If you are looking to pick up Freeview or satellite channels and view them through Planet eStream or use the channels
as part of your digital signage displays, an IPTV streaming device will allow you to do this.
The IPTV streaming device receives a digital Freeview signal or a satellite signal through built in tuner cards. The tuner
cards can be configured to monitor the desired frequencies and receive the required channels. These channels can then
be broadcast over a network using multicast traffic to be received as Live TV channels, and can be added to Planet
eStream where they can be viewed through the web interface and used in digital signage.
IPTV Streaming Device Guide - VBOX
IPTV Streaming Device Guide - VBOX
Locally Hosted Installation
The Planet eStream team will fully test the device before it is sent out. This will ensure that the device is working
properly and is able to pick up Freeview or Satellite channels depending on the model that has been ordered.
As the streaming device uses frequen
cies that are only available at your location using your aerial, the device does not
come pre-configured to work with your frequencies. This is something that needs to be configured once the streaming
device is installed and on your network.
The IPTV Streaming Device will first need a Cat 5e or Cat 6 Ethernet cable into the LAN connector on the back of the
device to connect your network. You can then plug in your Freeview or Satellite aerial connection.
Once the network and aerial connections are plugged in, plug in the power cable and turn on the main power switch on
the back of the unit. A red status light should now show to indicate the device has power, to switch on the device you
can then press the power button on the front of the box. After around 30 seconds the device should initialise and show
a green status light.
The device will be set to use DHCP and should
be given an IP address automatically by your network.
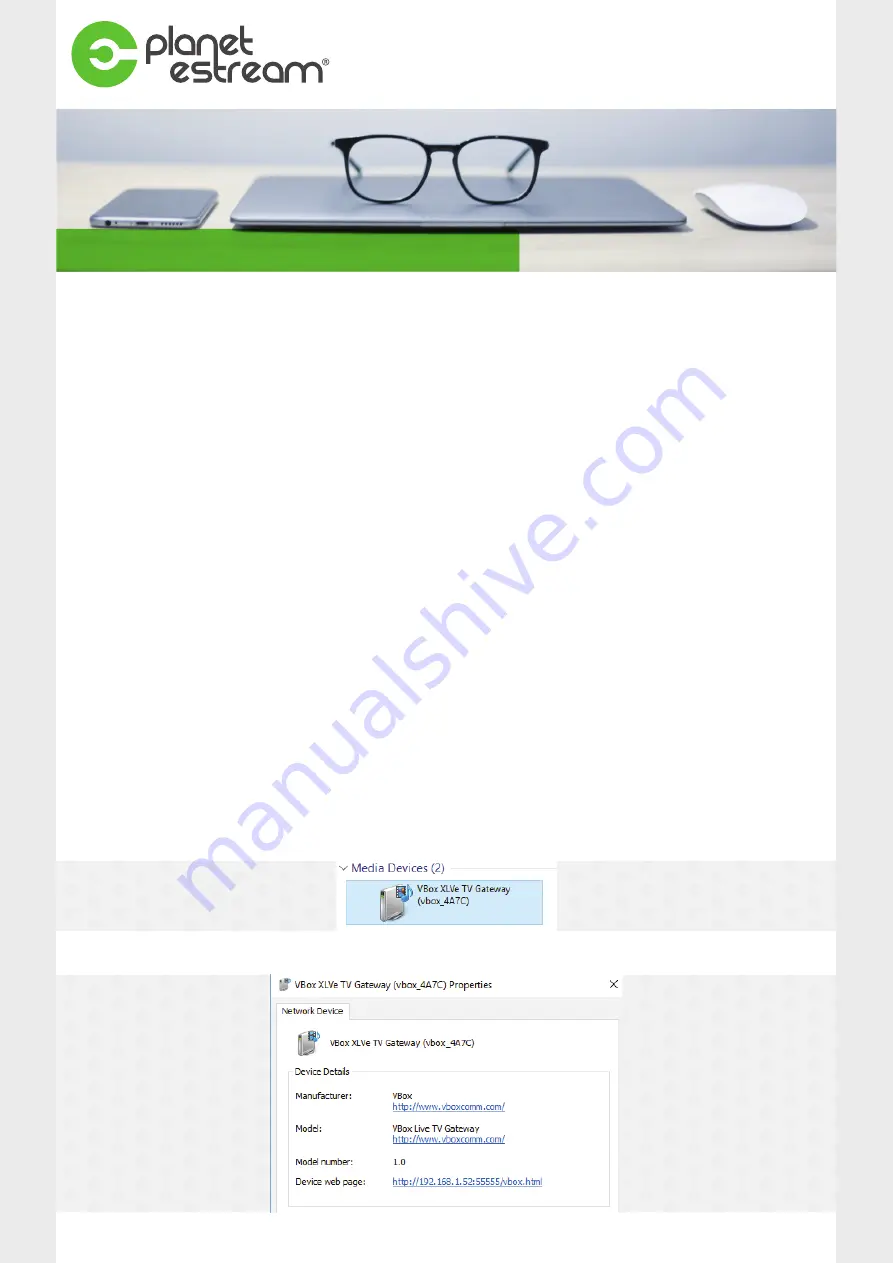
You can find the VBOX IP address by going to a Windows Explorer window and going to the “Network” tab. Here under
the “Media Devices” section you should see your VBOX.
From here you can right click and select properties. This should tell you the IP address.
In this example the IP address is 192.168.1.52
Pre-Configuration
Setup Instructions


