background image

       1 Elmcroft Road Stamford, CT  06926-0700

SV61187 Rev. B  4/04       ©2004 Pitney Bowes Inc.

This document is a publication of Pitney Bowes. The use of this information by the recipient or others for purposes other than the repair, adjustment 

or operation of Pitney Bowes equipment may constitute an infringement of patent and/or other intellectual property rights of Pitney Bowes or others. 

Pitney Bowes assumes no responsibility for any such use of the information. Except as provided in writing, duly signed by an officer of Pitney Bowes, 

no license, either express or implied, under any Pitney Bowes or any third party’s patent, copyright, or other intellectual property rights is granted by 

providing this information.

Installation Instructions

AddressRight® DA400 Printer

Installation Instructions

Page 1 of 8

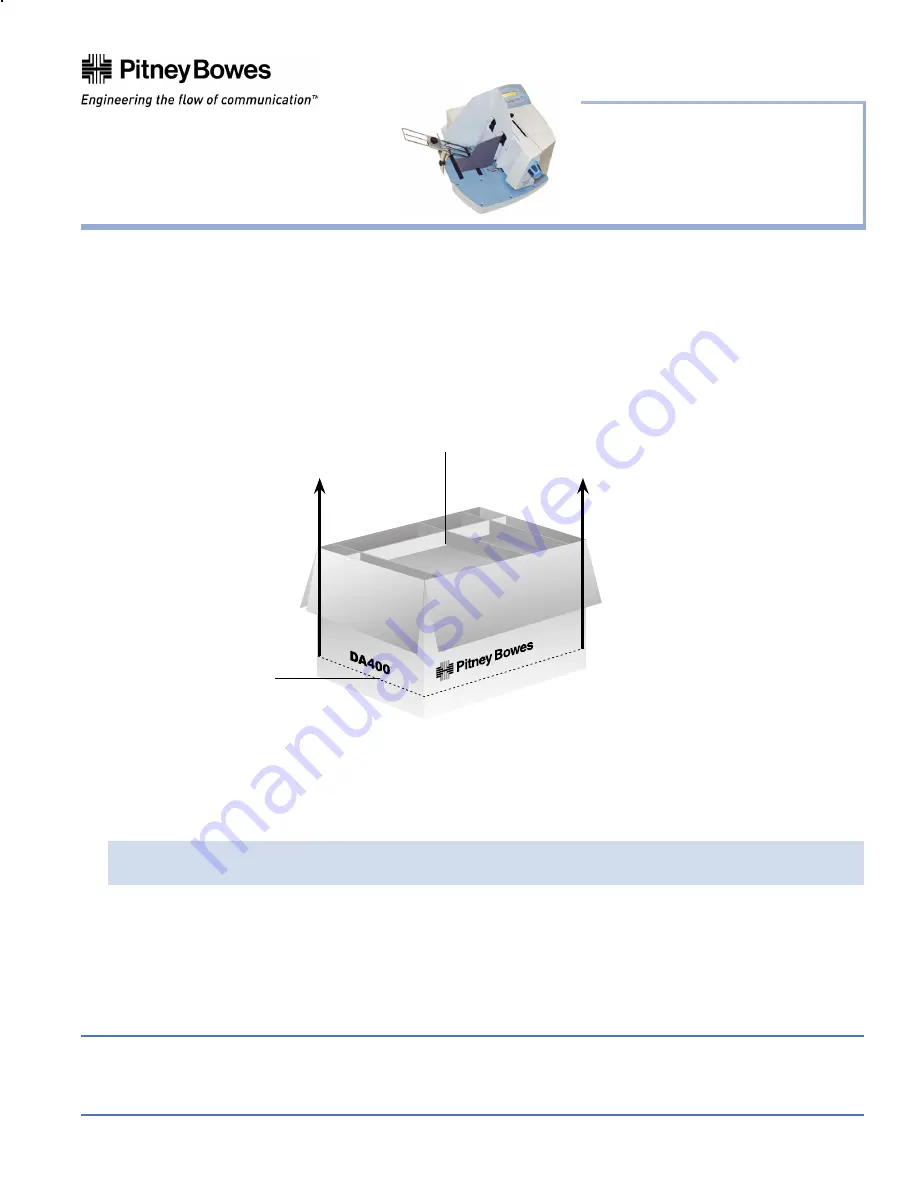
Taking the Printer Out of Box

1.    Open the top of the box and remove the accessories.
2.    Cut around the bottom of the box.

3.    Lift the box off of the printer. 

IMPORTANT!

 Do not attempt to lift the printer without assistance.

Choosing a Location

The following environmental considerations must be kept in mind when selecting a location for the Address 
Printer. Doing otherwise may affect the operation and performance of the Address Printer.
1.    Place the printer close enough to the computer for the parallel or USB cable to reach. 

NOTE:


 A/B Parallel switches are not recommended for operation with this printer.

2.    Place the printer on a flat, stable surface.
3.    Use a grounded, dedicated outlet for the printer only. Do not use an adapter plug.
4.    Avoid locations near direct sunlight, excessive heat, high humidity, moisture, or dust.
5.    Keep the entire system away from large motors or other appliances that might disturb the power supply or 

create potential interference.

1. 

  Remove accessories from the top of the box.

2. 

  Cut the box (e.g., 

along the dotted line 

as shown here).

3. 

  Lift the box off of the printer.

Summary of Contents for ADDRESSRIGHT DA400

Page 1: ...p of the box and remove the accessories 2 Cut around the bottom of the box 3 Lift the box off of the printer IMPORTANT Do not attempt to lift the printer without assistance Choosing a Location The following environmental considerations must be kept in mind when selecting a location for the Address Printer Doing otherwise may affect the operation and performance of the Address Printer 1 Place the p...

Page 2: ...Wire Frame Assembly 3 Installing the Sliding Fence 4 Connecting the Parallel or USB Cable 5 Connecting the Power Cord and Turning the Printer ON 6 Installing the Print Cartridge s 2 Installing the Wire Frame Assembly A Turn the Clamp Knob to loosen the Feed Ramp Slide the Ramp to the top of the Wire Frame Assembly and retighten the Clamp Knob to secure it 1 Installing the Bin Extension Seat the Bi...

Page 3: ...rt the Deflector Plate and Slide into the channel in the Upper Floor Assem bly Slide the Wire Frame Assembly to the center of the floor When properly installed the slide is con tained in the channel by the lips on both sides of the channel D Locate the Clamp Knob on the back of the printer s Upper Floor Assembly Turn to loosen the Clamp Knob and move it over to align it to the center of the Wire F...

Page 4: ...mp Knob and washer through the slot in the Media Support Tighten the Clamp Knob to hold the Wire Frame Assembly in place 3 Installing the Sliding Fence Included in the Accessory Kit is a long and short Sliding Fence The fences keep the media together in a stack Use the short Sliding Fence for postcards and me dia up to the size of DL envelopes Use the Long Sliding Fence for all other sizes A Locat...

Page 5: ...onnector completely in B Secure the cable in place by snapping the two wire clips located on each side of the parallel connector into the tabs on the cable C Align the other end of the cable to the connector on the computer and push into the port D Secure the cable in place by screwing the thumb screws on the cable connec tor into the connector on the computer USB Cable A Align the squarer end of ...

Page 6: ...ds the printer will automatically go ON LINE You can tell if the printer is ON LINE by looking at the green indicator light above the ON LINE key When the printer is ON LINE the indicator will be lit 6 Installing the Print Cartridge s The printer uses Print Cartridges which you must now install before you can print Make sure the printer is OFF LINE before you install the print cartridges A Open th...

Page 7: ...on top of the cartridge In sert the cartridge down at approximately a 45 degree angle into the cradle E Push down on the ink car tridge until it is seated on the bottom of the Head Print Assembly Push and rock the ink cartridge for ward to stand the ink car tridge up F Press down the blue latch to lock the ink cartridge in place G Repeat this process to load the other ink cartridges ...

Page 8: ...es 3 17 through 3 19 of SV61 188 DA400 Service Manual for instruc tions on print head calibration Installing the Printer Driver and Envelope Designer Plus Refer to SV61 108 Installing Printer Drivers and Envelope Designer Plus for AddressRight DA Printing Systems and DocuMatch for instructions on installing the printer driver ...

Reviews: