2205 West Parkside Lane, Phoenix,
85027, AZ USA
www.photocentricgroup.us
Cambridge House, Oxney Road
Peterborough PE1 5YW UK.
www.photocentricgroup.com
UK
USA
DISPOSAL INSTRUCTIONS
Do not throw this electronic device into the waste when discarding. To minimize pollu-
tion and ensure utmost protection of the global environment, please recycle or return
to Photocentric for recycling.
THE NEXT GENERATION
OF 3D PRINTING
IS HERE
Revision 7
08/02/2022
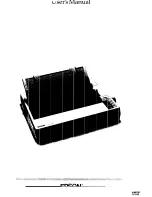
LC OPUS
USER MANUAL