Use dual screen teletext
The section “Use dual screen teletext” in this
user manual instructs you to press
Dual
screen
to display normal teletext when dual
screen teletext is enabled.
After updating the TV software (to version
64.67.3 or higher),
Dual screen
can no
longer be used to display normal teletext.
Use the following instructions in place of the
original instructions:
1
Press
Dual screen
on your remote
control to enable dual screen teletext.
2
Press
Dual screen
again to exit
teletext.
1 Addendum
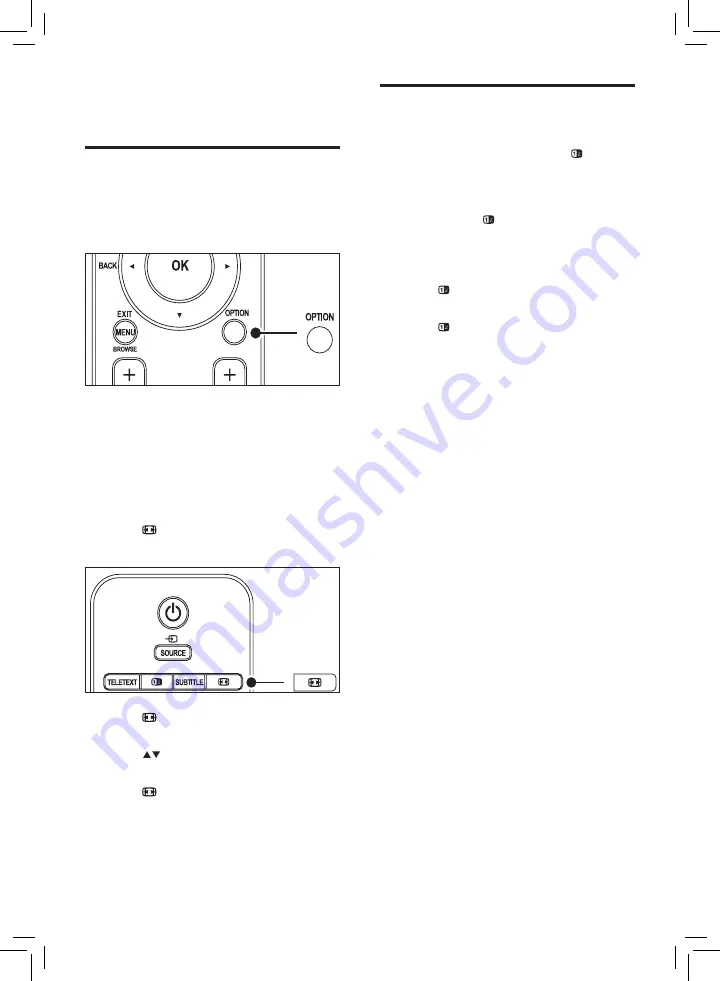
Enlarge teletext pages
The section “Enlarge teletext pages” in this
user manual instructs you to press
OPTION
to enlarge teletext pages.
After updating the TV software (to version
64.67.3 or higher),
OPTION
can no longer be
used to enlarge teletext pages.
Use the following instructions in place of the
original instructions to enlarge teletext pages:
1
Press
TELETEXT
and select a teletext
page.
2
Press (
Picture format
) to enlarge the
top part of the page.
3
Press (
Picture format
) again to view
the enlarged lower part of the page.
4
Press
to scroll through the enlarged
page.
5
Press (
Picture format
) again to return
to the normal page size.
Summary of Contents for 32PFL5403D - annexe 1
Page 2: ...Register your product and get support at www philips com welcome EN USER MANUAL ...
Page 59: ......
Page 61: ......
Page 62: ......