Wireless
Cyclocomputer
Initial Set Up
Your Axiom 5.0W will compute distance and speed functions in either miles or kilometers. After installing the
battery the kilometer (km/h) and mile (m/h) symbols will alternately be displayed. When the desired measur-
ing units are displayed (i.e. km/h or m/h), press the gray button. The wheel circumference value of 2124
(or your latest wheel circumference setting) will then be displayed.
If you already know your wheel circumference, go to -
Programming Wheel Circumference,
otherwise go to -
Determining Wheel Circumference.
Programming Wheel Circumference and Odometer
When you know your wheel circumference, you are ready to program your wheel circumference into your
computer.
If the computer is in the wheel circumference setup mode go to
The wheel circumference value…
(fourth paragraph down).
If you are not in wheel circumference setup mode, press the gray button until the ODO, odometer, is dis-
played on the screen. Press the gray button for two seconds, the kilometers (km/h) and mile (m/h) symbols
will alternately be displayed. When the desired measuring unit is displayed (i.e. km/h or m/h), press the
gray button.
The wheel circumference value of 2124 (or your latest wheel circumference setting) will be displayed.
If the wheel circumference value shown is correct, press the gray button within 2 seconds to complete
setup mode.
If you must change the wheel circumference value, wait two seconds and the right digit will begin to
increase. When the correct digit is displayed press the gray button, the next digit will automatically begin
changing. Repeat this process until all four digits display the correct wheel circumference. In the miles
mode, once completed you will be out of setup mode.
If you are using kilometer mode, the odometer, ODO, may be programmed. Once the wheel circumference is
programmed, the odometer will be shown. Program the ODO in the same manner as the wheel circumference
or, if the ODO reading is correct, press the gray button six times to exit set up mode.
Note 1: You cannot program the odometer, ODO, in miles mode.
Note 2: Your Axiom computer has the ability to easily convert miles into kilometers and vice versa. After
you configure your initial settings, you may switch measuring units at any time. Press the gray button until
you get to ODO. Press and hold for two seconds the gray button. After choosing the desired unit of measure,
press the gray button twice and you will have converted units in your computer.
Wired
Cyclocomputer
Initial Set Up
Your Axiom 5.0 will compute distance and speed functions in either miles or kilometers. After installing the
battery the kilometer (km/h) and mile (m/h) symbols will alternately be displayed. When the desired measur-
ing unit is displayed (i.e. km/h or m/h), press the gray button. The wheel circumference value of 2124 (or
your latest wheel circumference setting) will then be displayed.
If you already know your wheel circumference go to -
Programming Wheel Circumference
, otherwise go to -
Determining Wheel Circumference
Programming Wheel Circumference and Odometer
When you know your wheel circumference, you are ready to program your wheel circumference into your
computer.
If the computer is in the wheel circumference setup mode go to
The wheel circumference value …
(forth
paragraph down).
If you are not in wheel circumference setup mode, press the gray button until the ODO, odometer, is dis-
played on the screen. Press the gray button for two seconds, the kilometer (km/h) and mile (m/h) symbols
will alternately be displayed. When the desired measuring units are displayed (i.e. km/h or m/h), click the
gray button.
The wheel circumference value of 2124 (or your latest wheel circumference setting) will be displayed.
If the wheel circumference value shown is correct, press the gray button within 2 seconds to complete
setup mode.
If you must change the wheel circumference value, wait two seconds and the right digit will begin to
increase. When the correct digit is displayed press the gray button, the next digit will automatically begin
changing. Repeat this process until all four digits display the correct wheel circumference. In the miles
mode, once completed you will be out of setup mode.
If you are using kilometer mode, the odometer, ODO, may be programmed. Once the wheel circumference is
programmed, the odometer will be shown. Program the ODO in the same manner as the wheel circumference
or, if the ODO reading is correct, press the gray button six times to exit set up mode.
Note 1: You cannot program the odometer, ODO, in miles mode.
Note 2: Your Axiom computer has the ability to easily convert miles into kilometers and vice versa. After
you configure your initial settings, you may switch measuring units at any time. Press the gray button until
press the gray button twice and you will have converted units in your computer.
Battery Installation and Replacement
Using a coin or screwdriver, open the battery cover by twisting counterclockwise.
Place the battery into the compartment with the positive side (+) facing up. Replace
the battery cover. When no battery is in the unit, stored information will be preserved
for approximately 15 seconds.
For 5.0: Use a screwdriver to remove the battery cover.
Use battery type 2032 (or equivalent) as replacement for the computer.
The 5.0 uses a A76 (or equivalent) battery.
Resetting the Computer
If the display shows irregular numbers, press the AC (Auto Clear) button on the back of the unit.
To clear the display on the 5.0, remove and reinstall the battery.
Note: This deletes all stored information.
Owner’s Manual
Cyclocomputers
Trouble Shooting
If the speed display does not appear :
Be sure the magnet and transmitter are properly aligned, and the distance between them is correct.
Cadence model only: If the cadence
(
C
)
does not appear, check that alignment of the cadence magnet and
sensor is correct.
If the display fades :
Check the battery contacts. Replace the battery if necessary.
Replacing the Transmitter Battery On Wireless Models
Using a coin, open the transmitter battery cover by twisting counterclockwise. Place the
battery into the compartment with the positive side (+) facing up/outward. Replace the bat-
tery cover.
Use only an alkaline 23A, 12V battery as replacement.
Use battery type MN21 (23A, 12V) as replacement for the transmitter.
Waterproof
Your computer was designed to be waterproof. But if you do use the computer in the rain, it is
recommended to dry it thoroughly with a dry cloth, making sure to remove the computer from
the handlebar mount and drying between the computer and handlebar mount.
+
Determining Wheel Circumference
In order for the Axiom Cyclocomputer to accurately compute distance and speed, you must enter your actu-
al wheel circumference. There are two methods of determining your wheel circumference: 1) the Tire Size
Chart Method or 2) the Roll Out Method (the Roll Out Method gives you a higher degree of accuracy).
Method 1 -
Tire Size Chart Method
Using the chart below, locate the size of tire that you will be using on your front wheel. The wheel circum-
ference (in mm) is shown to the right of the tire size.
Example: for a tire size of 700x25, the corresponding wheel circumference is 2086 mm - 2086 is the number
you need to program into your computer.
20 x 1.75
24 x 1
24 x (Tubular)
26 x (Tubular)
26 x 1
26 x 1.25
26 x 1.5
26 x 1.9
26 x 2.2
26 x 1
3
⁄
8
27 x
5
⁄
8
27 x 1
27 x 1
1
⁄
8
27 x 1
1
⁄
4
700C (Tubular)
700 x 20
700 x 25
700 x 28
700 x 32
700 x 35
1528
1753
1759
1929
1913
1967
1974
2048
2074
2068
2077
2105
2123
2142
2083
2058
2086
2096
2114
2139
Tire Size
Wheel Circumference (mm)
Wheel Circumference (mm)
Tire Size
Method 2 -
Roll Out Method
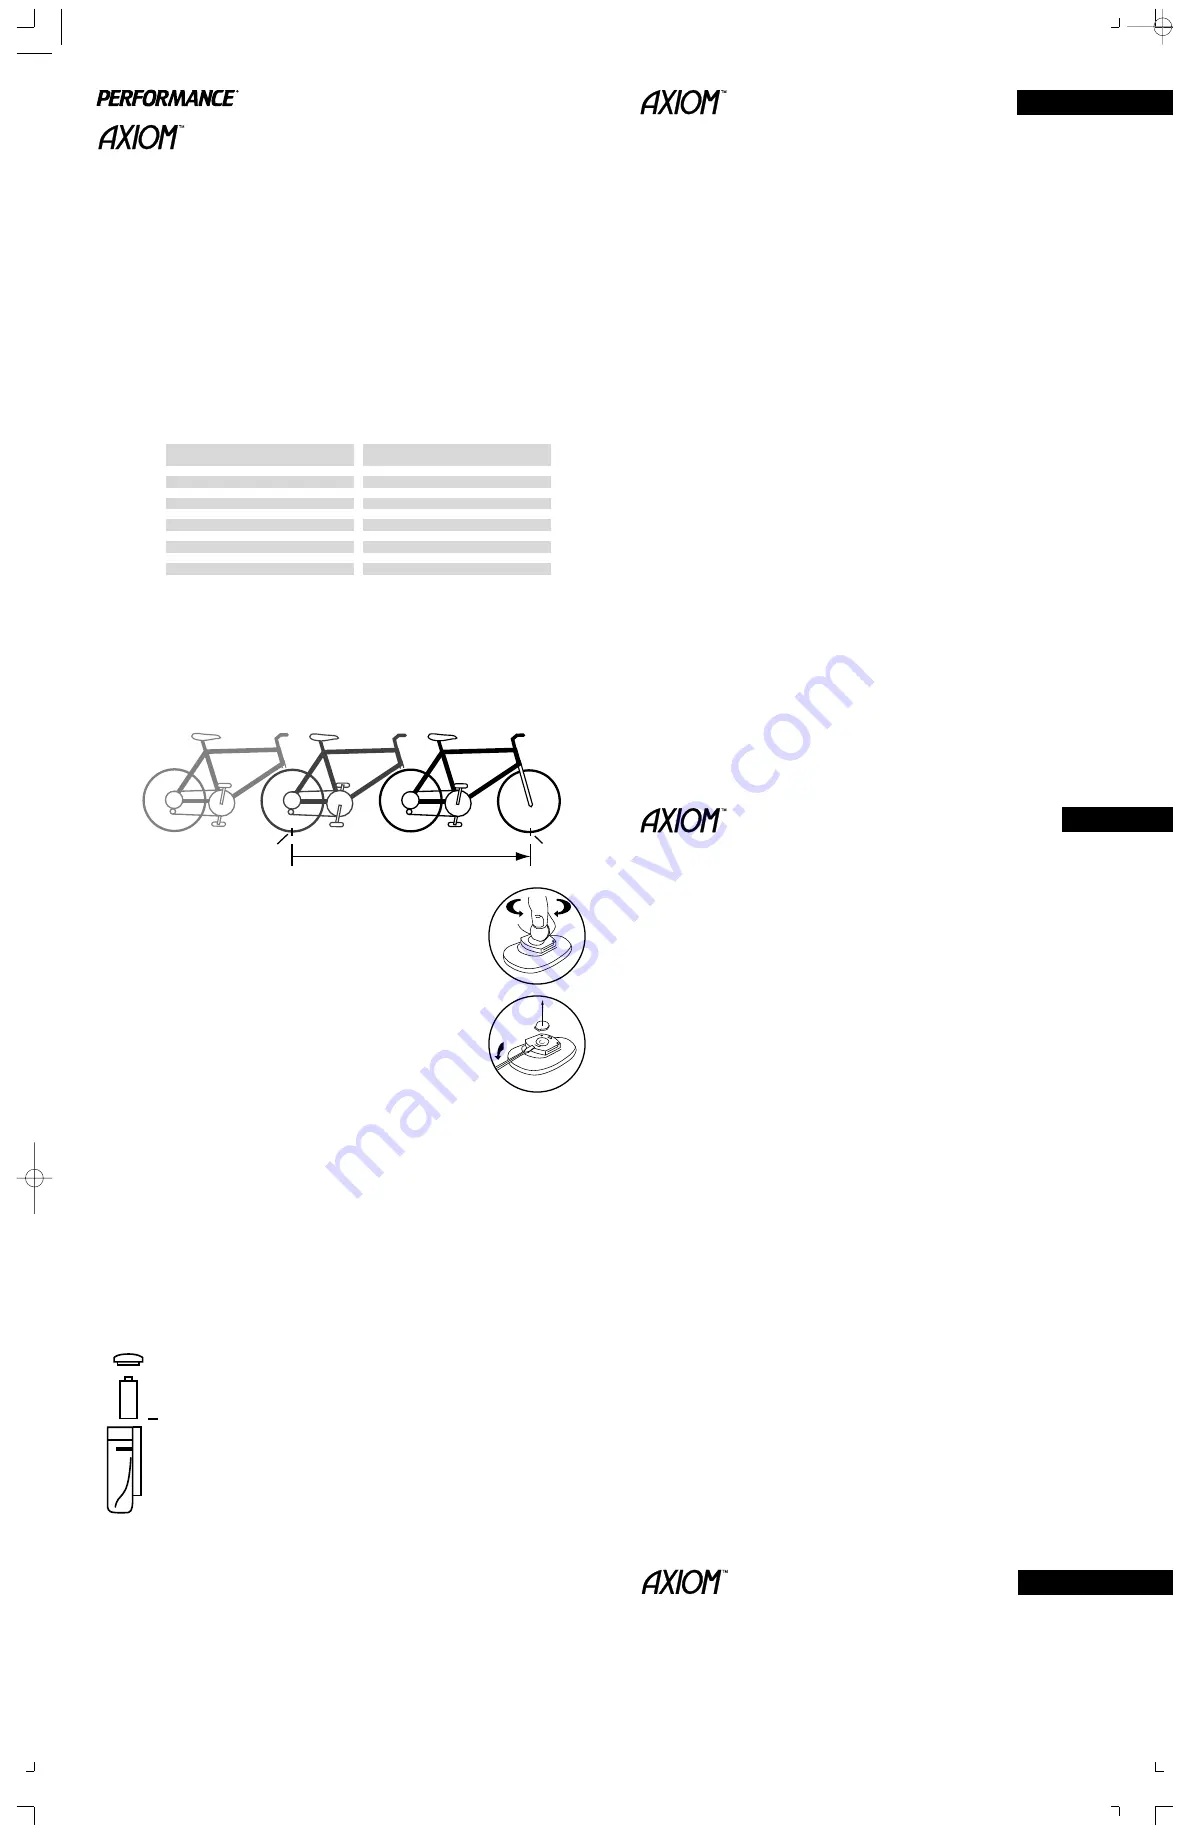
Stand your bicycle upright. With your tire inflated to its proper pressure, rotate your wheel so that the valve
is located at the bottom. Make a mark of the valve’s location on the floor. Roll the bicycle one complete
wheel revolution, in a straight line, until the valve is again at the bottom. Mark this new location of the
valve on the corresponding point on the floor. Measure the distance between the marks, in millimeters (mm).
This is the value of the wheel circumference that you need to program in to your computer. (Note: inches multi-
plied by 25.4 converts inches into mm; i.e. 1 inch = 25.4 mm).
Distance (in mm)
Valve
Valve
Wired
Cyclocomputer
Initial Set Up
Your Axiom 8.0 will compute distance and speed functions in either miles or kilometers. Press the MODE button
until ODO, odometer, is displayed. Press both buttons at once for two seconds, the kilometer (km/h) or the mile
(m/h) symbols will be displayed. Press the MODE button to toggle between the measuring units (i.e. km/h
or m/h). Once the desired measuring unit is displayed, press the RED button to exit set up mode.
If you already know your wheel circumference go to -
Programming Wheel Circumference,
otherwise go to -
Determining Wheel Circumference.
Programming Wheel Circumference and Odometer
When you know your wheel circumference, you are ready to program your wheel circumference into your
computer.
If the computer is in the wheel circumference setup mode go to
If you must change the Odometer value
(below).
If you are not in wheel circumference setup mode, press the MODE button until the ODO, odometer, is
displayed on the screen. Press the RED button for two seconds, until the wheel circumference value of 2124
(or your latest wheel circumference setting) is displayed and blinking.
If the wheel circumference value shown is correct, press the RED button five times; you will then be in the
odometer set up mode (fourth paragraph down).
If you must change the wheel circumference value, press the MODE button to change the blinking digit.
When the correct number is displayed press the RED button, the next digit will automatically begin blinking.
Repeat this process until all four digits display the correct wheel circumference. Once the last digit is correct,
press the RED button twice and you will be in odometer set up mode.
If you must change the odometer value, press the MODE button to change the blinking digit. When the correct
number is displayed press the RED button, the next digit will automatically begin blinking. Repeat this process
until all five digits display the desired odometer value. Once the last digit is correct, press the red button
and you will exit set up mode.
Note: Your Axiom computer has the ability to easily convert miles into kilometers and vice versa. After you
configure your initial settings, you may switch measuring units at any time. Press the MODE button until you
get to ODO. Press and hold both buttons for two seconds. Using the MODE button select the desired unit of
measure, press the RED button and you will have converted units in your computer.
Your computer can switch between two wheel settings. The top left corner of the display indicates which
wheel setting you computer is set to, either wheel setting ((1)) or ((2)).
To program a second wheel circumference size, press the MODE button until the ODO, odometer, is displayed on
the screen. Press the RED button for two seconds, until the wheel circumference value of 2124 (or your latest
wheel circumference setting) is displayed and blinking. Press the RED button again for two seconds to tog-
gle between wheel setting ((1)) and ((2)). See section above on how to program the wheel circumference.
Axiom Series Owner's Manual 3/30/99 11:56 AM Page 1 (1,1)