manualshive.com logo in svg
background image

Monarch

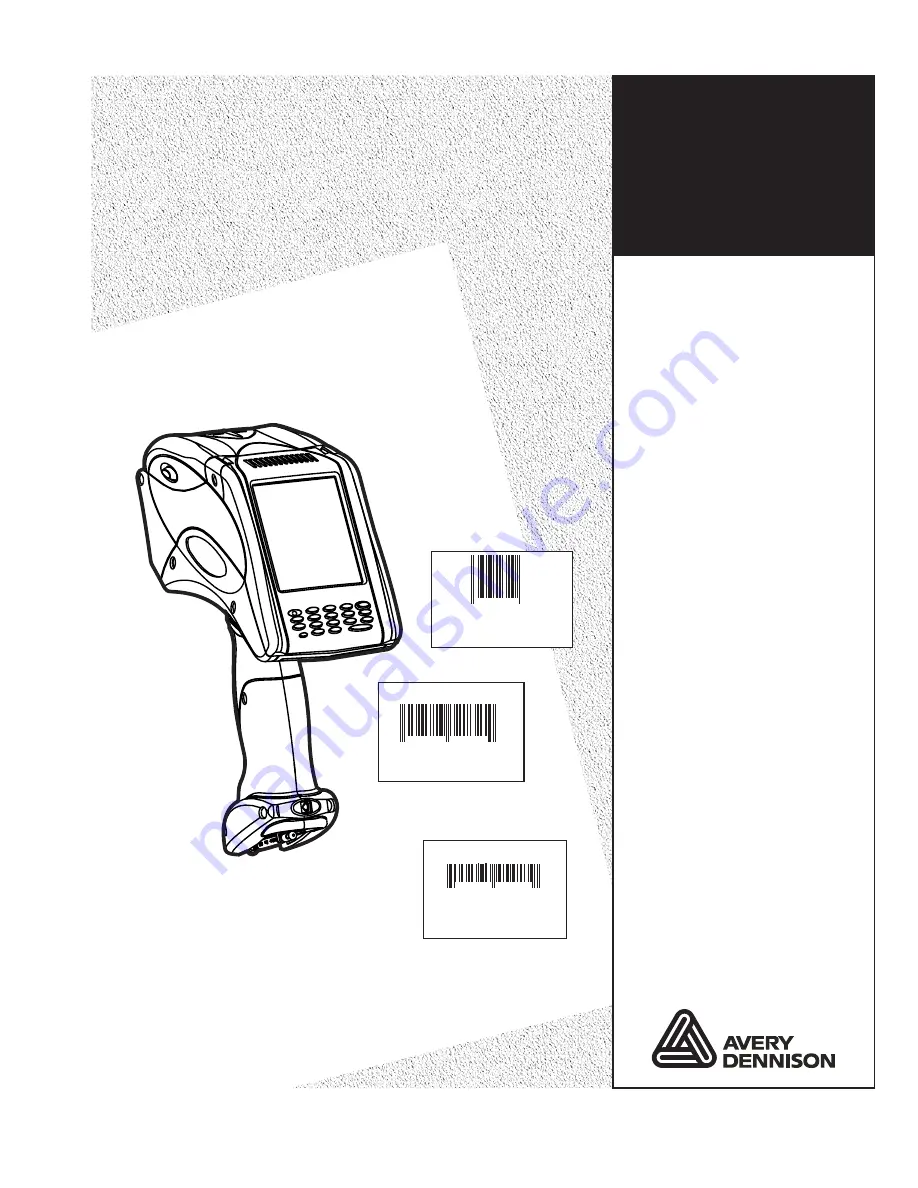
Pathfinder Ultra

Printer

®

®

®

Platinum

Operator’s
Handbook

Operator’s
Handbook

04/18/02 7512

653258

$15.50

32232

SALE

$25.00

58523

4

9

PEARL EARRINGS

99565

$200.00

04/18/02

8

7512

45453

9

TC6039OH Rev. A

F


5

/0

8

 ©2007 Paxar Americas, Inc. a subsidiary of Avery Dennison Corp. All rights reserved.

Содержание Monarch Pathfinder Ultra Platinum 6039

Страница 1: ...perator s Handbook Operator s Handbook 04 18 02 7512 653258 15 50 32232 SALE 25 00 58523 4 9 PEARL EARRINGS 99565 200 00 04 18 02 8 7512 45453 9 TC6039OH Rev AF 5 08 2007 Paxar Americas Inc a subsidiary of Avery Dennison Corp All rights reserved ...

Страница 2: ...on reception which can be determined by turning the equipment off and on the user is encouraged to try to correct the interference by one or more of the following measures Re orient or relocate the receiving antenna Increase the separation between the equipment and receiver Connect the equipment into an outlet on a circuit different from that which the receiver is connected This Class B digital ap...

Страница 3: ...USING BATTERIES 2 1 Using the Main Battery 2 1 Changing the Main Battery 2 2 Charging the Backup Battery 2 3 Checking the Battery Status 2 4 Main Battery Safety Information 2 5 USING SUPPLIES 3 1 Loading Supplies 3 1 Loading for Peel Mode 3 3 Loading for Non Peel Mode 3 5 Selecting the Supply Type 3 6 Removing Supplies in Peel Mode 3 7 ...

Страница 4: ...ation Note 4 5 Printing 4 6 Adjusting the Print Contrast 4 6 Power Management 4 8 Radio Frequency Communications 4 8 CARE MAINTENANCE 5 1 Cleaning 5 1 Cleaning the Printhead 5 2 Cleaning the Platen Roller 5 3 Cleaning the Pinch and Feed Rollers 5 4 Cleaning the Sensors 5 4 Cleaning the Scanner Window 5 5 Cleaning the Scanner Flex Cable 5 5 Clearing Supply Jams 5 6 Storing the Printer 5 6 ...

Страница 5: ...iii TROUBLESHOOTING 6 1 Checking the Software Version 6 2 Printing a Test Label 6 3 Error Codes 6 4 Technical Support 6 4 SPECIFICATIONS ACCESSORIES A 1 Specifications A 1 Accessories A 2 ...

Страница 6: ...iv ...

Страница 7: ...s Touch screen display 18 key alphanumeric keypad On Demand and continuous printing Adjustable supply width capabilities Clock calendar USB port communications Graphic printing capabilities Display backlight Low power shutdown to conserve the battery Laser scanner factory installed option Wireless 802 11b g Radio factory installed option 512MB SD memory card factory installed option 256MB Print En...

Страница 8: ...e Maintenance Clearing supply jams and cleaning the printer 6 Troubleshooting Common problems and their solutions A Specifications Accessories Printer specifications and accessories options Audience This manual is for the operator who scans or manually enters data and prints and applies labels A Quick Reference for this printer is available in the box A Programmer s Manual and other documentation ...

Страница 9: ... more information 6 Turn on the printer Wait 30 seconds for the desktop to load before touching the display or using the keypad Note Your System Administrator must load an application in the printer before you can use it Helpful Reminders Always start with a fully charged battery Attach the safety strap to your wrist before using the printer Do not pound the printer when applying labels printed in...

Страница 10: ...of the safety strap and push it through the loop at the bottom of the printer handle near the battery compartment 4 Push the thick end of the safety strap through the thin end s loop 5 Pull the strap It may be necessary to help the thin end s loop fit over the plastic piece in the middle of the strap and pull the strap tight 6 Attach the stylus strap to the loop as shown ...

Страница 11: ...rinter s main power source is a 7 4V lithium ion battery Note The printer only takes this battery Do not substitute batteries You must charge the battery when you receive the printer even if you do not use it right away Charging the Main Battery To charge the main battery use either the 9462 single station or 9465 four station battery chargers Refer to the documentation provided with the chargers ...

Страница 12: ...ottom of the printer s handle and slide it open 2 Turn the printer upright holding your palm beneath the open battery compartment Hit the printer on your hand and catch the battery as it slides out 3 Insert a new battery into the compartment connector end first 4 Slide the compartment door shut until clicks into place Main Battery Battery Compartment Door Button ...

Страница 13: ...er To keep the battery fully charged connect the Battery Backup Power whenever you remove the main battery Note If the printer does not have a main battery or is not connected to the Battery Backup Power it loses its charge and the printer s system settings 1 Remove the main battery from the battery compartment 2 Connect the Battery Backup Power as shown 3 Plug the other end into a grounded electr...

Страница 14: ...ckup Battery Shows the status of the backup battery If the status is low remove the main battery and connect the printer to the Battery Backup Power If you replace the main battery its charge depletes while charging the backup battery You cannot replace the backup battery Remaining Power Shows the power levels of the main battery for system operations and printing If the printing power level is lo...

Страница 15: ... The recommended charging temperature is 68 F 77 F 20 C 25 C Recycle Information Do not throw in trash Recycle to your local regulations The Rechargeable Battery Recycling Corporation RBRC is a non profit organization created to promote recycling of rechargeable batteries For more information about how to recycle batteries in your area visit www rbrc org Batteries can also be returned postage paid...

Страница 16: ...rinter s main battery and place on a charger when the printer is not in use If the printer does not have a main battery connect the printer to the Battery Backup Power Many factors affect your battery s performance including the quantity of labels printed percentage of black per label and power management ...

Страница 17: ...from the supplies as it prints the labels This mode allows you to apply the label immediately It is only for labels When using the on demand sensor you can press the trigger to print a label or the next label prints automatically when the previous one is removed Non Peel mode does not remove the backing paper It is for labels printed in a continuous strip tags and receipt paper Loading Supplies To...

Страница 18: ...Pull back the supply lock tab 4 Open the spring loaded supply holder Spread the supply holder tabs apart with one hand so it adjusts to the size of your supply roll You can set it at 1 2 1 5 and 2 0 Supply Holder Supply Lock Tab ...

Страница 19: ... the print mode you want See Loading for Peel Mode or Loading for Non Peel Mode for more information Loading for Peel Mode To load supplies for peel mode 1 Peel and discard the first four inches of labels from the backing paper 2 Hold the printer upright and gently press down on the label deflector It may be stiff Label Deflector ...

Страница 20: ...er the peel bar and under the label deflector 4 Push the label deflector up until it snaps into place 5 Partially close the cover to the first position 6 Pull the backing paper over the guide roller down to the pinch and feed rollers Applicator Roller Peel Bar Label Deflector Partially closed cover ...

Страница 21: ...nter icon menu then Calibrate Loading for Non Peel Mode To load supplies for non peel mode 1 Feed the supply under the applicator roller and over the label deflector 2 Close the supply cover 3 Tap Load Supply from the printer icon menu then Calibrate Guide Roller behind supply Feed Roller behind Pinch Roller Pinch Roller Applicator Roller Label Deflector ...

Страница 22: ...printer icon from the Status Bar 2 Tap Load Supply An hourglass appears briefly then you see 3 Select the Supply type you are using Supply Type Used For Paper Labels and tags Fax Receipt paper Synthetic Labels and Tags 4 Tap Feed to advance a label or Calibrate to register the black mark ...

Страница 23: ... peel mode 1 Tear the backing paper just above the pinch roller 2 Open the supply cover completely 3 Spread the supply holder tabs apart with one hand and remove the supply roll 4 Carefully pull out the supply backing paper still in place between the pinch and feed rollers ...

Страница 24: ...3 8 Operator s Handbook ...

Страница 25: ...orms an application defined function when pressed with a single digit number Esc Exits the current screen or application Alpha Enters upper case or lower case alphabetic mode Right Arrow Moves the cursor to the right in a menu Pressing Fct right arrow scrolls the cursor down in a menu Left Arrow Moves the cursor to the left in a menu Pressing Fct left arrow scrolls the cursor up in a menu Backspac...

Страница 26: ...il you see the letter you need For example to select lower case c press Alpha once and 2 three times Upper Case Alphabetic mode Press Alpha twice to display upper letters Press the key several times until you see the letter you need For example to select upper case C press Alpha twice and 2 three times Entering Special Characters Symbols The table shows how to enter special characters and symbols ...

Страница 27: ...nd other standard Windows options from the Start Menu tap Settings Control Panel The display has a Status Bar that includes the time See Reading the Status Bar for more information Reading the Status Bar The Status Bar has the following indicators Indicator Description a Lower case Alpha Mode A Upper case Alpha Mode F Function Mode Battery Status See Checking the Battery Status in Chapter 2 for mo...

Страница 28: ...cription Green Successful scan Amber Unsuccessful scan If the bar code does not scan Change the scanner s angle slightly and try again Clean the scanner window See Cleaning in Chapter 5 for more information Move the scanner 4 8 inches away from the bar code Adjust this distance as needed to find the correct distance Try scanning another bar code that you have scanned successfully If that scan is s...

Страница 29: ...lass I limits must be inside a protective cover No maintenance is required to keep this product in compliance with EN 60825 IEC60825 and DHHS Regulation 21 Subchapter J No controls are provided for operation or maintenance Caution Use of controls adjustments or performance of procedures other than those specified herein may result in hazardous laser light exposure Class II laser scanners use a low...

Страница 30: ...nter s application It may print only after you press a certain key automatically as soon as you press a key automatically with no input from you one label or a strip of labels Adjusting the Print Contrast To adjust the print contrast 1 Tap the printer icon from the Status Bar ...

Страница 31: ...Printing Data 4 7 2 Tap Printer Configuration An hourglass appears briefly then you see Select the Supply type you are using Supply Type Used For Paper Labels and tags Fax Receipt paper Synthetic Labels and Tags ...

Страница 32: ...o check the quality of serial bar codes Parallel Quality A label prints with barcodes to scan to check the quality of parallel bar codes 3 Tap Back or X in the upper right hand corner of the screen to return to previous screen Power Management The printer will shut off after a predetermined amount of idle time The printer will wake up when you start using it again Turn off the backlight to conserv...

Страница 33: ...xplains how to clean the printhead platen roller sensors and scanner window clear supply jams store the printer Cleaning It is important to keep the printer clean You must clean five main areas Printhead Platen Roller Sensors Scanner Window Scanner Flex Cable Do not use sharp objects to clean the printer Do not use household cleaners to clean the printer 5 ...

Страница 34: ...rea Do not touch the printhead with your fingers To clean the printhead 1 Turn off the printer 2 Open the supply cover and remove the supplies See Removing Supplies in Chapter 3 for more information 3 Check the supply holder for adhesive buildup and clean it if necessary 4 Ground yourself by touching a metal object other than the printer Grounding prevents electrostatic discharge which may damage ...

Страница 35: ...oft bristle brush such as a toothbrush to clean the platen roller 5 Turn the platen roller with your finger and then continue cleaning 6 Reload the supplies close the label deflector and supply cover If the brush does not remove all the adhesive use isopropyl alcohol ONLY on the platen roller Moisten a cotton swab with isopropyl alcohol and run the cotton swab across the platen roller Turn the pla...

Страница 36: ...e the rollers are clean all the way around If necessary use a cloth dampened slightly with distilled water 4 Reload the supplies after the printer dries Cleaning the Sensors To clean the on demand sensor 1 Turn off the printer and open the supply cover 2 Remove the supplies See Removing Supplies in Chapter 3 for more information 3 Open the label deflector by gently pressing down with two fingers 4...

Страница 37: ...irty or smeared To clean it 1 Moisten a soft cloth with distilled water Do not use household cleaners to clean the printer 2 Wipe the window until it is completely clean Cleaning the Scanner Flex Cable Occasionally adhesive buildup appears on the scanner flex cable as shown below To clean the cable 1 Turn off the printer and open the supply cover 2 Inspect the scanner flex cable At any place that ...

Страница 38: ...d supply and close the deflector Note Do not pull the jammed supply out through the front of the label deflector Do not use sharp objects to remove jammed supplies 5 Carefully remove any jammed supply between the pinch and feed rollers 6 Clean any adhesive build up 7 Reload the supplies and close the label deflector Storing the Printer Do not store the printer in or near magnetic fields wet or dam...

Страница 39: ...ead See Cleaning the Printhead in Chapter 5 for more information Print has voids or is too light Load the supply correctly See Loading Supplies in Chapter 3 for more information Close the supply cover completely Switch to a fully charged battery Clean the printhead See Cleaning the Printhead in Chapter 5 for more information Check the supply for damage or defects Printer partially prints on the su...

Страница 40: ...tch to a fully charged battery Printer and display locks up Push your stylus into the tiny hole under the left side of keypad and soft reset the printer Checking the Software Version To check the Software version of the printer the Ultra Class library the scanner configuration printer diagnostics and the Application version 1 Tap the printer icon from Status Bar on the display 2 Tap About ...

Страница 41: ...Tap Diag Label from the Diagnostic Labels menu The following labels print The first diagnostic test label shows the model number software version and the printer s configuration by packet Refer to the Programmer s Manual for more information about configuration packets The second diagnostic test label shows the model number software version total number of inches printed voltage print contrast pri...

Страница 42: ... differs by plus or minus 25 inches from the format Load supplies 758 Check supply Either the supply is not seen or the on demand sensor is broken purchase optional Check for a label jam Clear the supply path or reload supplies The printer does not recalibrate after this error 762 Low battery Recharge the battery See Charging the Main Battery in Chapter 2 for more information 763 Waiting to dispen...

Страница 43: ...on Print Speed Up to 4 102 mm per second Memory 64MB RAM and 64MB Flash Battery Type 7 4V Lithium Ion 110V 240V AC adapter 3 6V Lithium Ion internal Battery Recharge Time 1 3 hours depending on the charger used Supply Sizes Width 0 50 1 2 1 5 and 2 0 12 7mm 30mm 38mm and 51mm Lengths 55 4 0 14mm 102mm Peel mode supports 785 20 mm or greater lengths Non Peel mode supports 55 13 97mm or greater leng...

Страница 44: ...M09462 Single Station Battery Charger M09465 Four Station Battery Charger M06063 AC Adapter 114226 Cleaning Pen 125859 USB Cable 120095 Extra Battery 127068 Battery Backup Power 125849 Screen Protector 125847 Stylus 124053 Deluxe Wrist Strap 126791 Petite Wrist Strap 125681 Shoulder Strap M0PHOL0401 Holster Belt Pouch M0PHOL0402 Holster only ...

Страница 45: ......

Страница 46: ...Visit for sales service supplies information and telephone numbers for our locations throughout the world TOLL FREE 1 800 543 6650 In the U S A 1 800 363 7525 In Canada www monarch com ...

Отзывы: