


Thank you for purchasing a Panasonic product.
This unit is compatible with Caller ID. You must subscribe to the appropriate service offered
by your service provider/telephone company.
Please read these operating instructions before using the unit and save them for future
reference.
Charge the batteries for about 7 hours before initial use.
Operating Instructions
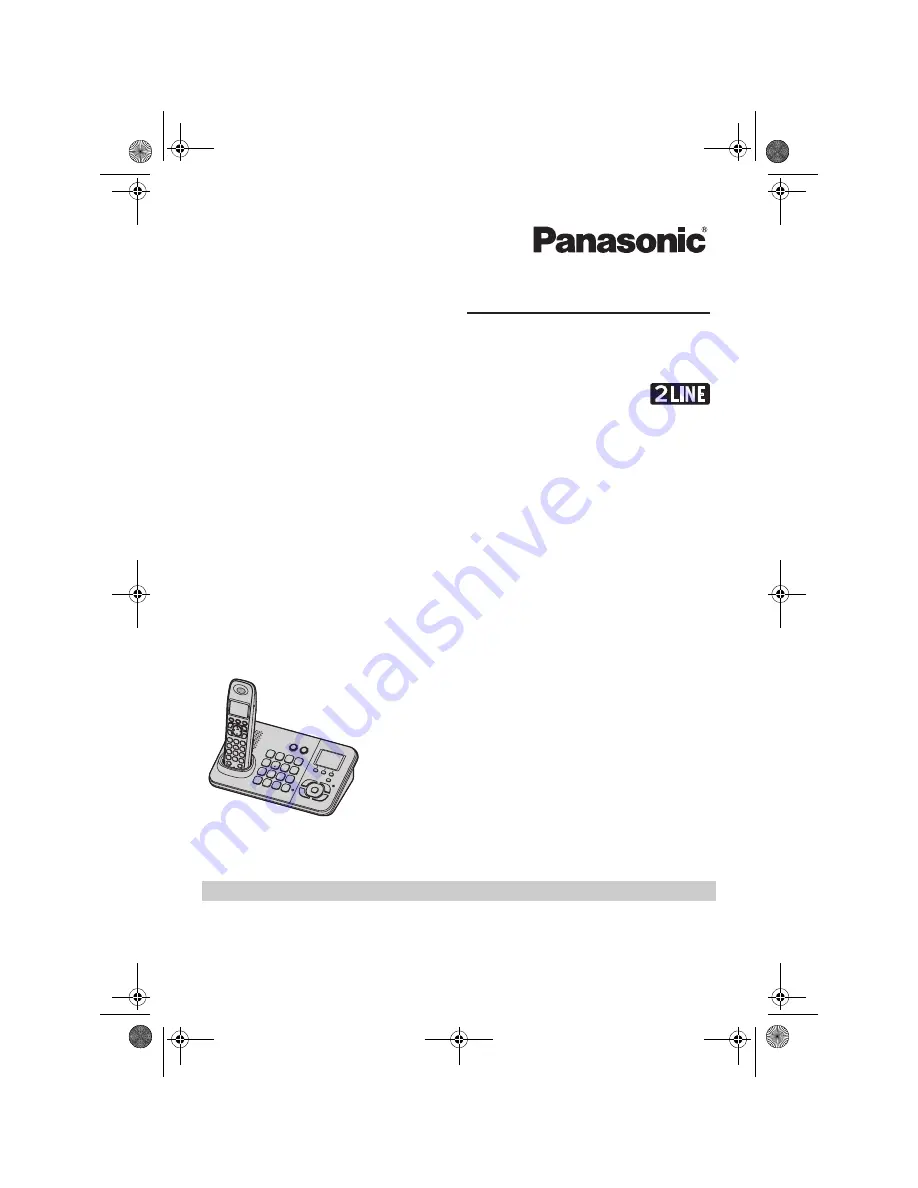
Digital Cordless Answering System
Model No.
KX-TG9385BX
TG9385BX(e).book Page 1 Monday, November 2, 2009 1:26 PM


