background image

TV

PROGRAMME

GUIDE

POWER

INPUT

RETURN

EXIT

MENU

OK

OPTION

ASPECT

R

G

Y

B

INFO

MUTE

1

3

2

4

6

5

7

9

8

0

REC

POWER

VCR

DVD

TEXT

CH

VOL

STTL INDEX HOLD

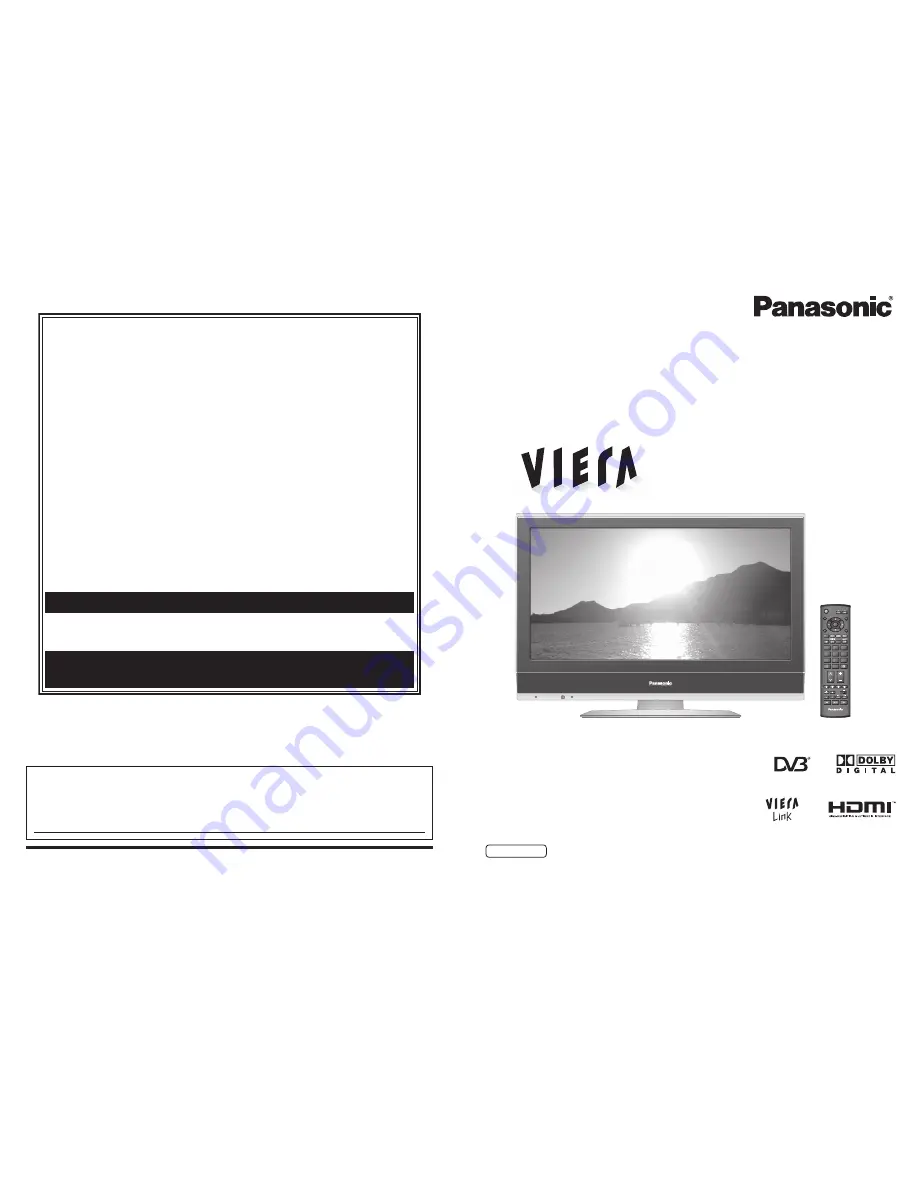
Operating Instructions

WIDE LCD TV

English

Please read these instructions before operating your set and retain them for future reference.

The images shown in this manual are for illustrative purposes only.

Matsushita Electric Industrial Co., Ltd.

Web Site : http://panasonic.net/

©

 2007 Matsushita Electric Industrial Co., Ltd. All Rights Reserved.

Customer’s Record

The model number and serial number of this product may be found on its rear panel. You should note this serial 
number in the space provided below and retain this book, plus your purchase receipt, as a permanent record of your 
purchase to aid in identi

fi

 cation in the event of theft or loss, and for Warranty Service purposes.

Model Number 

Serial Number 


TQB0A0184

WARRANTY  - Australia only

1. The product is warranted for 12 months from the date of purchase. Subject to the conditions of this warranty Panasonic or it’s Authorised 

Service Centre will perform necessary service on the product without charge for parts or labour if, in the opinion of Panasonic, the product is 
found to be faulty within the warranty period.

2. This warranty only applies to Panasonic products purchased in Australia and sold by Panasonic Australia or its Authorised Distributors or Dealers 

and only where the products are used and serviced within Australia or it’s territories. Warranty cover only applies to service carried out by a 
Panasonic Authorised Service Centre and only if valid proof of purchase is presented when warranty service is requested.

3. This warranty only applies if the product has been installed and used in accordance with the manufacturer’s recommendations (as noted in the 

operating instructions) under normal use and reasonable care (in the opinion of Panasonic). The warranty covers normal domestic use only 
and does not cover damage, malfunction or failure resulting from use of incorrect voltages, incorrect installation, accident, misuse, neglect, 
build-up of dirt or dust, abuse, maladjustment of customer controls, mains supply problems, thunderstorm activity, infestation by insects or 
vermin, tampering or repair by unauthorised persons (including unauthorised alterations), exposure to abnormally corrosive conditions or any 
foreign object or matter having entered the product.

4. This warranty does not cover the following items unless the fault or defect existed at the time of purchase:
  (a) Video or Audio Tapes 

(d) Cabinet Parts 

(g) Microwave Oven cook plates.

  (b) Video or Audio Heads and Stylii resulting 

(e) User replaceable Batteries 

(h) Kneader mounting shaft unit


from wear and tear in normal use 

(f)  Thermal Paper, Toner/Ink Cartridges, 

(bread bakery)

  (c) Shaver Heads or Cutters 

Drums, Developer, Film (Ink/Ribbon),


Film Cartridge, Printer Heads

5. If warranty service is required you should:
  • Telephone Panasonic’s Customer Care Centre on 132600 or visit our website and use the Service Centre Locator for the name/address of 

the nearest Authorised Service Centre.

  • Send or bring the product to a Panasonic Authorised Service Centre together with your proof of purchase receipt as a proof of purchase date. 

Please note that freight and insurance to and / or from your nearest Authorised Service Centre must be arranged by you.

  • Note that home or pick-up/delivery service is available for the following products in the major metropolitan areas of Australia or the normal 

operating areas of the nearest Authorised Service Centres:


(a) Picture tube (CRT) based Television Receivers (screen 

(b) Convection/Combination Microwave Ovens


sizes greater than 66cm); Rear Projection TV’s; Plasma/LCD 

(c) Whiteboard (except portable type)


televisions / displays (screen size greater than 103 cm)

6. The warranties hereby conferred do not extend to, and exclude, any costs associated with the installation, de-installation or re-installation of a 

product, including costs related to the mounting, de-mounting or remounting of any screen, (and any other ancillary activities), delivery, 
handling, freighting, transportation or insurance of the product or any part thereof or replacement of and do not extend to, and exclude, any 
damage or loss occurring by reason of, during, associated with, or related to such installation, de-installation, re-installation or transit.

Panasonic Authorised Service Centres are located in major metropolitan areas and most regional centres of Australia, however, coverage will vary 
dependant on product. For advice on exact Authorised Service Centre locations for your product, please telephone our Customer Care Centre on 
132600 or visit our website and use the Service Centre Locator.
Unless otherwise specified to the consumer the benefits conferred by this express warranty are additional to all other conditions, warranties, 
guarantees, rights and remedies expressed or implied by the 

Trade Practices Act 1974

 and similar consumer protection provisions contained in 

legislation of the States and Territories and all other obligations and liabilities on the part of the manufacturer or supplier and nothing contained 
herein shall restrict or modify such rights, remedies, obligations or liabilities. 

November 2005

THIS WARRANTY CARD AND THE PURCHASE DOCKET (OR SIMILAR PROOF OF PURCHASE)

SHOULD BE RETAINED BY THE CUSTOMER AT ALL TIMES

Panasonic Australia Pty. Limited

Panasonic Australia Pty. Limited

ACN 001 592 187   ABN 83 001 592 187

Locked Bag 505, Frenchs Forest, NSW 2086

www.panasonic.com.au

If you require assistance regarding warranty conditions or any other enquiries, 

please visit the 

Panasonic Australia

Panasonic Australia

 website 

www.panasonic.com.au

www.panasonic.com.au

 or by phone on 132 600

If phoning in, please ensure you have your operating instructions available.

PRO-031-F01  Issue: 3.0 


23-11-2005

Model No.

 TX-26LXD70A

TX-32LXD70A

Printed in China

Summary of Contents for Vieta TX-26LXD70A

Page 1: ...e Printer Heads 5 If warranty service is required you should Telephone Panasonic s Customer Care Centre on 132600 or visit our website and use the Service Centre Locator for the name address of the nearest Authorised Service Centre Send or bring the product to a Panasonic Authorised Service Centre together with your proof of purchase receipt as a proof of purchase date Please note that freight and...

Page 2: ...Functions 29 VIERA Link HDAVI ControlTM 30 External Equipment 32 Basic Features Watching TV 10 Using TV Guide 12 Watching Videos and DVDs 14 Viewing Teletext 16 Enjoy your TV Technical Information 34 FAQs 37 Licence 39 Specifications 39 FAQs etc Accessories Options 6 Identifying Controls 7 Basic Connection 8 Auto Tuning 9 Quick Start Guide Receive digital terrestrial services using an integrated D...

Page 3: ...ater containing a small amount of neutral detergent Then wring the cloth and wipe the surface clean with it Finally wipe the surface clean with a dry cloth Caution Use care not to subject the TV s surfaces to detergent A liquid inside the TV could lead to product failure Use care not to subject surfaces to bug repellent solvent thinner or other volatile substances this may deteriorate the surface ...

Page 4: ...age to the remote control Do not mix old and new batteries Do not mix different battery types such as alkaline and manganese batteries Do not use rechargeable Ni Cd batteries Do not burn or breakup batteries Optional accessories Wall hanging bracket TY WK32LR2W WARNING Failure to use a Panasonic bracket or choosing to mount the unit yourself will be done at the risk of the consumer Any damage resu...

Page 5: ...ce Centre or dealer may be able to assist you in obtaining the correct Aerial system for your particular area and the accessories required Any matters regarding Aerial installation upgrading of existing systems or accessories required and the costs incurred are the responsibility of you the Customer Example 1 Connecting aerial Example 2 Connecting DVD Recorder VCR TV only TV DVD Recorder or VCR If...

Page 6: ...eletext on and selecting P801 Display hide subtitles if available Display subtitles Change aspect ratio Select Change EXIT RETURN Aspect Selection 16 9 Just 14 9 4 3 Full 4 3 Zoom1 Zoom2 Zoom3 ASPECT Change the aspect ratio p 34 Enjoy viewing the picture at its optimum size and aspect Aspect Selection list To change the mode To change the mode using the ASPECT button only ASPECT Press repeatedly u...

Page 7: ... of the selected favourites list B To view a programme list of the selected type DVB mode Y Using TV Guide select favourite list TV Guide Electronic Programme Guide EPG provides an on screen listing of programmes currently broadcast and future broadcasts over the next seven days depending on the broadcaster Analogue broadcasts will be listed after DVB broadcasts D means DVB channel and A means Ana...

Page 8: ...mode Turn on Play Playback videocassette DVD Stop Stop the operations Rewind Skip Search VCR Rewind view the picture rapidly in reverse DVD Skip to the previous track or title Press and hold to search backward Fast forward Skip Search VCR Fast forward view the picture rapidly forward DVD Skip to the next track or title Press and hold to search forward Pause Pause Restart DVD Press and hold to play...

Page 9: ...top or resume automatic updating To resume HOLD Store frequently viewed pages 1 3 2 4 6 5 7 9 8 0 Store frequently viewed pages in the colour bar List mode only press and hold As page is displayed The number changes to white Corresponding colour button To change stored pages press and hold Enter new page number Colour button you want to change View sub page 0 0 0 6 Sub pages The number of sub page...

Page 10: ...lide bar 1 Displays the next screen Go to the next screen To change menu pages up down Overview VIERA Link Control Speaker Selection VIERA Link Menu Home Cinema Recorder p 31 Main Menu VIERA Link Picture Sound Setup The menu of the accessed equipment 1 2 Viewing Mode Auto Contrast Brightness Colour Sharpness Tint Colour Balance Warm Colour Management Off P NR Off Picture Menu 2 2 3D COMB Off Reset...

Page 11: ... as PCM MPEG is output as PCM DVB mode only MPEG Audio Level Normally MPEG sound is larger than Dolby Digital one You can adjust the audio level of MPEG as the initial setting 0dB to 12dB in 2dB reductions DVB mode only HDMI1 Input Select to fit the input signal Auto Digital Analogue p 29 Auto Automatic detection of digital or analogue sound source Digital HDMI cable connection Analogue HDMI DVI a...

Page 12: ...Download may take for about 20 min Wed 12 05 04 10 46 DVB Favourites Edit TEN Digital All DVB Services 1 ABC TV Sydney 2 SBS DIGITAL 1 3 FTV guide 4 7 Digital 7 NINE DIGITAL 9 7 HD Digital 70 7 Guide 77 FavList1 TEN Digital 1 List favourite services DVB Favourites Edit Wed 12 05 04 10 46 DVB Favourites Edit TEN Digital All DVB Services 1 ABC TV Sydney 2 SBS DIGITAL 1 3 FTV guide 4 7 Digital 7 NINE...

Page 13: ...ogue mode only Auto Tuning Digital and Analogue This will take about 3 mins Analogue Tuning 0 75 Digital Tuning 6 69 2 RF Ch Service Name Type Quality ABC TV Sydney DVB 10 3 SBS DIGITAL 1 DVB 10 4 FTV guide DVB 10 7 7 Digital DVB 10 9 NINE DIGITAL DVB 10 CH 29 Analogue CH 33 BBC1 Analogue EXIT RETURN Start Auto Tuning All tuning data will be erased Auto Tuning Access Auto Tuning Settings are made ...

Page 14: ...elect Setup Select Shipping Condition Display the menu Set To return to TV EXIT Restore Settings Shipping Condition Restore Settings Resets the TV to its original condition i e no channels tuned in All settings channels picture sound quality etc are reset 1 EXIT RETURN Confirm All tuning data will be erased Are you sure Are you sure Shipping Condition set Input Labels Restore Settings select acces...

Page 15: ...e HDMI logo is displayed on HDMI compliant equipment 2 Enquire at your local digital equipment retailer shop HDMI high definition multimedia interface allows you to enjoy high definition digital images and high quality sound by connecting the TV and the equipment HDMI compatible equipment 1 with an HDMI or DVI output terminal such as a set top box or a DVD player can be connected to the HDMI termi...

Page 16: ...rn the equipment on and then switch the TV on Select the input mode to HDMI1 or HDMI2 p 14 and make sure that an image is displayed correctly Main Menu VIERA Link Picture Sound Setup Speaker control You can control the theatre speaker with TV s remote control This function is available when Panasonic Amplifier or Player theatre is connected If you cannot access the menu check the settings and the ...

Page 17: ...S Clock Shield TMDS Data0 TMDS Data0 TMDS Data1 Shield TMDS Data2 TMDS Data2 5V Power SDA Reserved in cable but N C on device TMDS Clock TMDS Clock TMDS Data0 Shield TMDS Data1 TMDS Data1 TMDS Data2 Shield 19 17 15 13 11 9 7 5 3 1 18 16 14 12 10 8 6 4 2 HDMI terminal Connect the S VIDEO or VIDEO terminal when using AV1 AV4 IN terminals Connect the COMPONENT or VIDEO terminal when using AV2 AV3 IN ...

Page 18: ... that has HDAVI Control 2 function to the TV with HDMI cable the sound from DIGITAL AUDIO OUT terminal can be output as multi channel surround Easy playback is also available by using the remote control for Amplifier or Player theatre Read the manuals of the equipment If you connect the same kind of equipment at once for example one DIGA to HDMI1 another DIGA to HDMI2 VIERA Link is available for t...

Page 19: ...o resolve the problem If problem still persists please contact your local Panasonic dealer for assistance White spots or shadow images noise Check the position direction and connection of the aerial Neither image nor sound is produced Is the TV in AV mode Is the mains lead plugged into the socket outlet Is the TV turned On Check Picture Menu p 20 and volume An error message appears Follow the mess...

Page 20: ...trated when connecting two or more equipments to the same aerial TV VCR Individual aerial Individual aerial Aerial Input terminal Splitter Aerial Output Aerial Input Aerial Output DVB Digital TV reception technology requires high quality robust DTV signals which in some domestic aerial installations may be relatively poor despite good analogue reception Other FAQs Picture very infrequently breaks ...

Reviews: