


Panasonic
¡
Panasonic
¡
Panasonic
¡
Panasonic
¡
Panasonic
¡
Pa
nasonic
¡
Panasonic
¡
Panasonic
¡
Panasonic
¡
Panasonic
¡
Pana
sonic
¡
Panasonic
¡
Panasonic
¡
Panasonic
¡
Panasonic
¡
Panaso
nic
¡
Panasonic
¡
Panasonic
¡
Panasonic
¡
Panasonic
¡
Panasoni
c
¡
Panasonic
¡
Panasonic
¡
Panasonic
¡
Panasonic
¡
Panasonic
¡
Panasonic
¡
Panasonic
¡
Panasonic
¡
Panasonic
¡
Panasonic
¡
Pa
nasonic Panasonic
TQB8E3437U---1
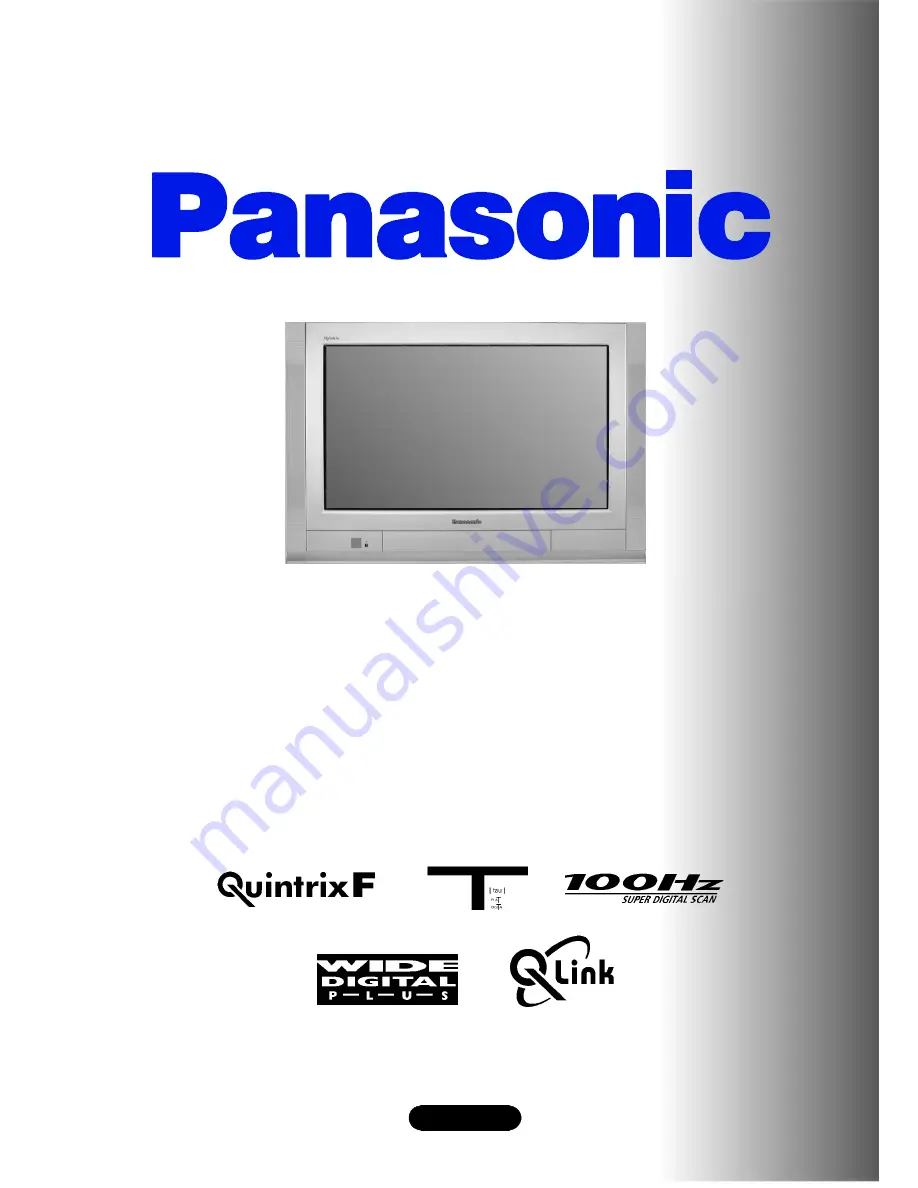
TX---32PL10P/M
TX---28PL10P
Colour television
Operating Instructions
English
Summary of Contents for TX-28PL10P
Page 31: ...31 NOTES...
Page 32: ...32 2002CS...


