background image

Please read these instructions before operating your set and retain them for future reference.

TQBC2051-1

TV

1

2

3

4

5

6

7

8

9

0

OK

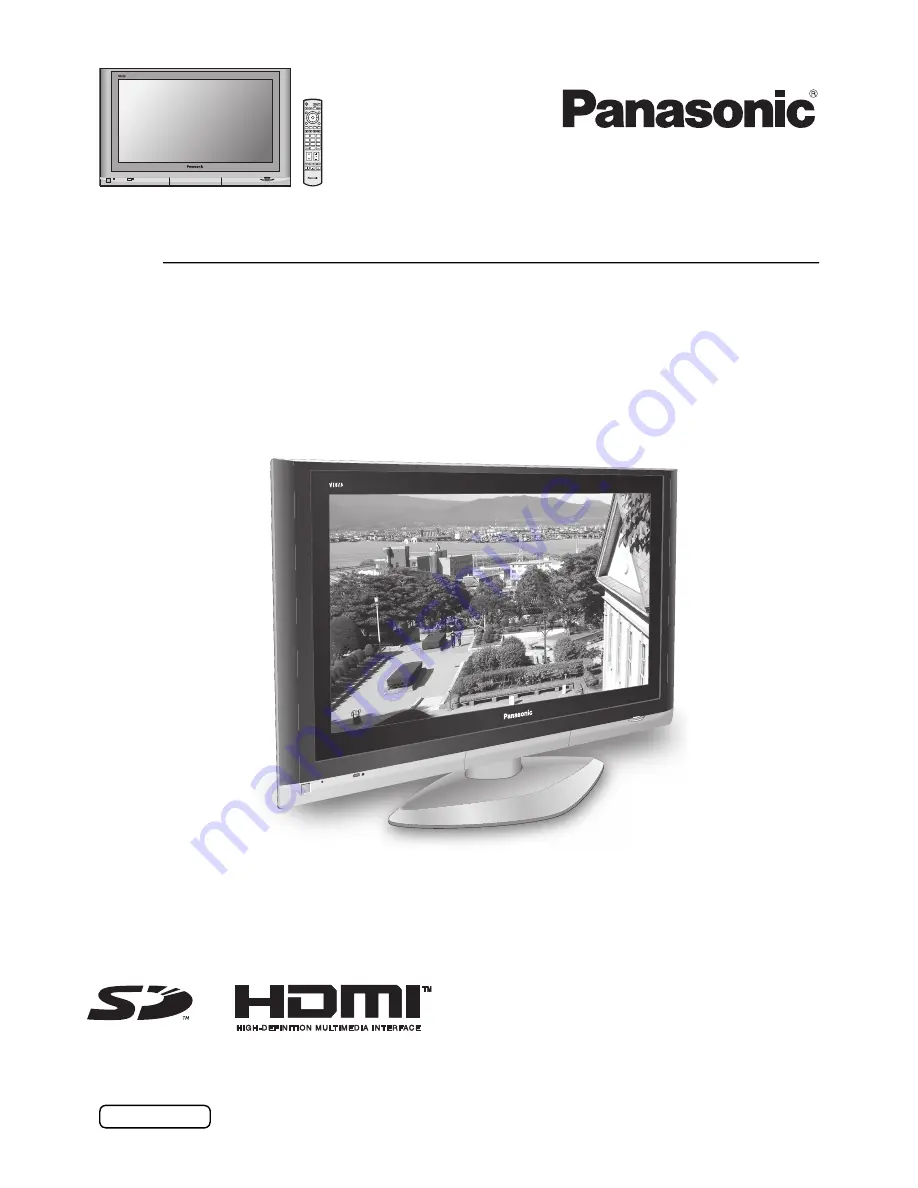
The illustration shown is an image.
Pedestal stand shown above is optional extra.

English

TH-42PV500A
TH-50PV500A

Model No.

Operating Instructions

Plasma Television with HD Monitor Input

Summary of Contents for TH-42PV500A

Page 1: ... and retain them for future reference TQBC2051 1 TV 1 2 3 4 5 6 7 8 9 0 OK The illustration shown is an image Pedestal stand shown above is optional extra English TH 42PV500A TH 50PV500A Model No Operating Instructions Plasma Television with HD Monitor Input ...

Page 2: ...AV2 AV4 Component Input terminals 11 How to connect the HDMI Input terminal 11 How to connect the PC Input terminal 12 Basic controls front panel and remote control 13 Using the On Screen Displays 14 Tuning 15 Tuning menu 15 Auto tuning 16 Auto tuning via front panel 16 Manual tuning 17 Manual tuning via front panel 17 Channel Allocation 18 Picture menu 19 Sound menu 20 Setup menu 21 Owner ID 22 A...

Page 3: ...tatic electricity discharge occurs inside the front cover the screen may momentarily flicker This is not a malfunction The screen will return to normality in a short while To prevent electric shock ensure the grounding pin on the AC cord power plug is securely connected CAUTION Symptoms Check After images appear ABCDEF ABCDEF Do not allow a still picture to be displayed for an extended period as t...

Page 4: ...tc In particular keep video equipment away from this product Keep unneeded small parts and other objects out of the reach of small children These objects can be accidentally swallowed Also be careful about packaging materials and plastic sheets When using the Plasma TV The Plasma TV is designed to operate on 220 240 V AC 50 60 Hz Do not cover the ventilation holes Doing so may cause the Plasma TV ...

Page 5: ...e power supply plug the resultant humidity can damage the insulation which could result in fire Pull the power supply plug out from the wall outlet and wipe the mains lead with a dry cloth This Plasma TV radiates infrared rays therefore it may affect other infrared communication equipment Install your infrared sensor in a place away from direct or reflected light from your Plasma TV Maintenance Th...

Page 6: ...y round Do not mix old batteries with new batteries Remove old exhausted batteries immediately Do not mix different battery types i e Alkaline and Manganese Do not use rechargeable Ni Cad batteries Pull and hold the hook then open the battery cover Insert batteries note correct polarity and Replace the cover 3 2 1 Remote Control Transmitter N2QAJB000156 Batteries for the Remote Control Transmitter...

Page 7: ...g band Fastening Loosening To tighten Pull off Keep the knob pressed Clamp How to open the front cover Raise the lower part of the door marked PULL Band Open Close Removal Fitting 1 Insert the claws at 2 points at the bottom end 2 Push until it clicks 1 Push down hooks and pull the cover slightly towards yourself to disengage the claws at 2 points 2 Slowly pull out in the downward direction Cable ...

Page 8: ...l equipment cables and adapter plugs shown are not supplied with this TV set To obtain optimum quality picture and sound an Aerial the correct cable 75 Ω coaxial and the correct terminating plug are required If a communal Aerial system is used you may require the correct connection cable and plug between the wall Aerial socket and your TV Your local Television Service Centre or Dealer may be able ...

Page 9: ...ot shown press any one of the coloured buttons and the keys will reappear TV AV Notes You can also select an AV source using the TV AV button on the front panel of the TV Press the TV AV button repeatedly until you reach the AV source you wish to view When a Monaural VCR is used connect the Monaural Audio cable to the AUDIO L terminal Additional equipment and cables shown are not supplied with thi...

Page 10: ...VIDEO OUT AUDIO OUT R L 10 Connections How to connect the Monitor Output terminals to other Equipment How to connect the AV1 S Video Input terminals Example of output signal source Example of input signal source Connect the S VIDEO or VIDEO terminal VCR MONITOR Amplifier to speaker system VCR S VIDEO VCR DVD PLAYER CAMCORDER S VIDEO 4 pin terminal Chrominance in Chrominance earth Luminance in Lumi...

Page 11: ...udio cables to the AUDIO IN terminals when using a DVI to HDMI adapter cable Select the audio setting in HDMI input See page 20 Notes This input terminal is not intended for use with computers 720p 1080i signals will be re formatted to view on your display If the external devices have the aspect adjustment set to 16 9 For applicable HDMI signals information see page 41 How to connect the HDMI Inpu...

Page 12: ...hese maximums it may not be possible to show fine detail with sufficient clarity Some PC models cannot be connected to the set There is no need to use an adapter for computers with DOS V compatible D sub 15P terminal The computer shown in the illustration is for example purposes only Additional equipment and cables shown are not supplied with this set Do not set the horizontal and vertical scannin...

Page 13: ...Off SD button Access Card operations see page 27 34 Switch between viewing TV or AV input see page 9 Cursor buttons to make selections and adjustments Exit the mode Text Hold Picture Still button see page 35 37 Text Index button see page 37 Direct Programme Number You can select the numbers directly by pressing Programme Number button and the two digit Numbers by pressing Two Digit and Programme N...

Page 14: ...ge of options The OK button is used with a number of features to store settings after adjustments have been made or options have been set The EXIT button is used to exit the menu system and return to the normal viewing screen An On Screen Help box is displayed whenever a menu is displayed on the TV This Help box indicates which buttons on the remote control are used to navigate the menu shown see ...

Page 15: ...ns See page 16 Manual tuning Allows individual programme positions to be tuned manually See page 17 Sound system Allows you to change the sound system used for a programme channel Choose the required sound system 5 5MHz 6 5MHz Colour system Lets you select the correct transmission standard for the transmission signal being received See page 21 Auto PAL NTSC 4 43 NTSC 3 58 Fine tuning Use to make s...

Page 16: ...your TV s memory will be wiped out so the new settings can be stored If you exit the procedure after this point and before Auto tuning is complete no station information will be stored Restart and complete the Auto tuning procedure so that the TV is retuned Auto tuning via front panel Press the F button until Tuning mode is reached Press the or button to access Tuning mode Press the F button until...

Page 17: ...tem Press the or button to change programme position or start search When the desired station is found press the STR button to store The programme position will flash Repeat above procedure to tune additional programme positions Press the F button at any time to exit the Tuning menu It is also possible to use the control panel buttons on the front of the TV to tune individual programme positions N...

Page 18: ... 3 4 5 S2 S10 6 9 9A 21 62 63 69 S 1 S 2 S 3 21 22 23 24 28 57 58 59 62 63 69 90 91 92 93 94 95 96 97 98 99 70 73 74 75 76 77 78 79 80 81 89 100 107 117 118 120 125 S11 S12 S13 S14 S15 S16 S17 S18 S19 S20 10 11 12 S11 S44 20 21 S1 S2 S10 S21 S41 69 NZ INDONES Australia Sys select CH DISPLAY ...

Page 19: ... adjustment automatically D PNR Reduces noise in a channel with many noises Off Recommended mode when receiving a strong signal Strong Applies strong noise reductions regardless of input signals Weak Applies weak noise reductions regardless of input signals Auto Automatically reduces unwanted picture noise MPEG NR Reduces MPEG noise Off Strong Mid Weak This function is effective in reducing the di...

Page 20: ...g at a level comfortable for them Surround To enjoy a concert hall effect turn Surround to On Switching is also possible by pressing the SURROUND button The benefits of Surround sound are enormous You can be completely enveloped in sound just as if you were at a concert hall or cinema The Surround effect can be obtained without the use of external Surround speakers HDMI input Displayed during HDMI...

Page 21: ...l VCR s to playback NTSC recorded video tapes through PAL television equipment Colour matrix Displayed during AV mode Available only with 480p or 576p input signals in a natural colour from digital equipment connected to AV2 AV4 Component terminals Select SD or HD to adjust suitable colour parameters for SD standard definition or HD high definition SD When the input signal is a normal TV system HD...

Page 22: ...reviously been set enter the required 4 digit Owner ID PIN NUMBER using 0 to 9 on the remote control If a 4 digit PIN NUMBER was entered above you will be taken automatically to the NAME line If not move to the NAME line Change character Select character position Repeat above until NAME HOUSE NUMBER and POSTCODE are entered Press the OK button to store the details Press again when you are asked Ar...

Page 23: ... 3 format will be stretched to fit the picture 16 9 Use Just when you wish to expand a 4 3 picture to fill the whole screen rather than watching a programme with black stripes down the left and right sides of the picture The 4 3 picture will be stretched horizontally so that the image fills the screen this is done in such a way that the stretching is only obvious at the left and right edges of the...

Page 24: ...st the selector keys are displayed to return to normal viewing Notes This operation cannot be made during PC HDMI Card operations mode and progressive HD signal input Y PB CB PR CR This TV has one tuner When the main and sub windows are both TV mode these are the same TV channel TV AV Changing the channels A B Change POP PAP AV1 AV1 2 2 Change POP PAP Press the Blue button Each time the main windo...

Page 25: ... EXIT button at any time to exit Picture menu Menu Contrast Brightness Sharpness Colour temperature About settings see page 19 Advanced setting Access to adjust to the fine picture at a professional level W B High R W B High B W B Low R W B Low B Gamma Adjusts the white balance for light red areas Adjusts the white balance for light blue areas Adjusts the white balance for dark red areas Adjusts t...

Page 26: ...ter adjusting Clock Adjust to reduce noise to the most inconspicuous level Sync H V To synchronize by the horizontal and vertical signals from your PC On G To synchronize by the green signal form your PC if available Side panel Power save About settings see page 21 H freq V freq If the input signal is not applicable the characters will turn to red For applicable PC signals information see page 41 ...

Page 27: ...ng the PC card make sure that the TV is turned Off Otherwise it may damage the unit Do not touch the terminals on the back of the SD card PC card Always insert a card in the correct direction Failure to do so may result in damage to the card and this unit Do not subject the card to excessive pressure or strong impacts Electrical interference electrostatic discharges and malfunctions of the unit or...

Page 28: ...umber of files that can be displayed 65 535 Picture resolution Compatible in the range 8 x 8 5 120 x 3 840 If the picture resolution is not compatible the image will be shown as the error display The JPEG modified using a PC may not be displayed on TV This function cannot display Motion JPEG and still image not DCF formatted i e TIFF BMP If the file is partially corrupted it may be shown in lower ...

Page 29: ...broken Do not remove the SD card while recording The data being recorded and other data stored on the SD card may become unreadable SD recording may not be fully compatible or playable in some PC software or PDA devices When two pictures are shown on the same screen as Multi window functions the main window is the one that is recorded The picture can be switched for the sub window If the signal sy...

Page 30: ...G4 view The thumbnail screen is displayed Select the file Press the OK button The moving picture starts Notes Picture menu Sound menu in playback only or Card setup menu in thumbnail only adjustment is possible by pressing the MENU button during MPEG4 view Date shows the date on which the recording was made by this unit DIGA or D snap Its format is 01 01 2000 when recordings are made without date ...

Page 31: ...io can be changed by pressing the ASPECT button Lock Unlock the file Select the file you want to lock in the thumbnail Press the Blue button to lock the file Press again to unlock MENU Red Blue Frame size Repeat Card setup menu Normal Off Delete the file Select the file you want to delete in the thumbnail Press the Red button to delete the file Press again to confirm your decision Note If the file...

Page 32: ... view Move to choose Card setup menu Access Card setup menu Move and adjust options or access Slide show Slide show Select the settings of Interval and Repeat before accessing Slide show Interval 5sec 10sec 15sec 30sec 60sec 90sec or 120sec Select the length of time that a slide is being displayed on screen Repeat On or Off Select the repeat on or off Card SD or PC Select either SD or PC when both...

Page 33: ...arted in these status recording will automatically be performed in the Fine mode The quality of audio is not changed Rec time No setting 5min 10min 15min 30min 60min 90min 120min or 180min Set the recording time before recording Note If you set Rec time to No setting the recording does not stop until the card is fully recorded Card format You can format the card Notes If the card is formated all d...

Page 34: ...ndard ASF file This type of card is not supported Incompatible card is inserted Broken file Cannot display image The file is broken Memory full The card memory is full Not enough memory The card does not have enough memory to operate Cannot read file The file is not readable Unrecordable source SD recording is stopped It is not possible on restricted channels Error Check card Re insert the card If...

Page 35: ...the OK button the page numbers will change to white indicating that the page is stored HOLD HOLD To hold the Teletext page when viewing multi page information Press again to return to automatic page update Teletext features may vary depending on the Broadcasting Companies and is only available if the channel selected is transmitting Teletext Pressing the MENU button whilst in Teletext operation wi...

Page 36: ...u require As each sub page is found its number is displayed at the top of the page so that you may select it as more sub pages are picked up the display at the top of the page changes so that you are always offered the most recently transmitted selection of sub pages In Teletext operation use the following procedure to access sub pages If the sub page you want to look at is not yet available press...

Page 37: ...l TV operation INDEX INDEX When in TOP operation Press the INDEX button to return to the main index page Depending on the way information is transmitted this may have to be pressed more than once to return to the main index page TEXT MULTIPIP Picture and text Press the TEXT button followed by the MULTI PIP button to move between viewing teletext and the Picture and text mode Picture and text mode ...

Page 38: ...ound Selection button Notes If the stereo signal is poor or the receiving conditions are not optimum or if STEREO MONO automatic switching occurs it is recommended you switch from STEREO to MONO Even when the contents of the receiving signal undergo changes selection mode is kept intact When the receiving conditions deteriorate listening will be easier if the mode is set to the MONO position using...

Page 39: ...gain to switch back on Play Press to playback the tape or DVD Stop Press to stop the tape or DVD Skip Fast Forward Cue VCR Press to fast forward the tape In Play mode press to view the picture rapidly forward Cue When fast forwarding the tape the picture noise may occur DVD Press to skip to the next track or title Press and hold to search forward Skip Rewind Review VCR Press to rewind the tape In ...

Page 40: ...ound controls set at minimum levels Check if in Standby mode No Colour Normal Sound Colour controls set at minimum levels Colour System Poor or Distorted Picture Weak or No Sound Retune Channel s Normal Picture Weak or Distorted Sound Sound reception may have deteriorated Sound System H D M I Poor Video Snow noise no picture picture runs etc HDMI cable is not connected securely Turn the power supp...

Page 41: ... the TV station stops transmitting it will automatically go to standby mode after 30 minutes This function will not operate when this TV is in AV mode Notes External surfaces of the unit may become hot during operation But this is completely normal See label on the base of this equipment for ratings and other information Applicable input signal for Component Y PB CB PR CR HDMI and PC D sub 15P Mar...

Page 42: ... the AV Sockets only Receiving Channels VHF 0 to 12 UHF 21 to 69 S 1 to S 3 S1 to S41 PAL B PAL G HYPER TUNER One tuner Aerial Rear UHF VHF Operating Conditions Temperature 0 C 40 C Humidity 20 80 RH non condensing Connection Terminals AV1 Input AUDIO L R RCA PIN Type 2 0 5 Vrms VIDEO RCA PIN Type 1 1 0 Vp p 75 Ω S VIDEO MINI DIN 4 pin Y 1 0 Vp p 75 Ω C 0 286 Vp p 75 Ω AV2 Input AUDIO L R RCA PIN ...

Page 43: ...c Authorised Service Centre together with your proof of purchase receipt as a proof of purchase date Please note that freight and insurance to and or from your nearest Authorised Service Centre must be arranged by you Note that home or pick up delivery service is available for the following products in the major metropolitan areas of Australia or the normal operating areas of the nearest Authorise...

Page 44: ...ved Customer s Record The model number and serial number of this product can be found on its rear panel You should note this serial number in the space provided below and retain this book plus your purchase receipt as a permanent record of your purchase to aid in identification in the event of theft or loss and for Warranty Service purposes Model Number Serial Number ...

Reviews: