background image

Please read these instructions before operating your set and retain them for future reference.

TQBC2040-3

1

2

3

4

5

6

7

8

9

0

TV

VCR

DVD

MENU

REC

TV/AV

N

R-TUNE

OK

ASPECT

SURROUND

STILL MULTI PIP

F.P.

INDEX

TV/TEXT

HOLD

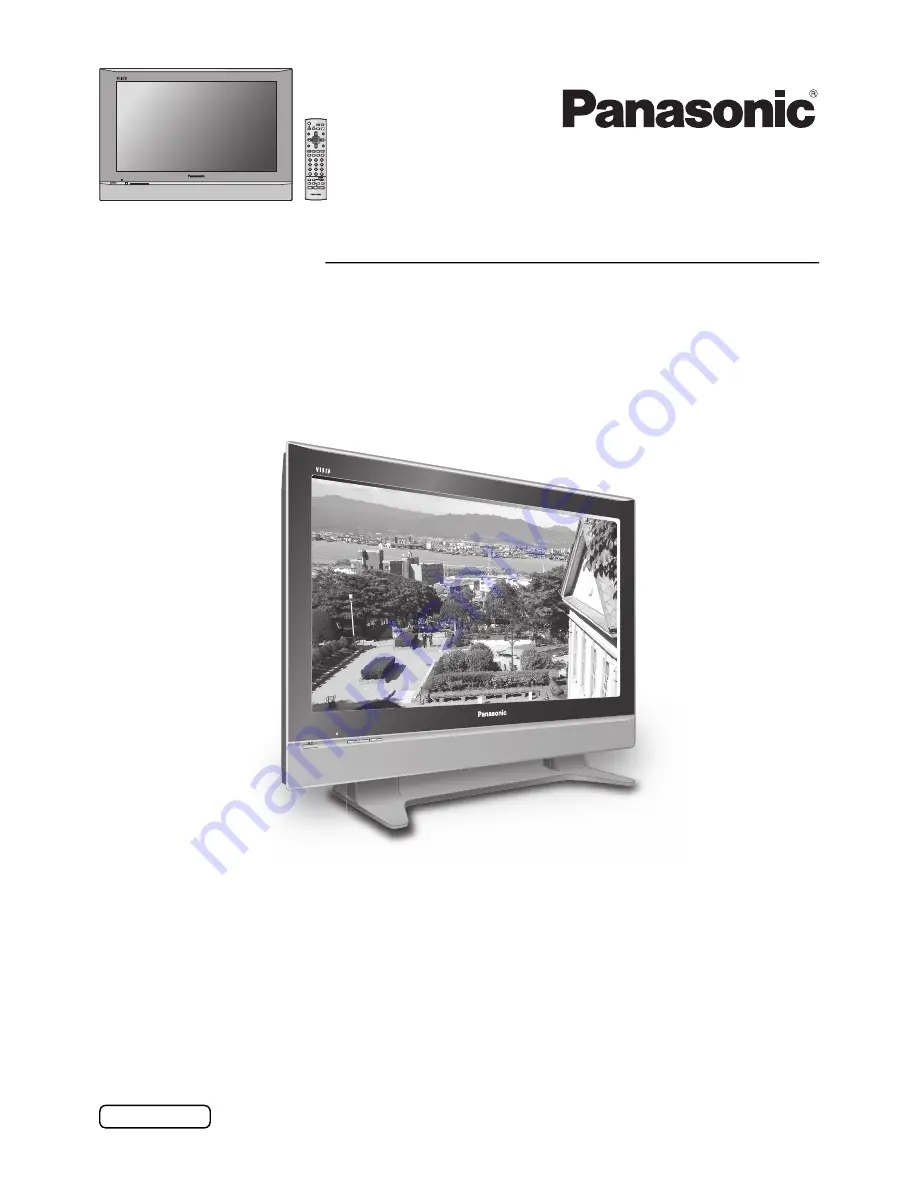
The illustration shown is an image.
Pedestal stand shown above is optional extra.

English

TH-42PA50A

Model No.

Operating Instructions

Progressive Plasma Television

Summary of Contents for TH-42PA50A

Page 1: ...rence TQBC2040 3 1 2 3 4 5 6 7 8 9 0 TV VCR DVD MENU REC TV AV N R TUNE OK ASPECT SURROUND STILL MULTIPIP F P INDEX TV TEXT HOLD The illustration shown is an image Pedestal stand shown above is optional extra English TH 42PA50A Model No Operating Instructions Progressive Plasma Television ...

Page 2: ...binding instructions 7 Antenna connection 8 Power On Off 8 Audio Video connections 9 How to connect the Monitor Output terminals to other Equipment 10 How to connect the AV1 S Video Input terminals 10 How to connect the AV2 AV3 Component Input terminals 10 Basic controls front panel and remote control 11 Using the On Screen Displays 12 Tuning 13 Tuning menu 13 Auto tuning 14 Auto tuning via front ...

Page 3: ...ance keep it away from sources of strong electromagnetic fields 2 If a static electricity discharge occurs inside the front cover the screen may momentarily flicker This is not a malfunction The screen will return to normality in a short while To prevent electric shock ensure the grounding pin on the AC cord power plug is securely connected Trademark Credits VGA is a trademark of International Bus...

Page 4: ...pment away from this product Keep unneeded small parts and other objects out of the reach of small children These objects can be accidentally swallowed Also be careful about packaging materials and plastic sheets When using the Plasma TV The Plasma TV is designed to operate on 220 240 V AC 50 60 Hz Do not cover the ventilation holes Doing so may cause the Plasma TV to overheat which can cause fire...

Page 5: ...e power supply plug the resultant humidity can damage the insulation which could result in fire Pull the power supply plug out from the wall outlet and wipe the mains lead with a dry cloth This Plasma TV radiates infrared rays therefore it may affect other infrared communication equipment Install your infrared sensor in a place away from direct or reflected light from your Plasma TV Maintenance Th...

Page 6: ...hat the batteries are fitted the correct way round Do not mix old batteries with new batteries Remove old exhausted batteries immediately Do not mix different battery types i e Alkaline and Manganese Do not use rechargeable Ni Cad batteries Pull and hold the hook then open the battery cover Insert batteries note correct polarity and R6 AA size Replace the cover 3 2 1 Remote Control Transmitter N2Q...

Page 7: ...pushing in till a clicking sound is heard Pull up while drawing the knob Clamp Clamper Bundle cables using the two clampers left and right fitted to the plasma TV Open Close Note To avoid interference appearing on the screen do not bundle the RF cable and mains lead together ...

Page 8: ...required For best reception an outdoor antenna is recommended UHF Aerial Notes Do not put the Coaxial cable close to the mains lead to avoid noise Do not place the Coaxial cable under the TV Additional equipment cables and adapter plugs shown are not supplied with this TV set To obtain optimum quality picture and sound an Aerial the correct cable 75 Ω coaxial and the correct terminating plug are r...

Page 9: ...n AV3 Audio Video Component terminals The on screen selector keys will disappear after a few seconds If you want to select an input when the keys are not shown press any one of the coloured buttons and the keys will reappear Yellow Red Green TV AV Notes You can also select an AV source using the TV AV button on the front panel of the TV Press the TV AV button repeatedly until you reach the AV sour...

Page 10: ...ONENT VIDEO OUT PB CB PR CR 10 Audio Video connections Note Component input terminals accept progressive or non progressive signals format as well as high definition 720p 50Hz 720p 60Hz 1080i 50Hz and 1080i 60Hz How to connect the AV2 AV3 Component Input terminals How to connect the Monitor Output terminals to other Equipment How to connect the AV1 S Video Input terminals Example of output signal ...

Page 11: ...wed channel or input mode Programme Number Selection Press to select the next higher or lower Programme number MENU button Press to access the Picture Sound and Setup menus see page 12 17 19 Coloured buttons used for the selection navigation and operation of various functions Teletext button see page 23 25 Text F P button see page 24 Text Index see page 25 Recall Press to display the current syste...

Page 12: ... range of options The OK button is used with a number of features to store settings after adjustments have been made or options have been set The TV AV button is used to exit the menu system and return to the normal viewing screen An On Screen Help box is displayed whenever a menu is displayed on the TV This Help box indicates which buttons on the remote control are used to navigate the menu shown...

Page 13: ...5 5MHz 6 5MHz Colour system Lets you select the correct transmission standard for the transmission signal being received See page 19 Auto PAL NTSC 4 43 NTSC 3 58 Fine tuning Use to make small adjustments to the tuning of an individual station useful for example when weather conditions are affecting reception quality of a programme To cancel the Fine tuning tune again by Manual tuning Skip It is po...

Page 14: ...s completed the TV will display the programme now stored on programme position 1 Press the TV AV button at any time to go back to watching TV please read the Notes in the above procedure TV AV AUTO SETUP IN PROGRESS SEARCHING PLEASE WAIT 12 Return Exit Auto tuning via front panel Press the F button until Tuning mode is reached Press the or button to access Tuning mode Press the F button until Auto...

Page 15: ...above procedure to tune additional programme positions Press the F button at any time to exit the Tuning menu It is also possible to use the control panel buttons on the front of the TV to tune individual programme positions Notes If a clear picture cannot be obtained even when a Broadcast or AV signal is received refer to the Colour system selection on page 13 After the Manual tuning is finished ...

Page 16: ... 3 4 5 S2 S10 6 9 9A 21 62 63 69 S 1 S 2 S 3 21 22 23 24 28 57 58 59 62 63 69 90 91 92 93 94 95 96 97 98 99 70 73 74 75 76 77 78 79 80 81 89 100 107 117 118 120 125 S11 S12 S13 S14 S15 S16 S17 S18 S19 S20 10 11 12 S11 S44 20 21 S1 S2 S10 S21 S41 69 NZ INDONES Australia Sys select CH DISPLAY ...

Page 17: ...tomatically D PNR Reduces noise in a channel with many noises Off Recommended mode when receiving a strong signal Strong Applies strong noise reductions regardless of input signals Weak Applies weak noise reductions regardless of input signals Auto Automatically reduces unwanted picture noise MPEG NR Reduces MPEG noise Off Strong Mid Weak This function is effective in reducing the digital block no...

Page 18: ...sound output Balance The levels of sound between the left and right speakers can be adjusted to suit your listening position Surround To enjoy a concert hall effect turn Surround to On Switching is also possible by pressing the SURROUND button The benefits of Surround sound are enormous You can be completely enveloped in sound just as if you were at a concert hall or cinema The Surround effect can...

Page 19: ...ion equipment Colour matrix Displayed during AV mode Available only with 480p or 576p input signals in a natural colour from digital equipment connected to AV2 AV3 Component terminals Select SD or HD to adjust suitable colour parameters for SD standard definition or HD high definition SD When the input signal is a normal TV system NTSC HD When the input signal is a High Definition system Side pane...

Page 20: ... has previously been set enter the required 4 digit Owner ID PIN NUMBER using 0 to 9 on the remote control If a 4 digit PIN NUMBER was entered above you will be taken automatically to the NAME line If not move to the NAME line Change character Select character position Repeat above until NAME HOUSE NUMBER and POSTCODE are entered Press the OK button to store the details Press again when you are as...

Page 21: ...ith black stripes down the left and right sides of the picture The 4 3 picture will be stretched horizontally so that the image fills the screen this is done in such a way that the stretching is only obvious at the left and right edges of the screen Just 4 3 will display a 4 3 picture at its standard 4 3 size with no aspect distortions 4 3 Zoom1 allows you to magnify the picture Zoom1 Zoom2 will d...

Page 22: ...PIP button whilst the selector keys are displayed to return to normal viewing Notes This operation cannot be made during progressive or HD signal input Y PB CB PR CR This TV has one tuner When the main and sub windows are both TV mode these are the same TV channel TV AV Changing the channels A B Change POP PAP AV1 AV1 2 2 Change POP PAP Press the Blue button Each time the main window and the sub w...

Page 23: ...old the OK button the page numbers will change to white indicating that the page is stored HOLD HOLD To hold the Teletext page when viewing multi page information Press again to return to automatic page update Teletext features may vary depending on the Broadcasting Companies and is only available if the channel selected is transmitting Teletext Pressing the MENU button whilst in Teletext operatio...

Page 24: ...e you require As each sub page is found its number is displayed at the top of the page so that you may select it as more sub pages are picked up the display at the top of the page changes so that you are always offered the most recently transmitted selection of sub pages In Teletext operation use the following procedure to access sub pages If the sub page you want to look at is not yet available p...

Page 25: ...iew the page Regardless of how many pages are found pressing the Yellow button will take you to the sub page which you requested Press the TV TEXT button to return to normal TV operation INDEX INDEX When in TOP operation Press the INDEX button to return to the main index page Depending on the way information is transmitted this may have to be pressed more than once to return to the main index page...

Page 26: ...Sound Selection button Notes If the stereo signal is poor or the receiving conditions are not optimum or if STEREO MONO automatic switching occurs it is recommended you switch from STEREO to MONO Even when the contents of the receiving signal undergo changes selection mode is kept intact When the receiving conditions deteriorate listening will be easier if the mode is set to the MONO position usin...

Page 27: ...ols operate the DVD equipment or VCR Play Press to playback the tape or DVD Stop Press to stop the tape or DVD Search Fast Forward Cue VCR Press to fast forward the tape In Play mode press to view the picture rapidly forward Cue When fast forwarding the tape the picture noise may occur DVD Press for slow motion play Press and hold to search forward Search Rewind Review VCR Press to rewind the tape...

Page 28: ... the screen do not light up The plasma TV panel is manufactured using an extremely high level of precision technology however sometimes some parts of the screen may be missing picture elements or have luminous spots This is not a malfunction After images appear ABCDEF ABCDEF Do not allow a still picture to be displayed for an extended period as this can cause a permanent after image to remain on t...

Page 29: ... kHz Vertical frequency Hz 480i 60 Hz 15 73 59 94 480p 60 Hz 31 47 59 94 576i 50 Hz 15 63 50 00 576p 50 Hz 31 25 50 00 720p 50 Hz 37 50 50 00 720p 60 Hz 45 00 60 00 1 080i 50 Hz 28 13 50 00 1 080i 50 Hz 31 25 50 00 1 080i 60 Hz 33 75 60 00 Based on SMPTE295M standard Note Signals other than above may not be displayed properly ...

Page 30: ... Video Disc Players Via the AV Sockets only Receiving Channels VHF 0 to 12 UHF 21 to 69 S 1 to S 3 S1 to S41 PAL B PAL G HYPER TUNER One tuner Aerial Rear UHF VHF Operating Conditions Temperature 0 C 40 C Humidity 20 80 RH non condensing Connection Terminals AV1 Input AUDIO L R RCA PIN Type 2 0 5 Vrms VIDEO RCA PIN Type 1 1 0 Vp p 75 Ω S VIDEO MINI DIN 4 pin Y 1 0 Vp p 75 Ω C 0 286 Vp p 75 Ω AV2 I...

Page 31: ...c Authorised Service Centre together with your proof of purchase receipt as a proof of purchase date Please note that freight and insurance to and or from your nearest Authorised Service Centre must be arranged by you Note that home or pick up delivery service is available for the following products in the major metropolitan areas of Australia or the normal operating areas of the nearest Authorise...

Page 32: ...ved Customer s Record The model number and serial number of this product can be found on its rear panel You should note this serial number in the space provided below and retain this book plus your purchase receipt as a permanent record of your purchase to aid in identification in the event of theft or loss and for Warranty Service purposes Model Number Serial Number ...

Reviews: