


TQBC0279-1
This is a combined Operating Instruction
manual for all the above series of models.
Please read these instructions before
operating your set and retain them for
future reference.
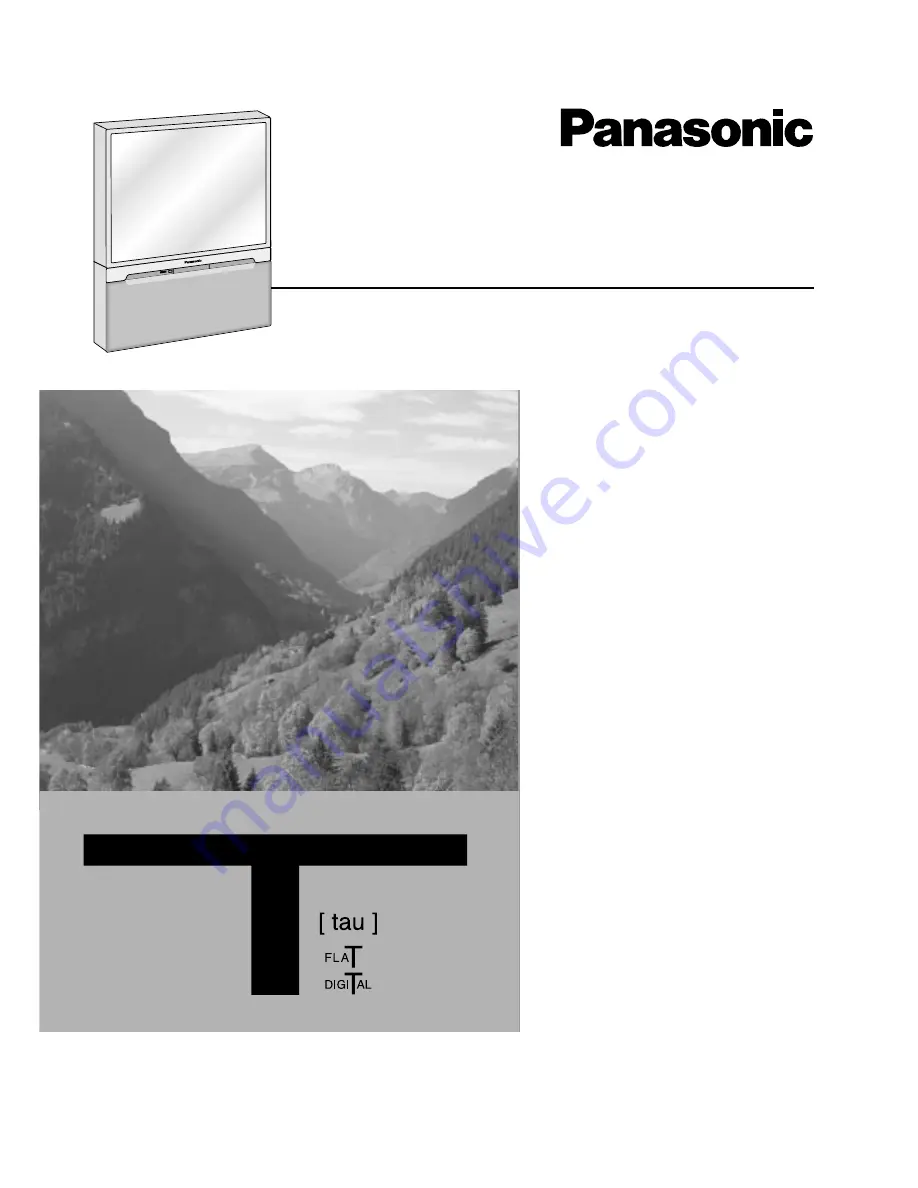
Operating Instructions
Projection Television
TC-43P250H
TX-43P250H
TX-43P250X
TC-51P250H
TX-51P250H
TX-51P250X
Model No.


