background image

PP

SQT0946

M0715KZ0

Basic Owner’s Manual
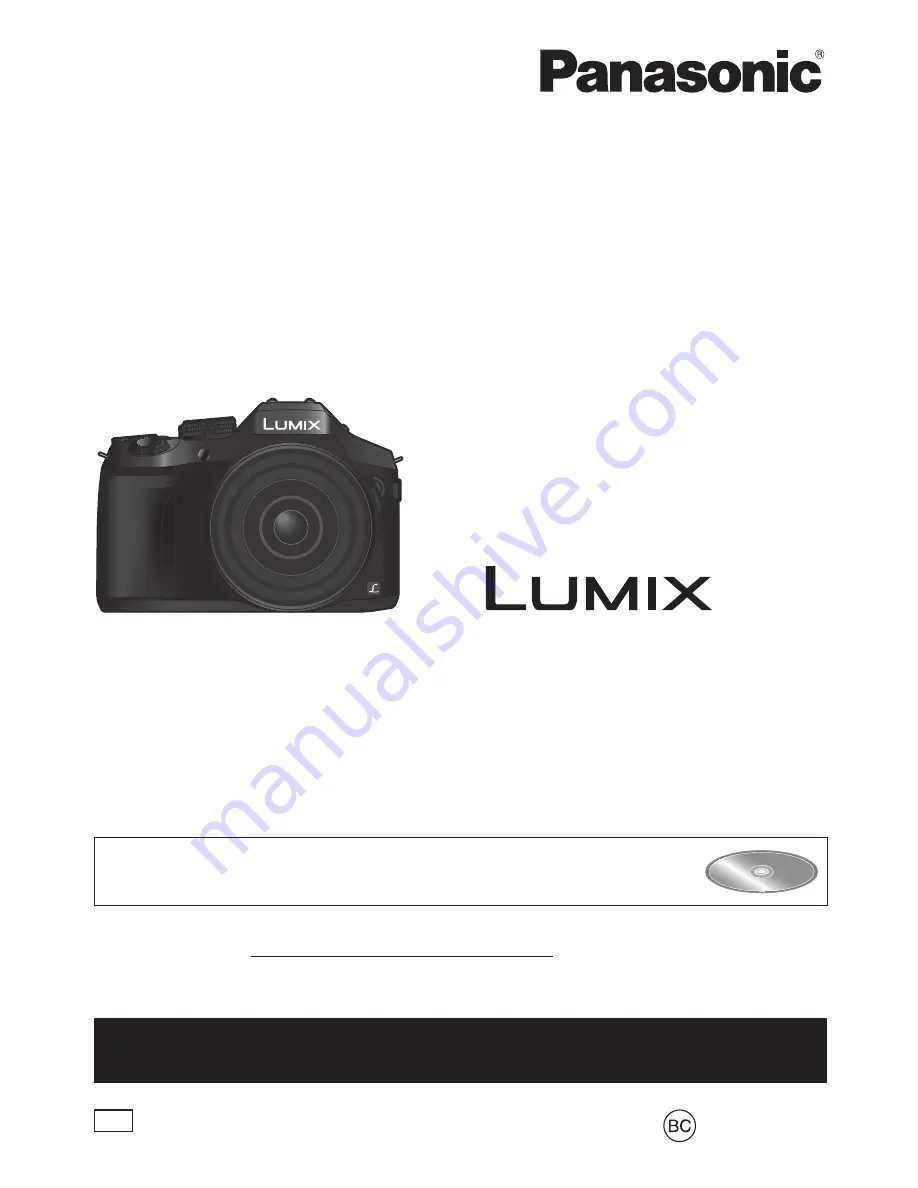
Digital Camera

Model No.

DMC-FZ300

Please read these instructions carefully before using this product, and save this manual 
for future use.

More detailed instructions on the operation of this camera are 
contained in “Owner’s Manual for advanced features (PDF format)” in 
the supplied disc.

Register online at http://shop.panasonic.com/support 

(U.S. customers only)

If you have any questions, visit:
USA : http://shop.panasonic.com/support
Canada : www.panasonic.ca/english/support

Summary of Contents for Lumix DMC-FZ300

Page 1: ...this manual for future use More detailed instructions on the operation of this camera are contained in Owner s Manual for advanced features PDF format in the supplied disc Register online at http sho...

Page 2: ...ns in this Owner s Manual Carefully observe copyright laws Recording of pre recorded tapes or discs or other published or broadcast material for purposes other than your own private use may infringe c...

Page 3: ...n the Wi Fi 3 Press to select Approved Regulations and press MENU SET Contains FCC ID VPYLBXN604 This transmitter must not be co located or operated in conjunction with any other antenna or transmitte...

Page 4: ...tenna Increase the separation between the equipment and receiver Connect the equipment into an outlet on a circuit different from that to which the receiver is connected Consult the dealer or an exper...

Page 5: ...lies with RSS 210 of the IC Rules Operation is subject to the following two conditions 1 This device may not cause harmful interference 2 This device must accept any interference received including in...

Page 6: ...recommended by the manufacturer When disposing of the batteries please contact your local authorities or dealer and ask for the correct method of disposal Do not heat or expose to flame Do not leave t...

Page 7: ...or sound on this unit may be disrupted by electromagnetic wave radiation Do not use this unit near cell phones because doing so may result in noise adversely affecting the pictures and or sound Record...

Page 8: ...ttons Function buttons 26 Recording Taking pictures with automatic settings Intelligent Auto Mode 27 Switching between Intelligent Auto Plus Mode and Intelligent Auto Mode 27 Taking pictures using a h...

Page 9: ...a smartphone remote recording 46 Playing back pictures in the camera on a smartphone 46 Saving pictures in the camera to a smartphone 46 Sending pictures in the camera to social networking services 4...

Page 10: ...camera wipe them off with a dry soft cloth Not doing so may result in incorrect recognition of touch operations or erroneous flash display If the monitor is closed when such liquids are present malfun...

Page 11: ...p shop panasonic com support for further information about obtaining replacement parts For Canada only If any accessories are lost customers in Canada should visit our support page at www panasonic ca...

Page 12: ...mode 13 Flash 14 Stereo microphone Be careful not to cover the microphone with your finger Doing so may make sound difficult to record 15 Hot shoe 16 Flash open lever The flash opens and recording wit...

Page 13: ...26 40 Fn3 button 26 37 REMOTE socket 38 HDMI socket 39 AV OUT DIGITAL socket 40 DC coupler cover 17 Always use a genuine Panasonic AC adaptor DMW AC10PP optional When using an AC adaptor ensure that...

Page 14: ...d align the mounting mark on the lens hood with the mark at the bottom of the camera Make sure the lens hood is secured properly and its reflection does not fall on images Mounting mark on the lens ho...

Page 15: ...tring through the lens cap and then pass the lens cap through the loop formed by the string 3 Fasten the string 4 Attach the lens cap Attaching the Shoulder Strap We recommend attaching the shoulder s...

Page 16: ...too high or too low We recommend charging in a location where the ambient temperature is between 10 C and 30 C 50 F to 86 F Battery charger connector is dirty Clean with a dry cloth Charge the battery...

Page 17: ...il it clicks To remove the card push the center of the card until it clicks then pull the card out upright DC coupler cover Make sure the DC coupler cover is securely closed and then close the card ba...

Page 18: ...g Confirm the SD speed by checking the card label or other card related materials Rec Format Rec Quality Speed class Label example AVCHD All Class 4 or higher MP4 FHD HD VGA MP4 4K High Speed Video UH...

Page 19: ...t is recommended that you close it with the screen facing inward to prevent dirt and scratches Setting the clock The clock is not set when the camera is shipped 1 Turn the camera on The status indicat...

Page 20: ...e mode to Single 1 Press the shutter button halfway press lightly to focus on the subject The aperture value and shutter speed are displayed If the aperture value and shutter speed are shown in red an...

Page 21: ...ideo Mode 29 Determine aperture and shutter speed then record motion pictures You cannot take still pictures Custom Mode Record pictures using pre registered settings Panorama Shot Mode Record panoram...

Page 22: ...You can set the aperture value shutter speed and other settings when in following recording modes Mode dial Rear dial 1 Program Shift Aperture value Shutter speed Shutter speed Aperture value 2 1 You...

Page 23: ...Auto Focus If you press the side button the selection screen for the case when focus is on a nearby subject macro recording is displayed In the Intelligent Auto Mode or the AF Tracking function is ap...

Page 24: ...omatically switches the display to viewfinder when your eye or an object moves close to the viewfinder About diopter adjustment Rotate the diopter adjustment dial to adjust until you are able to clear...

Page 25: ...ing up the menu 2 Press to select the menu item and press MENU SET 3 Press to select the setting and press MENU SET Selected setting Settings 4 Press the Q MENU button repeatedly until the recording o...

Page 26: ...ng frequently used functions to the buttons Function buttons You can assign frequently used functions to particular buttons Fn1 Fn4 or icons displayed on the screen Fn5 Fn9 1 Set the menu Custom Fn Bu...

Page 27: ...imal scene the icon for each scene turns blue for 2 seconds and then changes to the normal red indication Switching between Intelligent Auto Plus Mode and Intelligent Auto Mode 1 Press MENU SET 2 Pres...

Page 28: ...e setting screen 2 Rotate the rear dial to adjust the background defocusing condition Press MENU SET to return to the recording screen Pressing Fn2 button on the blurriness setting screen will cancel...

Page 29: ...tting the mode dial to or 4 Press the motion picture button or shutter button to start recording Still pictures cannot be taken 5 Press the motion picture button or shutter button to stop recording Se...

Page 30: ...tting is useful when you want to increase the number of recordable pictures without changing the number of pixels RAW JPEG Saves pictures in JPEG file format or in addition to the RAW file format 1 RA...

Page 31: ...can check whether the point of focus is to the near side or the far side MF Guide Recording mode 1 Set the focus mode lever to AFS AFF or AFC 2 Press the side button If you cannot select the macro rec...

Page 32: ...d with different exposure settings based on the Exposure Compensation range Self Timer When the shutter button is pressed recording takes place after the set time has elapsed Cannot be set when using...

Page 33: ...ing the best shot of a fast moving subject Burst recording is performed while the shutter button is pressed and held The shutter sound will be heard repeatedly Press and hold Recording is performed Re...

Page 34: ...pproximately 2 seconds 4 Press the shutter button to perform recording 4K Burst Press the shutter button halfway Press and hold the shutter button fully for as long as you want to perform recording 4K...

Page 35: ...tive Video Mode is displayed on the screen at all times The angle of view may become narrower as compared to that during recording Optical Zoom 1 You can zoom in without degrading the picture quality...

Page 36: ...n press the DISP button or touch the monitor If you press the shutter button down fully you can take still pictures while recording motion pictures Recording state indicator Elapsed recording time Rem...

Page 37: ...rate approx 4K 100M 30p 3840 2160 30p 100 Mbps 4K 100M 24p 3840 2160 24p 100 Mbps FHD 28M 60p 1920 1080 60p 28 Mbps FHD 20M 30p 1920 1080 30p 20 Mbps HD 10M 30p 1280 720 30p 10 Mbps VGA 4M 30p 640 48...

Page 38: ...o be scrolled The pictures are displayed in a reduced size The playback speed of pictures varies depending on the playback conditions Sending pictures to the WEB services If you press while a single p...

Page 39: ...time Example 29 minutes and 30 seconds 29m30s Operations during motion picture playback Button operation Touch operation Description Play pause Fast rewind 1 Single frame rewind 2 while paused Volume...

Page 40: ...cted picture group are deleted 1 Press Q MENU button while viewing a picture Step 1 above 2 Use to select Delete Multi Delete All and press MENU SET When Delete All is selected A confirmation screen i...

Page 41: ...Reinstate Adjustments Color Space Picture Size Only when Monochrome is selected for Photo Style 4 Press MENU SET to set The setting methods vary depending on the item 5 Press MENU SET The screen in st...

Page 42: ...tion ratio The following operating methods are available to make adjustments on the comparison screen Button operation Touch operation Description Drag Used to make adjustments DISP DISP Used to retur...

Page 43: ...asily set up a direct connection to your smartphone without entering a password Displaying still pictures on a TV Wireless printing Sending pictures to AV device Sending pictures to a PC Using WEB ser...

Page 44: ...ted OS versions as of July 2015 Supported OS versions may be changed without prior notice For details about the operating procedure etc refer to Help in the Image App menu If you connect the camera an...

Page 45: ...the camera 4 On the smartphone start Image App When the connection confirmation screen appears on the camera select Yes and press MENU SET Only when making a connection for the first time Wi Fi Passwo...

Page 46: ...nt you may notice degradation in the picture quality or skipping of sound when playing back motion pictures and still pictures Saving pictures in the camera to a smartphone 1 Connect to a smartphone 4...

Page 47: ...nformation written to it Combining motion pictures recorded with Snap Movie according to your preference on a smartphone Using a smartphone you can combine motion pictures recorded with the camera s S...

Page 48: ...t will be displayed Click the language of the Owner s Manual you want to open The Owner s Manual for advanced features PDF format will open You can save the Owner s Manual for advanced features on the...

Page 49: ...oilo tv product 20 Installing supplied software The software compatible with your PC will be installed Preparations Check your PC s specifications and operating environment for each software Before in...

Page 50: ...display EXPS Types of picture effects Filter Card displayed only during recording XXhXXmXXs Elapsed recording time 1 36 Simultaneous recording indicator Automatic switching between viewfinder and mon...

Page 51: ...low illumination Focus Starlight AF Wi Fi connection status Histogram Name 2 Travel elapsed days 3 Age in years months 2 Location 3 Current date time 3 Travel destination setting 3 Exposure meter Zoo...

Page 52: ...en the number of recordable pictures and available recording time with the Remaining Disp setting in the Custom menu Touch tab Touch zoom Touch Shutter Touch AE Peaking Function buttons 26 43 Coloring...

Page 53: ...ash Mode Flash Single 32 Burst 32 4K PHOTO 33 Auto Bracket 32 Self Timer 32 AFS AFF AFC MF Focus Mode 21 31 AF Mode Quality 30 Aspect Ratio 29 Picture Size 30 Wi Fi Wi Fi 43 Function button setting 26...

Page 54: ...ality AFS AFF Metering Mode Burst Rate 4K PHOTO Auto Bracket Self Timer Highlight Shadow i Dynamic i Resolution iHandheld Night Shot iHDR HDR Multi Exp Time Lapse Shot Stop Motion Animation Panorama S...

Page 55: ...tton Set Side Button Setting Zoom lever Side Lever Zoom Resume Q MENU Dial Set Video Button Eye Sensor Touch Settings Touch Scroll Menu Guide Setup Clock Set World Time Travel Date Wi Fi Beep Live Vie...

Page 56: ...e mode is set to 4K PHOTO and 4K PHOTO in the Rec menu is set to 4K Pre Burst the camera temperature rises In some cases the camera may display switch to 4K Burst and stop the recording to protect its...

Page 57: ...nge or horizontal striping may appear on the screen 4K photo recording stops before finishing When the ambient temperature is high or recording with 4K Burst or 4K Burst S S of the 4K Photo function i...

Page 58: ...era 18 Thumbnail is displayed is shown on the screen The pictures may have been recorded on another device If so they may be displayed with poor picture quality Motion pictures taken with this camera...

Page 59: ...switchable wireless access point connected to other equipment using the 5 GHz band The use of a wireless access point that can use 5 GHz 2 4 GHz simultaneously is recommended It cannot be used simult...

Page 60: ...The input setting may not be able to be changed automatically with certain television HDMI sockets In this case please change the input setting with your television s remote control consult your tele...

Page 61: ...er diameter 52 mm Image Stabilizer Optical method Focus range AF 30 cm 0 98 feet Max Wide 2 m 6 6 feet Max Tele to AF Macro MF Intelligent Auto Motion picture 1 cm 0 033 feet Max Wide 1 m 3 3 feet Max...

Page 62: ...0 diopter Flash Built in pop up flash AUTO AUTO Red Eye Reduction Forced ON Forced ON Red Eye Reduction Slow Sync Slow Sync Red Eye Reduction Forced OFF Microphones Stereo Speaker Monaural Recording...

Page 63: ...EUTSCH FRAN AIS ESPA OL PORTUGU S ITALIANO Wi Fi Compliance standard IEEE 802 11b g n standard wireless LAN protocol Frequency range used central frequency 2412 MHz to 2462 MHz 1 to 11 ch Encryption m...

Page 64: ...e control DMW RSL1 Stereo shotgun microphone DMW MS2 Stereo microphone VW VMS10 AV cable DMW AVC1 USB connection cable DMW USBC1 1 The AC adaptor optional can only be used with the designated Panasoni...

Page 65: ...Sales Tax Total 3 Method of payment check one American Express VISA Credit Card MasterCard Expiration Date Discover Customer Signature Please do not send cash 4 Shipping information UPS delivery requ...

Page 66: ...roduct or c refund your purchase price The decision to repair replace or refund will be made by the warrantor Product or Part Name Parts Labor Digital Camera 1 Year 1 Year All included Accessories Exc...

Page 67: ...SALES RECEIPT PROOF OF PURCHASE INDICATING DATE OF PURCHASE AMOUNT PAID AND PLACE OF PURCHASE CUSTOMER WILL BE CHARGED FOR THE REPAIR OF ANY UNIT RECEIVED WITHOUT SUCH PROOF OF PURCHASE Limited Warran...

Page 68: ...y gives you specific legal rights and you may also have other rights which vary from state to state If a problem with this product develops during or after the warranty period you may contact your dea...

Page 69: ...r replace or refund will be made by Panasonic Canada Inc Digital Camera One 1 year parts and labour Digital Camera Peripherals One 1 year parts and labour Digital Camera Accessories Ninety 90 days par...

Page 70: ...arranted for ninety 90 days from date of original purchase THIS EXPRESS LIMITED WARRANTY IS IN LIEU OF ALL OTHER WARRANTIES EXPRESS OR IMPLIED INCLUDING ANY IMPLIED WARRANTIES OF MERCHANTABILITY AND F...

Page 71: ...Inc registered in the U S and other countries iPad iPhone iPod and iPod touch are trademarks of Apple Inc registered in the U S and other countries App Store is a service mark of Apple Inc Android an...

Page 72: ...tion of North America Two Riverfront Plaza Newark NJ 07102 5490 http shop panasonic com Panasonic Canada Inc 5770 Ambler Drive Mississauga Ontario L4W 2T3 www panasonic com Panasonic Corporation 2015...

Reviews: