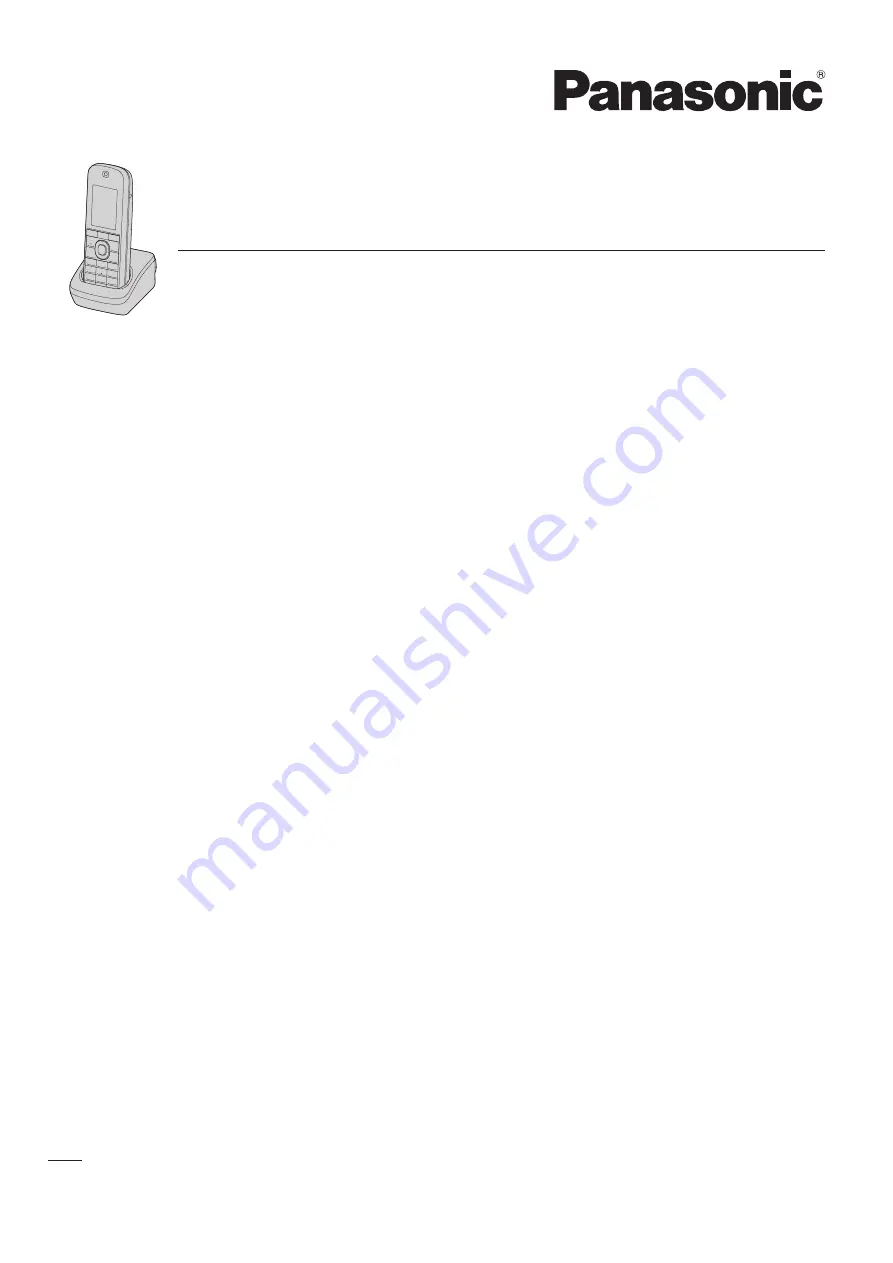
background image

 Model No.


KX-UDT121

Operating Instructions

DECT 6.0 Portable Station

Document Version: 2013-03

Thank you for purchasing this Panasonic product.
Please read this manual carefully before using this product and save this manual for future use.
Please use only the battery provided and charge the battery for about 3 hours before using the handset for 
the first time. For details, see "Charging the Battery" in this manual.

Note
In this manual, the suffix of each model number is omitted unless necessary.

Summary of Contents for KX-UDT121

Page 1: ...se read this manual carefully before using this product and save this manual for future use Please use only the battery provided and charge the battery for about 3 hours before using the handset for t...

Page 2: ...ut the programming and maintenance of the SIP Cell Station Unit CS Installation Guide Briefly describes basic information about the installation of the SIP Cell Station Unit CS Manuals and supporting...

Page 3: ...ote The serial number of this product may be found on the label affixed to the inside of the battery compartment on the back of the handset You should note the serial number of this unit in the space...

Page 4: ...22 Function Menus 23 Function Keys 23 Selecting the Display Language 24 Changing the Handset Phone Number Display 24 Editing the Names of the Flexible Keys 24 Adjusting the Ringer Volume 24 Changing...

Page 5: ...he Handset Phonebook 38 Phonebook and vCard Transfer by Bluetooth 38 Assigning Hot Keys 39 Memo Alarm Setting 40 Entering Characters 41 Character Mode Table 42 Deleting Stored Items 43 Changing Handse...

Page 6: ...this product Only qualified personnel should service this product Opening or removing covers may expose you to dangerous voltages or other risks Incorrect reassembly can cause electric shock Unplug th...

Page 7: ...oduct on an unstable surface as a fall may cause serious internal damage CAUTION The AC adaptor is used as the main disconnect device Ensure that the AC outlet is installed near the product and is eas...

Page 8: ...not use the telephone in the vicinity of a gas leak to report the leak SAVE THESE INSTRUCTIONS For Users in the United States Only FCC and Other Information Privacy of communications may not be ensure...

Page 9: ...identifier in the format US ACJ If requested this number must be provided to the telephone company If trouble is experienced with this equipment for repair or warranty information please contact Pana...

Page 10: ...ireless telephone farther away from the TV or VCR This will often reduce or eliminate interference This transmitter must not be co located or operated in conjunction with any other antenna or transmit...

Page 11: ...he AC outlet before cleaning Wipe the product with a soft cloth Do not clean the product with abrasive powder or with chemical agents such as benzine or thinner Do not use liquid cleaners or aerosol c...

Page 12: ...prevent memory loss Replace the battery and charge the new battery for about 3 hours If you replace the battery before the low battery warning appears the battery strength icon may display an incorrec...

Page 13: ...2 1 Part No Part No PNKE1142Z1 PSKE1040Z4 1 For details consult your administrator or dealer 2 The battery cover comes attached to the handset To order accessories call toll free 1 800 332 5368 For u...

Page 14: ...www panasonic com sip for users in the United States http panasonic net pcc support sipphone for users in Canada C TALK SP PHONE Speakerphone Key Used to make or answer calls or toggle between Receiv...

Page 15: ...can be selected from the menu or accessed quickly by pressing FLEX then the assigned key H Receiver I Display For details see Display Page 18 J Soft Keys The handset features 3 soft keys By pressing...

Page 16: ...key for more than 2 seconds The icon will change to to indicate the keys have been unlocked Note If you select Manual Password or Auto Password for Key lock type you need to enter the password to unlo...

Page 17: ...arity during a call You can enable or disable Advanced Voice Clarity during a call by doing either of the following a Press FUNC then press or to select Voice Clarity and then press or b Press To disp...

Page 18: ...e 24 Ringer Off See page 24 Silent Mode See page 16 Auto Answer See page 23 Microphone Mute Call Forwarding See page 31 Do Not Disturb See page 31 Time Display Date Incoming Call Log Status New Messag...

Page 19: ...e a call Turns the ringer off Activate deactivate Advanced Voice Clarity When in standby mode opens the main menu When changing viewing settings opens the list menu edit delete in the phonebook etc Wh...

Page 20: ...hen in standby mode During a conversation turns the microphone mute feature on or off For details about the Mute Auto Answer function see Function Keys Page 23 Opens the Incoming Call Log Note The dis...

Page 21: ...zes the line assigned to the DN key When a call arrives at the DN key pressing the key answers the call Status Indication Off Idle Green on You are on a call using the DN key Flashing green rapidly A...

Page 22: ...or Key Press the Navigator Key or press the Navigator Key or press the Navigator Key FLEX FUNC 1 If soft key display settings are changed the soft keys shown here may not be displayed The selected ite...

Page 23: ...he display key list 1 Press FUNC to display the function key list 2 Press or to select the desired function and then press You can also press the number key corresponding to a function number to selec...

Page 24: ...r Volume The volume of the ringer can be adjusted or turned off Adjusting the Ringer Volume or Turning the Ringer Off 1 Press or the CENTER navigation key 2 Select Ringer Volume by pressing the arrow...

Page 25: ...e 14 and Adjusting the Ringer Volume Page 24 Adjusting the Receiver Speaker Headset Volume During a conversation press or to adjust the volume Level 1 6 Note If you are using a Bluetooth headset you c...

Page 26: ...about searching for an item in the phonebook see Searching for an Item in the Phonebook Page 27 For details about entering characters see Entering Characters Page 41 For details about storing an item...

Page 27: ...an search by category 1 While in standby mode press or 2 Press and then press 3 Press or to select a category and then press 4 Enter the name or the first character s of the desired name of the item i...

Page 28: ...S1000 PBX For details refer to the documentation of the KX NS1000 Rejecting an incoming call You can reject an incoming call from your handset 1 While an incoming call is ringing press 2 The call will...

Page 29: ...the dial key corresponding to the slowly flashing green DN key or press or to select a slowly flashing green DN key and then press Transferring a Call Call Transfer You can transfer a call to another...

Page 30: ...called party answers press FUNC and then press 2 Conference Note The soft key can also be used to access the Conference function directly To display this key edit the displayed soft keys For details...

Page 31: ...ed to a KX NS1000 PBX press and then press If the CS is not connected to a KX NS1000 PBX press Note When Call Forwarding and or Do Not Disturb is enabled and or appears on the display in standby mode...

Page 32: ...eadset Notice Perform any procedures on the headset necessary for registering it before configuring the settings on the handset Otherwise the Bluetooth headset may not be registered To register a Blue...

Page 33: ...to select Bluetooth Option and then press 4 Press or to select BT Headset and then press 5 Press or to select Connection and then press 6 Press or to select Off and then press Call Handling with a Bl...

Page 34: ...r by Bluetooth Page 38 Registering a Cell Phone 1 Press or the CENTER navigation key 2 Select Setting Handset by pressing the arrow keys and then press 3 Press or to select Bluetooth Option and then p...

Page 35: ...ns and color patterns see Incoming Option Page 46 2 For details about Caller ID information see Caller ID Page 28 Storing an Item in the Handset Phonebook Storing a New Item 1 Press or the CENTER navi...

Page 36: ...a category Steps 9 and 10 can be omitted if you do not want to assign a default number The first number entered for an entry will automatically be assigned as the default number For details about ente...

Page 37: ...y Option and then press 4 Press or to select Category Name and then press 5 Press or to select the desired category number 1 9 and then press 6 Enter a name for the category max 13 characters and then...

Page 38: ...1 your cell phone name and then press 8 Press or to select Auto or Manual and then press If you select Auto the download will started automatically If you select Manual operate the transfer from the c...

Page 39: ...transferred may be further reduced Assigning Hot Keys You can assign a phone number stored in the phonebook to a key to be used as a Hot Key 1 In standby mode press and hold a dial key 0 9 for more th...

Page 40: ...larm mode Once Enter the date and time using the Navigator Keys and or dial keys and then press Daily Enter the daily time using the Navigator Keys and or dial keys and then press Weekly a Press or to...

Page 41: ...etic Numeric Extended 1 Example To enter Anne in Alphabetic Mode RIGHT RIGHT RIGHT To switch between uppercase and lowercase press To enter a character located on the same dialing key as the previous...

Page 42: ...the characters associated with that key For example to enter the letter C in Alphabet Mode press 3 times Characters that are entered using the key for example cannot be entered when searching the phon...

Page 43: ...1 second 2 Press 3 Press or to select Delete and then press 4 Press or to select Yes and then press Note In step 1 while the Hot Key s information is displayed you can press or to select another Hot K...

Page 44: ...lume Receiver Volume Headset Volume Headset Mic Vol Talk On Charger Answer Option Any Key Answer Quick Answer Auto Ans Delay Key Option Soft Key Edit Soft Key Name Key Lock Type Auto Lock Time Hot Key...

Page 45: ...mware Update 1 Enable CS Web 1 Bluetooth Option On Off Cell Phone BT Headset Other Option Change Password Reset Handset MasterCS Address 1 These settings are made available through Web user interface...

Page 46: ...Pattern Selects the vibrate pattern for each type of call Single Single Double Triple Continuous Color Pattern 2 Selects the color pattern for each type of call Normal Normal Yellow Red Vibrate Select...

Page 47: ...Ringer Volume is set to Off the handset rings at level 1 4 This Ringer Type is available if the CS is connected to the SIP server 5 This Ringer Type is available if the CS is connected to a KX NS1000...

Page 48: ...ype Selects the type of key lock Manual Manual Manual Password 2 3 Auto Auto Password 2 3 Auto Lock Time Sets the number of seconds before the handset key lock is activated when Auto is selected as th...

Page 49: ...y 1 9 Not stored Date Format Selects the format for the date shown on the display DD MM YYYY MM DD YYYY MM DD YYYY YYYY MM DD Time Format Selects the format for the time shown on the display 12H 12H 2...

Page 50: ...e registered the handset with a phone system this PIN can be changed so that the handset can be registered to an additional phone system Enter the PIN number max 8 digits 1234 H S Information Displays...

Page 51: ...et the Registration screen of BT Headset is displayed when this option is selected Other Option Sub Item Description Setting Default Change Password 1 2 Changes the handset password 4 digits used for...

Page 52: ...word so that you will not forget it 3 If a password has not already been set you can skip the first step 4 For details about setting the password see Setting the Password Page 16 52 Operating Instruct...

Page 53: ...onic AC adaptor For details see Accessory Information Page 13 WARNING To reduce the risk of fire or electric shock do not overload AC outlets and extension cords Do not bundle the charger s AC adaptor...

Page 54: ...l Please copy this page and use as a reference for wall mounting Make sure to set the print size to correspond with the size of this page If the dimension of the paper output still deviates slightly f...

Page 55: ...in the handset 2 Slide the clip into the holder until it clicks To remove 1 Make sure to turn the handset 180 when you take it off 2 Remove the belt clip Attaching the Phone Strap Open the battery co...

Page 56: ...in 0 70 in 5 02 in Handset on charger 63 0 mm 78 0 mm 140 0 mm 2 48 in 3 07 in 5 51 in Weight Handset including battery 88 g 0 19 lb Handset including battery and charger 135 g 0 30 lb Operating Envi...

Page 57: ...ection or is obstructed during the conversation The front of the handset should face you and the microphone should not be covered For details see Location of Controls Page 14 You cannot make receive a...

Page 58: ...short beeps are heard during a conversation The radio signal is weak Move closer to the CS You charged the battery for 3 hours but the beep tones sound and flashes needs to be charged after a few tel...

Page 59: ...ation using a Bluetooth headset The Bluetooth headset is not registered to the handset Register the Bluetooth headset to the handset For details see Registering a Bluetooth Headset Page 32 A connectio...

Page 60: ...handset The Bluetooth function is not ready The Bluetooth function cannot be accessed immediately after turning on the handset Wait a few seconds and try again A connection could not be made between...

Page 61: ...There is an error with the fixed internal memory Consult your dealer System Locked The System Option menu has been locked and cannot be accessed Consult your administrator or dealer Password Not Store...

Page 62: ...a phonebook download Ensure the handset and the other device are within range of each other and then perform the download operation again BT Headset Link Error The Bluetooth headset is out of range of...

Page 63: ...Function keys 23 Function menus 23 H Headset volume 25 Hold 29 Hot Key Assigning 39 Deleting 43 Dialing 26 K Key Lock 16 L Lock Keys 16 Phonebook 38 M Memo Alarm 40 O One touch Dialing 26 Operation o...

Page 64: ...T Text entering 41 Three party conference 30 Transferring a call 29 V Vibrate 24 Voice Mail 31 Volume Receiver Speaker Headset 25 Ringer 24 64 Operating Instructions Document Version 2013 03 Index...

Page 65: ...Document Version 2013 03 Operating Instructions 65 Notes...

Page 66: ...66 Operating Instructions Document Version 2013 03 Notes...

Page 67: ...Document Version 2013 03 Operating Instructions 67 Notes...

Page 68: ...be reproduced for internal use only All other reproduction in whole or in part is prohibited without the written consent of Panasonic System Networks Co Ltd PNQX5288XA DD0912MH2033 One Panasonic Way...

Reviews: