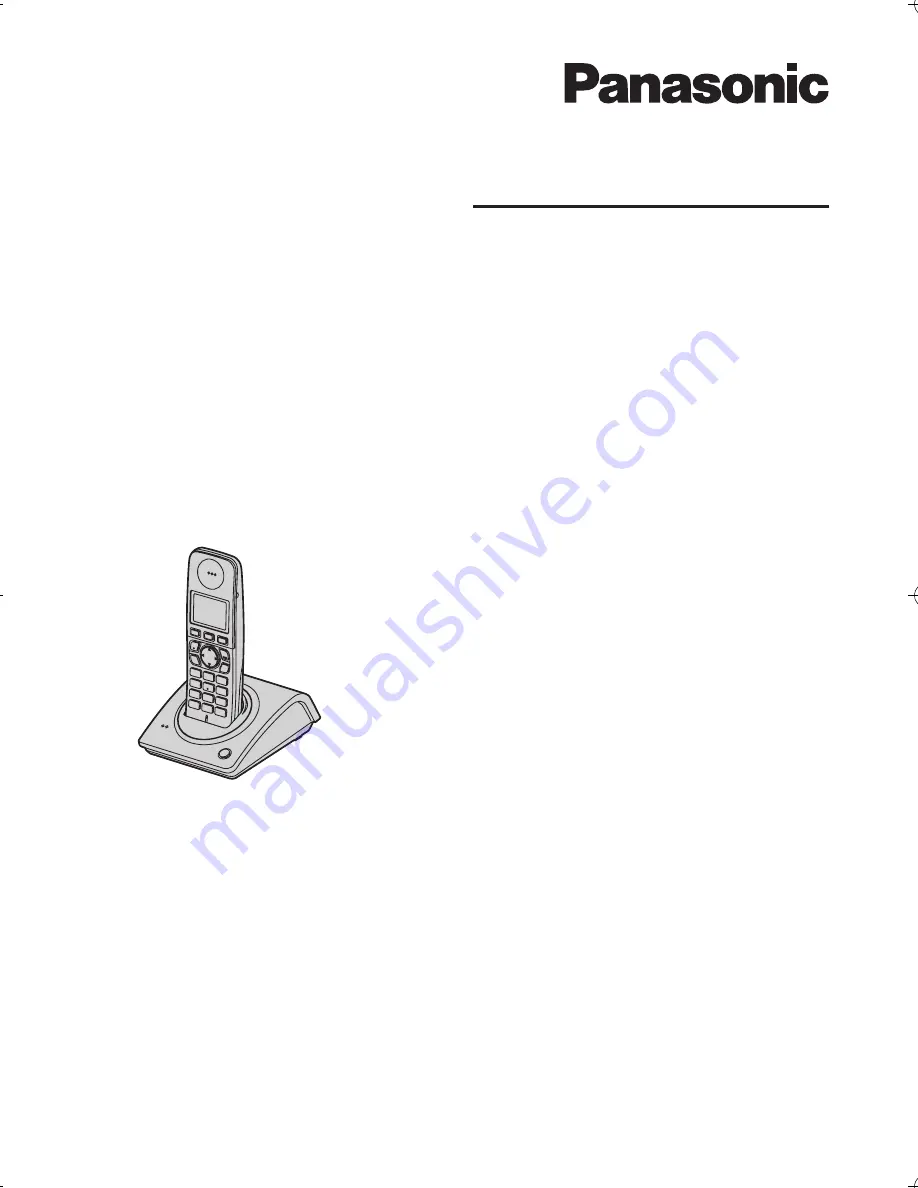
background image

This unit is Caller ID compatible. To display the caller’s phone number, 
you must subscribe to Caller ID service.

Charge the batteries for about 8 hours before initial use.

Please read these operating instructions before using the unit and save them for future 
reference.

Operating Instructions

Model No.


KX-TG8070HK

Digital Cordless Phone

TG8070HK(e-e).book  Page 1  Wednesday, October 3, 2007  9:16 AM

Summary of Contents for KX-TG8070HK

Page 1: ...mber you must subscribe to Caller ID service Charge the batteries for about 8 hours before initial use Please read these operating instructions before using the unit and save them for future reference Operating Instructions Model No KX TG8070HK Digital Cordless Phone ...

Page 2: ...call 12 Answering calls 13 k Phonebook Handset phonebook 14 r Handset Settings Handset settings 15 h Base Unit Settings Base unit settings 17 x Caller ID Service Using Caller ID service 18 Caller list 18 Multi unit Operation Operating additional units 19 Registering a handset to a base unit 19 Intercom between handsets 20 Transferring calls between handsets conference calls 20 Useful Information U...

Page 3: ...or your future reference Keep original receipt and guarantee card to assist with any repair under warranty Note L In the event of problems you should contact your equipment supplier in the first instance Serial No found on the bottom of the base unit Date of purchase Name and address of dealer ...

Page 4: ... metal hydride Ni MH batteries We recommend using Panasonic rechargeable batteries Model No HHR 4EPT L Replacement batteries may have a different capacity from that of the supplied batteries No Accessory items Quantity 1 AC adaptor for base unit Part No PQWATG1070E 1 2 Telephone line cord 2 3 Rechargeable batteries AAA R03 size Part No HHR 4EPT 2 4 Handset cover 1 1 5 Belt clip 1 1 2 3 4 5 No Mode...

Page 5: ...o the telephone line cord plug or allow it to become wet at all This may cause a fire If the telephone line cord plug becomes wet immediately pull it from the telephone wall jack and do not use L Do not place or use this product near automatically controlled devices such as automatic doors and fire alarms Radio waves emitted from this product may cause such devices to malfunction resulting in an a...

Page 6: ... European Union If you wish to discard this product please contact your local authorities or dealer and ask for the correct method of disposal Controls Base unit A Charge contacts B Ringer C x Page Handset A Speaker B Display C Soft keys D Headset jack E C Talk F Navigator key V V Volume V R Redial T Mute G s Speakerphone H Dial keypad I Receiver J k Phonebook K i Off L R Flash M Microphone N Char...

Page 7: ... Soft key icons Icon Meaning w Within range of a base unit L When flashing Handset is searching for base unit page 23 s Speakerphone is on g Headset option is connected k Line is being used L When flashing There is an incoming call o Mute is on page 12 Ringer volume is off page 15 p Key lock is on page 13 Battery level Icon Meaning w Lower case when entering characters numbers v Upper case when en...

Page 8: ...aximum coverage and noise free communications place your base unit at a convenient high and central location with no obstructions between the handset and base unit in an indoor environment away from electronic appliances such as TVs radios personal computers wireless devices or other phones avoid facing radio frequency transmitters such as external antennas of mobile phone cell stations Avoid putt...

Page 9: ...age 4 5 1 Press the notch on the handset cover firmly and slide it in the direction of the arrow 2 Insert the batteries negative T end first Close the handset cover Battery charge Place the handset on the base unit for about 8 hours before initial use When charging the battery icon is shown as follows When the batteries are fully charged remains on the display Note L It is normal for the handset t...

Page 10: ...l To use the handset when it is in screen saver mode activate the handset display again by pressing or V when on a call pressing i for all other times While charging The backlight will be dimmed after 1 minute of inactivity The backlight can be turned off completely depending on the setting page 15 To use the handset when it is in screen saver mode lift the handset to activate the handset display ...

Page 11: ...K 6 Press or V to select the desired setting i OK i i Date and time 1 MENU right soft key 2 Select r by pressing V or i OK 3 Press or V to select Set Date Time i OK 4 Enter the current date month and year i OK Example 17 May 2007 1 7 0 5 0 7 L You can select the format by pressing mm dd yy month date year yy mm dd yy dd mm dd mm yy 5 Enter the current hour and minute Example 3 30 PM 0 3 3 0 i Pres...

Page 12: ...ng numbers V Erase or Erase All i OK i YES i i Storing a number into the handset phonebook V Add Phonebook i OK i Enter a name 15 characters max page 22 i OK i i Note L When editing To erase a number place the cursor to the right of where you want to erase the number then press DEL To insert a number place the cursor where you want to insert the number then press the appropriate dial key Pause for...

Page 13: ...n temporarily switch the dialling mode to tone when you need to access touch tone services e g telephone banking services 1 Make a call 2 Press when prompted to enter your code or PIN then press the appropriate dial keys Note L The dialling mode will return to pulse when you hang up Answering calls 1 Lift the handset and press C or s when the unit rings L Speakerphone cannot be used when the heads...

Page 14: ...croll through the phonebook if necessary 4 C Editing entries 1 Find the desired entry page 14 i MENU 2 V Edit i OK 3 Edit the name if necessary 15 characters max page 22 i OK 4 Edit the phone number if necessary 24 digits max i OK i i Erasing entries 1 Find the desired entry page 14 i MENU 2 V Erase or Erase All i OK 3 YES i i Chain dial This feature allows you to dial phone numbers in the handset...

Page 15: ...aper 1 3 Handset Name Handset page 16 Select Language English page 10 Contrast Contrast 5 Dimmed Backlight On 4 Auto Talk Off page 13 Registration Register Handset page 19 Deregistration page 19 Select Base Base 1 page 19 Tone Options Keytones On Battery Low On Out of Range Off 1 When the ringer volume is turned off is displayed and the handset does not ring for outside calls and intercom calls Ho...

Page 16: ...ised name Bob Kitchen etc which is shown on the display in standby mode This is useful when you have multiple handsets The current handset number is displayed next to the handset name 1 MENU right soft key i r i OK 2 V Display Setup i OK 3 V Handset Name i OK 4 Edit the name 15 characters max page 22 i OK i i ...

Page 17: ...ted on the left of the item on the display 1 Change the flash time if necessary depending on the requirements of your service provider telephone company or PBX 2 If you store the PBX access number a pause will be added automatically between the PBX access number and the first digit of the phone number when you make calls 3 If you change the PIN please make note of your new PIN The unit will not re...

Page 18: ...s lets you know if you should view the caller list to see who called while you were out New Calls and x remain until you view all missed calls Call Waiting Caller ID display If you subscribe to both Caller ID and Call Waiting with Caller ID services the 2nd caller s information is displayed after you hear a Call Waiting tone You can answer the 2nd call keeping the 1st call on hold Note L Please co...

Page 19: ...ase unit number i OK L This number is used by the handset as a reference only L The registered base unit is indicated by 6 Enter PIN is displayed Enter the base unit PIN default 0000 i OK L If you forget your PIN consult your nearest Panasonic service centre L When the handset has been registered successfully w will stop flashing If the key tone is turned on page 15 a confirmation tone will be hea...

Page 20: ...lls between handsets conference calls Outside calls can be transferred between 2 people 2 people can have a conference call with an outside party Example When handset 1 transfers a call to handset 2 1 Handset 1 During an outside call press INT i V Handset 2 desired handset number i OK L The outside call will be put on hold L If there is no answer press i to return to the outside call 2 Handset 2 C...

Page 21: ...Useful Information 21 Using the belt clip Attaching the belt clip Removing the belt clip ...

Page 22: ...d on the same dial key press or wait 2 seconds to move the cursor to the next space then press the appropriate dial key DEL and OK are valid when the character list is shown on the bottom of the handset display L The following are used for both uppercase and lowercase Error messages Error message Cause solution Busy L Intercom call failed the other handset cannot be found or is on an outside call ...

Page 23: ... base unit AC adaptor is not connected Check the connections L You may have selected the wrong base unit Select the right base unit page 19 L You are using the handset or base unit in an area with high electrical interference Place the handset and base unit away from interference sources such as antennas and mobile phones The handset display is blank L The handset is in screen saver mode page 10 I...

Page 24: ... is in use Wait and try again later Static is heard sound cuts in and out Interference from other electrical units L Place the handset and the base unit away from other electrical appliances L Move closer to the base unit L Your unit is connected to a telephone line with DSL service page 25 Noise is heard during a call L You are using the handset or base unit in an area with high electrical interf...

Page 25: ...e maximum number of handsets 5 are already registered to the base unit Cancel unused handset registrations from the base unit page 19 L You entered the wrong PIN If you forget your PIN consult your nearest Panasonic service centre L Place the handset and the base unit away from other electrical appliances I cannot make intercom or transfer calls L Select the same base unit for each handset page 19...

Page 26: ...quency Shift Keying RF transmission power Approx 250 mW Voice coding ADPCM 32 kbit s Power source 220 240 V 50 Hz Power consumption Base unit Standby Approx 2 0 W Maximum Approx 7 0 W Operating conditions 5 C 40 C 20 80 relative air humidity dry Dimensions Base unit Approx 53 mm 108 mm 120 mm Handset Approx 145 mm 49 mm 32 mm Mass weight Base unit Approx 140 g Handset Approx 130 g Note L Specifica...

Page 27: ...de 11 Display Contrast 15 Icons 7 Language 10 Wallpaper 15 F Flash 13 H Handset Deregistering 19 Locator 13 Name 16 Registration 19 Settings 15 I Intercom 20 K Key lock 13 Keytones 15 M Making calls 12 Missed calls 18 Mute 12 N Navigator key 6 P Pause 12 PBX access number 17 Phonebook Handset phonebook 14 PIN 17 R Redialling 12 Registration 19 Ringtones 15 S Speakerphone 12 T Temporary tone dialli...

Page 28: ...htec panasonic oa hk Panasonic Communications Co Ltd 1 62 4 chome Minoshima Hakata ku Fukuoka 812 8531 Japan Copyright This material is copyrighted by Panasonic Communications Co Ltd and may be reproduced for internal use only All other reproduction in whole or in part is prohibited without the written consent of Panasonic Communications Co Ltd 2007 Panasonic Communications Co Ltd All Rights Reser...

Reviews: