


This unit is compatible with Caller ID. To use this feature, you must
subscribe to the appropriate service offered by your service provider.
Please read these Operating Instructions before using the unit and save
for future reference.
For assistance, visit our website:
http://www.panasonic.com
for
customers in the U.S.A. or Puerto Rico.
Charge the battery for 6 hours before initial use.
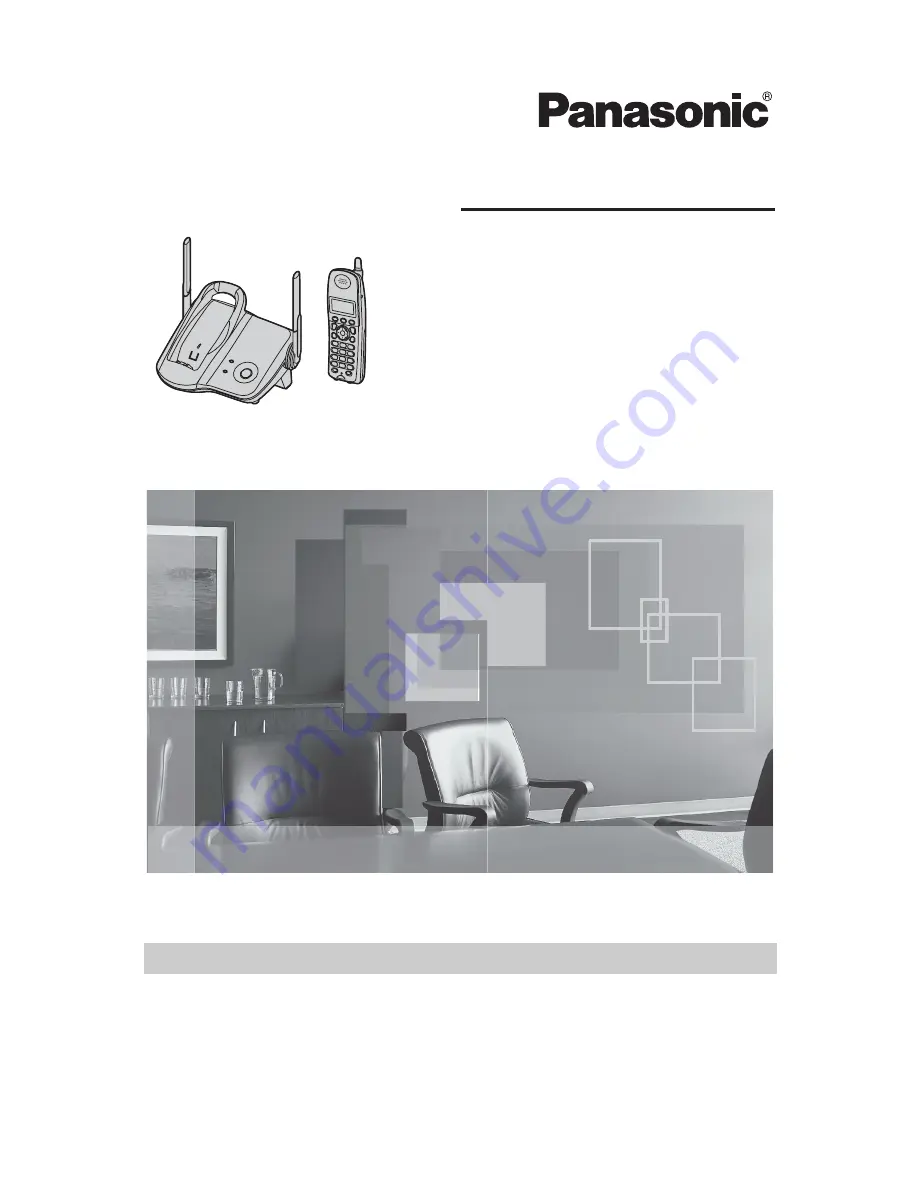
5.8 GHz Digital Cordless Phone
Model No.
KX-TG5421
Operating Instructions
5.8 GHz Digital Cordless Phone
with Dual Handsets
Model No.
KX-TG5422
5.8 GHz Digital Cordless Phone
with Three Handsets
Model No.
KX-TG5423
Model shown is KX-TG5421.


