


Thank you for purchasing a Panasonic fax
machine.
Please read these operating instructions
before using the unit and save for future
reference.
This unit is compatible with Caller ID. You
must subscribe to the appropriate service
of your service provider/telephone
company.
Operating Instructions
Model No.
KX-FT502ML
KX-FT503ML
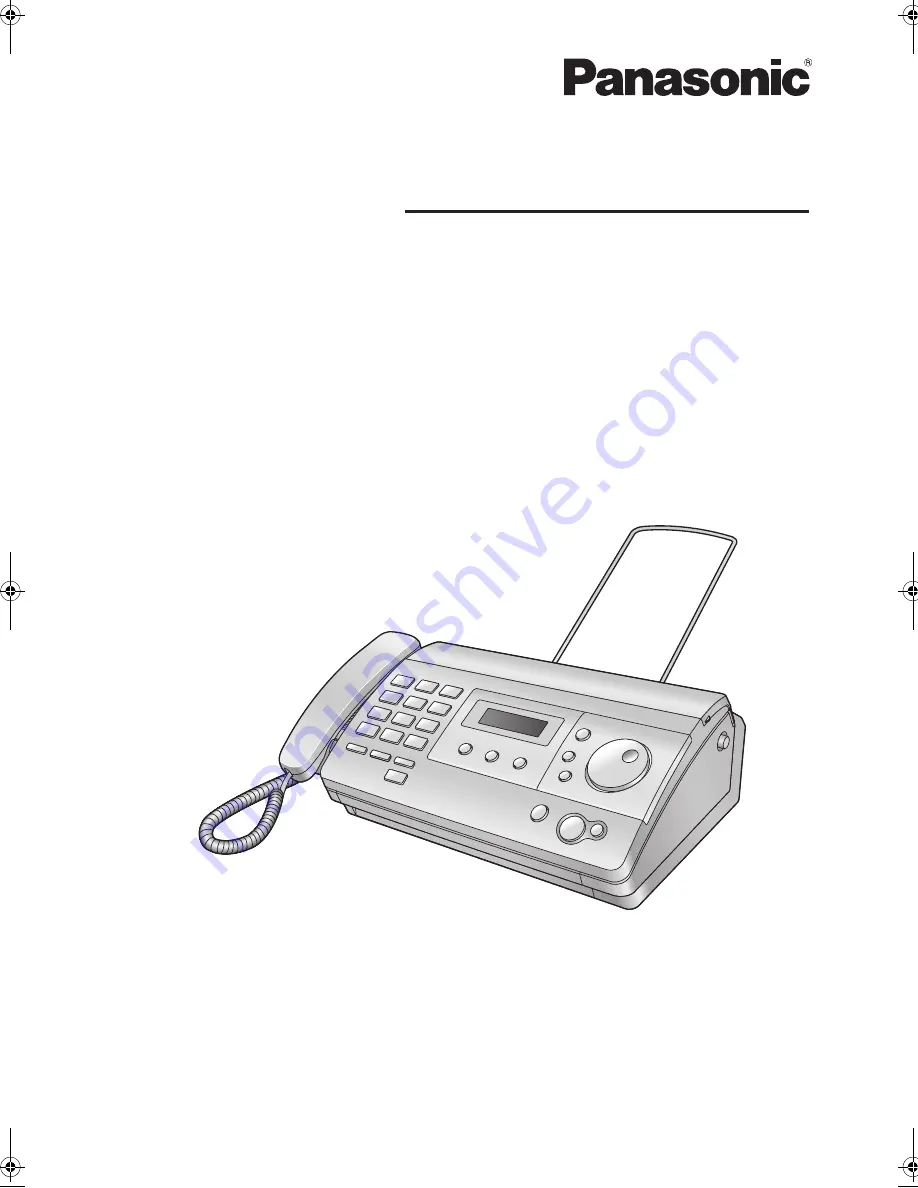
Personal Facsimile
KX-FT503
FT502-503ML-PNQX2922ZA-OI-en.
Page 1 Friday, June 11, 2010 11:07 AM
Summary of Contents for KX-FT502ML
Page 39: ...39 Notes ...


