


Please read these Operating
Instructions before using the unit
and save for future reference.
This model is designed to be
used only in Canada.
For assistance, please call
1-800-300-4644 or visit us at
www.panasonic.ca
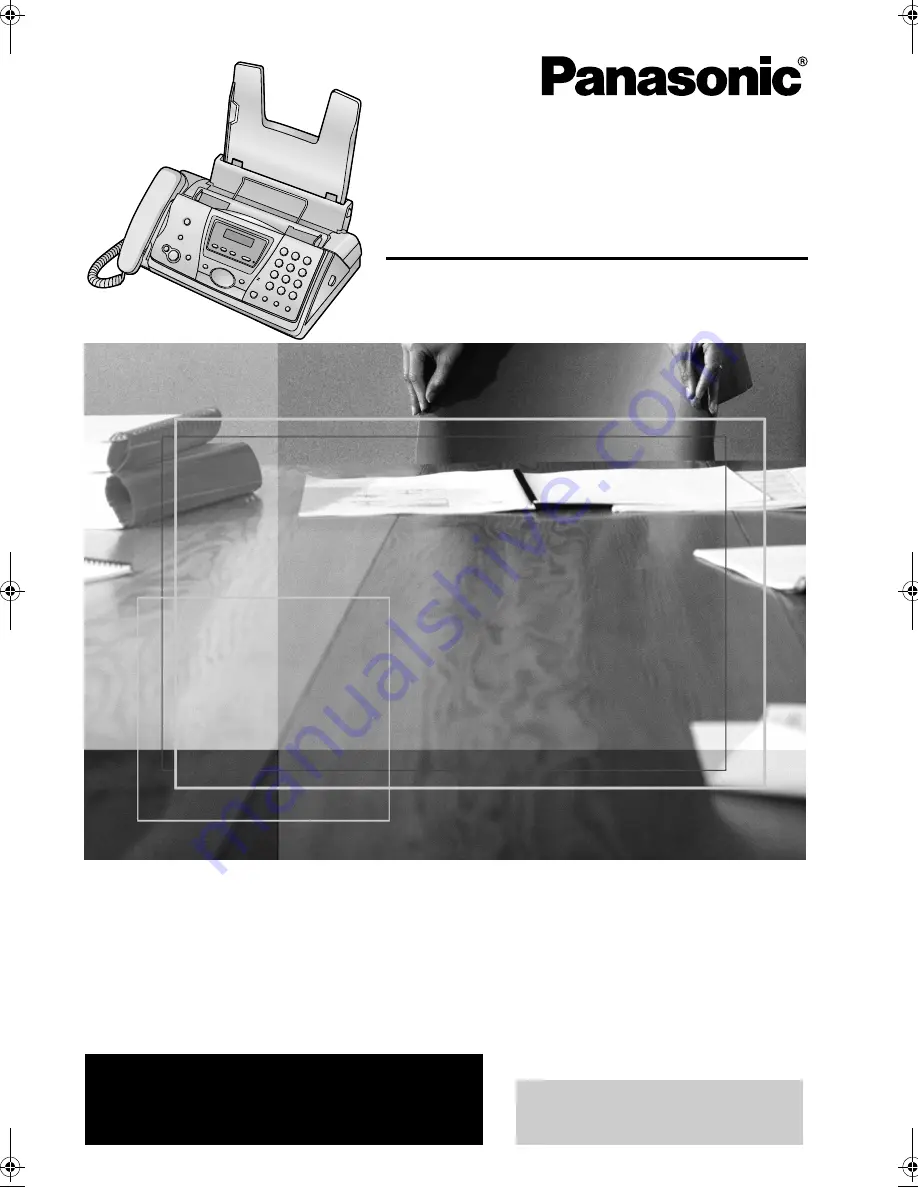
Compact Fax
with Digital Answering System
Operating Instructions
Model No.
KX-FP145C
FP145C_en.
Page 1 Thursday, March 11, 2004 11:00 AM
Summary of Contents for KX-FP145C
Page 26: ...2 Preparation 24 L To erase all of the digits press and hold STOP ...
Page 79: ...77 ...
Page 80: ...78 ...
Page 81: ...79 ...


