background image

For more information, please visit www.sheffield.ac.uk/creativemedia 

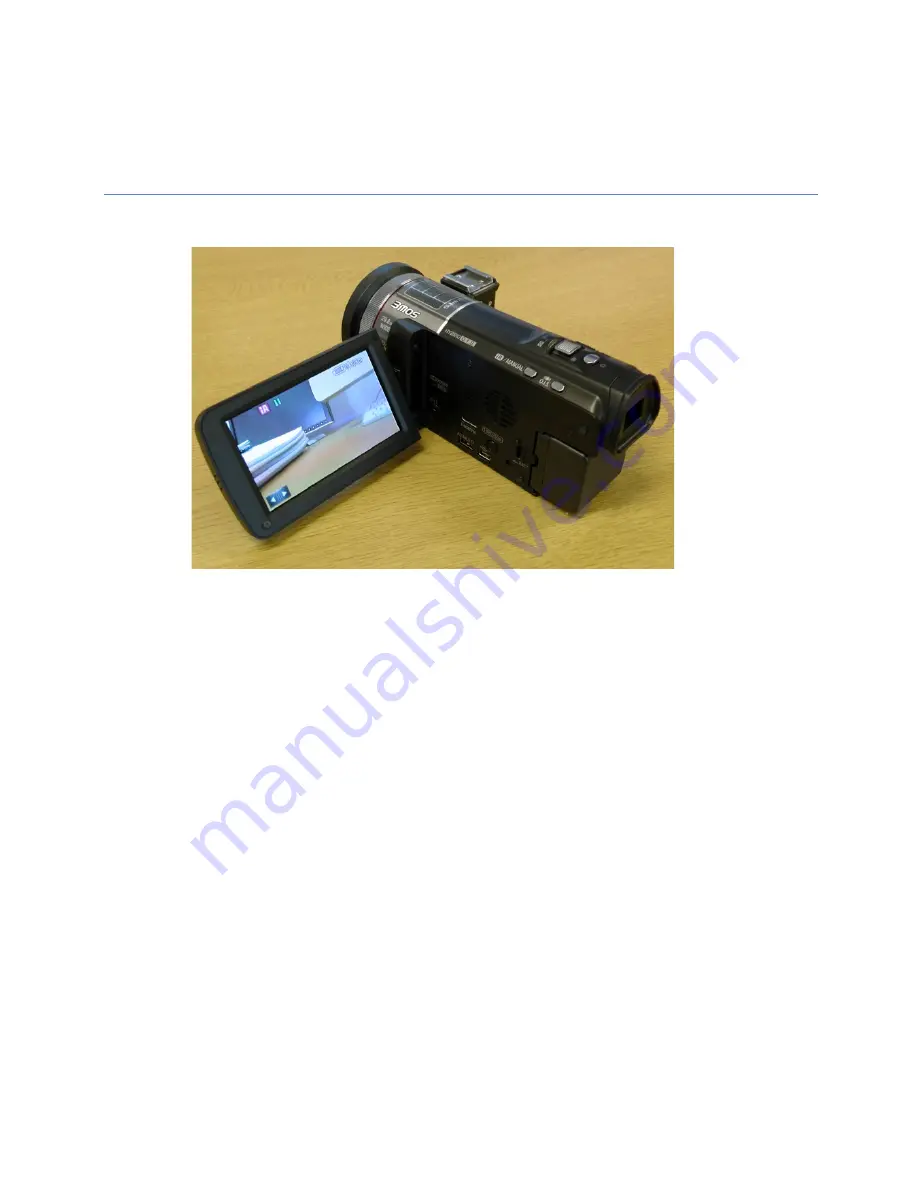
Panasonic   HC

-­‐

X900

/HC

-­‐

X920


HD   Digital   Video   

Camcorder

s


Table of Contents 

Contents of Kit: ......................................................................................... 2


Control Layout .......................................................................................... 3


Basic Video Recording .............................................................................. 4


Playing back your recordings ................................................................... 5


Using the Camcorder as a Digital Camera ................................................ 6


Transferring your Footage ....................................................................... 7


Editing your Footage ................................................................................. 7


Advanced Video Recording ....................................................................... 8


Manual Focus .................................................................................................. 8


Changing the Video Recording Quality .......................................................... 10


Using the onboard microphone ...................................................................... 11


Using the external microphone ....................................................................... 11


Pre Record Mode ............................................................................................ 12


Time Lapse Mode ........................................................................................... 12


Using the Electronic Viewfinder .................................................................... 13


Summary of Contents for HC-X900

Page 1: ...t 3 Basic Video Recording 4 Playing back your recordings 5 Using the Camcorder as a Digital Camera 6 Transferring your Footage 7 Editing your Footage 7 Advanced Video Recording 8 Manual Focus 8 Changi...

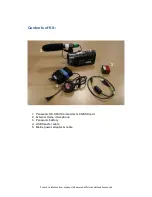
Page 2: ...tion please visit www sheffield ac uk creativemedia Contents of Kit 1 Panasonic HC X900 Camcorder 8GB SD card 2 External Hama microphone 3 Panasonic battery 4 USB transfer cable 5 Mains power adapter...

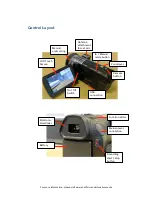
Page 3: ...media Control Layout LCD Touch Screen Manual control ring iA Manual mode button Zoom lever Camera button On Off Switch USB connection Hotshoe attachment for ext mic Recording start stop button Mains p...

Page 4: ...ge 9 to find the most suitable recording quality setting for your project Press the iA Manual button until iA appears on the LCD screen This will put the camcorder into a full auto mode where the came...

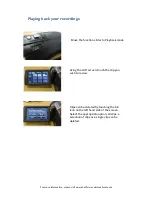
Page 5: ...r recordings Move the function slider to Playback mode Using the LCD screen touch the clip you wish to review Clips can be deleted by touching the bin Icon on the left hand side of the screen Select t...

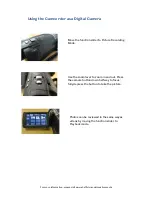
Page 6: ...Digital Camera Move the function slider to Picture Recording Mode Use the zoom lever to zoom in and out Press the camera button down half way to focus fully depress the button to take the picture Pho...

Page 7: ...mcorder onto a computer before you return the camcorder Editing your Footage You can edit your recordings using the following applications Microsoft Windows Live MovieMaker Windows 7 iMovie Mac Final...

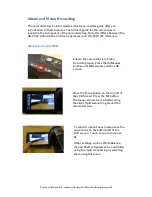
Page 8: ...Cameras Manual Focus HC X900 Ensure the camcorder is in Video Recording mode Press the iA Manual button until MNL appears on the LCD screen Press the Focus button on the top left of the LCD Screen Pr...

Page 9: ...is in Video Recording mode Press the iA button until a menu of options appears onscreen Press then button marked MNL onscreen Press the Focus button on the top left of the LCD Screen Press the MF butt...

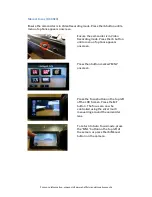
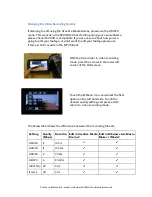
Page 10: ...footage please use iFrame which records in the MP4 format With the Camcorder in video recording mode press the arrows in the lower left corner of the LCD screen Touch the Q Menu icon and select the fi...

Page 11: ...uch the arrows on the left of the LCD screen Select the Menu icon and navigate to Record Setup and Mic Level Adjust the level by touching the on screen controls Using the external microphone Attach th...

Page 12: ...PRE REC and select it Note Pre Record Mode will be cancelled if you change the mode touch the Menu or Q Menu icon start recording or turn the camcorder off Time Lapse Mode Time Lapse Mode allows the c...

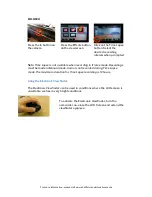
Page 13: ...not available when recording in iFrame mode Recordings must be made in Manual mode Audio is not recorded during Time Lapse mode The maximum duration for Time Lapse recording is 12 hours Using the Elec...

Reviews: