Packard Bell EDR 2000, Manual
The Electrolux EDR 2000 is a top-of-the-line appliance designed to elevate your cooking experience. To maximize your understanding and utilization of its features, a comprehensive Service Manual is available for download, completely free, on our website. Discover endless possibilities with the Electrolux EDR 2000!
Share
Download


Reviews:
No comments
Related manuals for EDR 2000

V35
Brand: Vandlion Pages: 22

DM-720
Brand: Olympus Pages: 117

DH-6100P
Brand: Daewoo Pages: 64

DDX635WBT
Brand: Kenwood Pages: 68

GC967NP1
Brand: LG Pages: 17
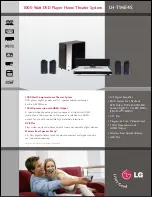
LH-T9654S
Brand: LG Pages: 2

DR4912
Brand: LG Pages: 64
LH-T3602ME
Brand: LG Pages: 24
LH-T9654S
Brand: LG Pages: 29

DR7400
Brand: LG Pages: 38

DR7400
Brand: LG Pages: 48
LH-T9654
Brand: LG Pages: 29

DRT389H
Brand: LG Pages: 40
SH53SH-C
Brand: LG Pages: 24

HDR-798
Brand: LG Pages: 59

DR175S
Brand: LG Pages: 49

DR197
Brand: LG Pages: 51

DR1F9H
Brand: LG Pages: 52


