


Part Number 10400006-106 06/2008
©2006-2008 Overland Storage, Inc.
Page 1 of 4
ARCvault
®
12 & 24
Quick Start Guide
This document describes how to unpack and install either
an ARCvault 12 loader or ARCvault 24 library into a
standard RETMA 19" rack using only 2U of space. The
units come with either SCSI, Fibre Channel (FC), or SAS
drives installed.
Each unit comes with the tray-style Rack Kit and an
Accessory Kit containing these items:
•
Read Me First
document
•
Power cord
•
Bar code labels
•
Magazine Release Tool
•
Serial cable (for Service use only)
•
Documentation CD with a PDF of the user guide
•
This quick start guide
For
SCSI drive
models, the Accessory Kit also includes:
•
LVD SCSI cable, 2m (6.5 ft.)
•
SCSI terminator
For
SAS drive
models, the kit also includes:
•
SAS cable, 3m (9.75 ft.)
Before unpacking the unit, ensure that the area is free
from conditions that cause electrostatic discharge (ESD).
First Things First—Activate Your Warranty!
Before installing your new unit, it is essential that you
activate your ARCvault warranty. Technical and warranty
support are not available until this is done:
1.
Go to the Overland Technical Support website at:
http://support.overlandstorage.com/
2.
Using the MEMBER LOGIN,
log in
to the site.
NOTE: If you are not yet a member, click the New member?
link (
) and follow the instructions. It’s free!
Figure 1. Login and Sign-up Links
3.
From the menu on the left, select
My Products > Add
or Register a Product
, and follow the on-screen
instructions.
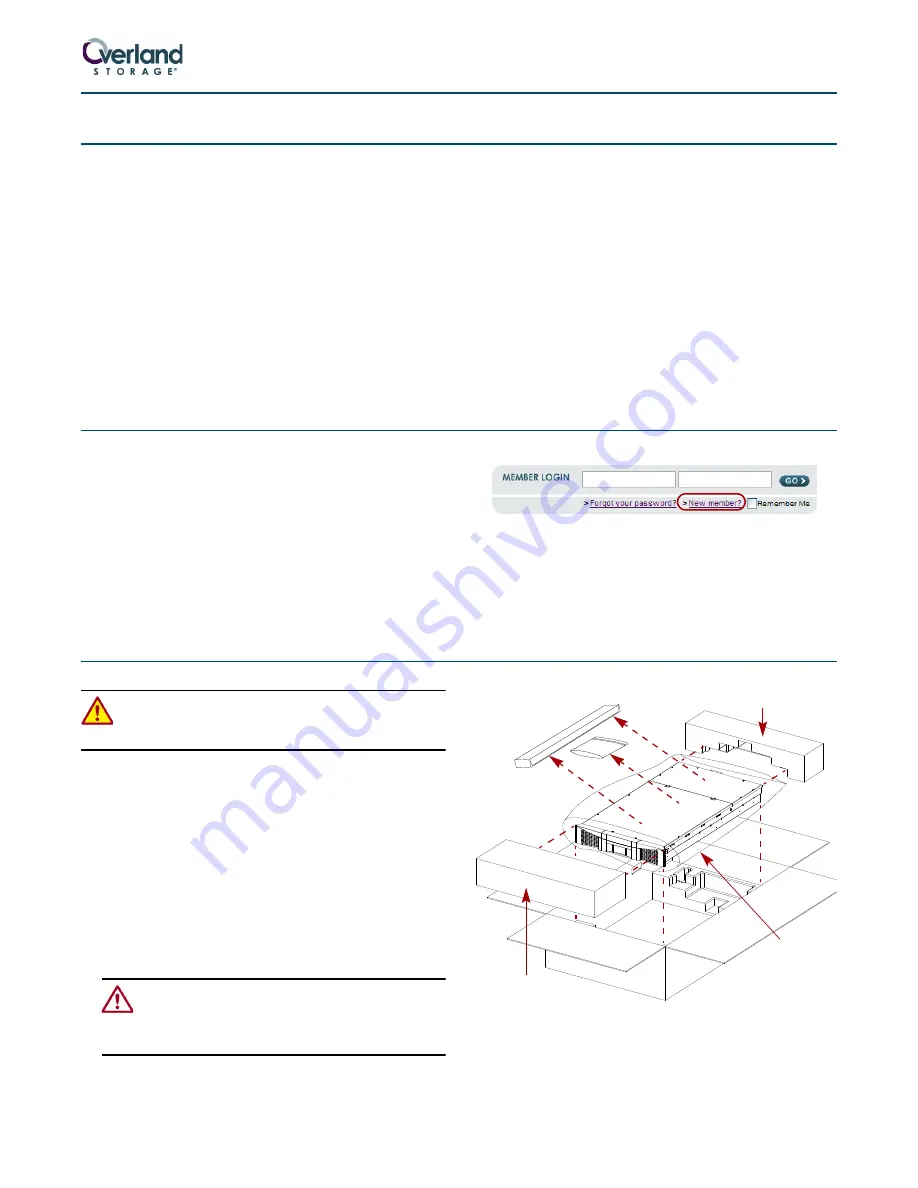
Unpacking the ARCvault Unit
WARNING: Due to the weight of the unit, it is
recommended that at least two people be used to lift
the unit out of the box to prevent injury.
Both the ARCvault 12 and ARCvault 24 come packaged in
the same type of container.
1.
Open the top of the box (
) and lift off the top
end caps
.
2.
Remove the
Rack Kit
and
Accessory Kit
.
3.
Lift the
ARCvault
out and set it on a secure surface.
4.
Remove the
ESD bag
.
5.
Using the enclosed
Important Unpacking Instructions
,
remove both the
screws and well-nuts
underneath
and the
shuttle bracket
inside the front left door.
CAUTION:
The screws and bracket hold the robotics
in place for shipment and MUST be removed before
operating. Refer to the Important Unpacking
Instructions for details.
6.
Place all the packaging components inside the box and
save the
box
in case you ever need to ship the unit.
Figure 2. Unpacking an ARCvault
(E-Mail)
(Password)
A
Rack Kit &
End Cap
ESD
Bag
End Cap
CAUTION: Shuttle Bracket & Bottom
Screws MUST be Removed!
Accessory Kit


