1
1. Do not block any ventilation openings.
To ensure reliable operation of the
projector and to protect from over
heating, it is recommended to install
the projector in a location that does not
block ventilation. As an example, do not
place the projector on a crowded coffee
table, sofa, bed, etc. Do not put the
projector in an enclosure such as a book
case or a cabinet that restricts air fl ow.
2. Do not use the projector near water or
moisture. To reduce the risk of fi re and/
or electric shock, do not expose the
projector to rain or moisture.
3. Do not install near heat sources such as
radiators, heaters, stoves or any other
apparatus such as amplifi ers that emits
heat.
4. Do not use the projector in direct
sunlight.
5. Do not use near any appliance
generating a strong magnetic fi eld.
6. Do not use the projector in areas
susceptible to excessive dust and dirt.
7. Turn off the product before cleaning.
8. Ensure that the ambient room
temperature is within 5- 35°C.
9. Relative Humidity is 5 - 35°C, 80%
(Max.), non-condensing.
10. Do not drop, throw or try to bend your
product.
11. May explode if disposed of in fi re.
12. Clean only with dry cloth.
13. Only use attachments/accessories
specifi ed by the manufacturer.
14. Do not use the unit if it has been
physically damaged or abused. Physical
damage/abuse would be (but not
limited to):
▀
■
Unit has been dropped.
▀
■
Charger or plug has been damaged.
▀
■
Liquid has been spilled on to the
projector.
▀
■
Projector has been exposed to rain or
moisture.
▀
■
Something has fallen in the projector
or something is loose inside.
Do not attempt to service the unit
yourself. Opening or removing covers
may expose you to dangerous voltages
or other hazards. Please contact your
local reseller or service center before you
send the unit for repair.
15. Do not let objects or liquids enter the
projector. They may touch dangerous
voltage points and short out parts that
could result in fi re or electric shock.
16. See projector enclosure for safety related
markings.
17. The unit should only be repaired by
appropriate service personnel.
18. Do not touch the projector for long
periods of time while the projector is in
use.
I
MPORTANT
S
AFETY
I
NSTRUCTIONS
E
YE
S
AFETY
W
ARNINGS
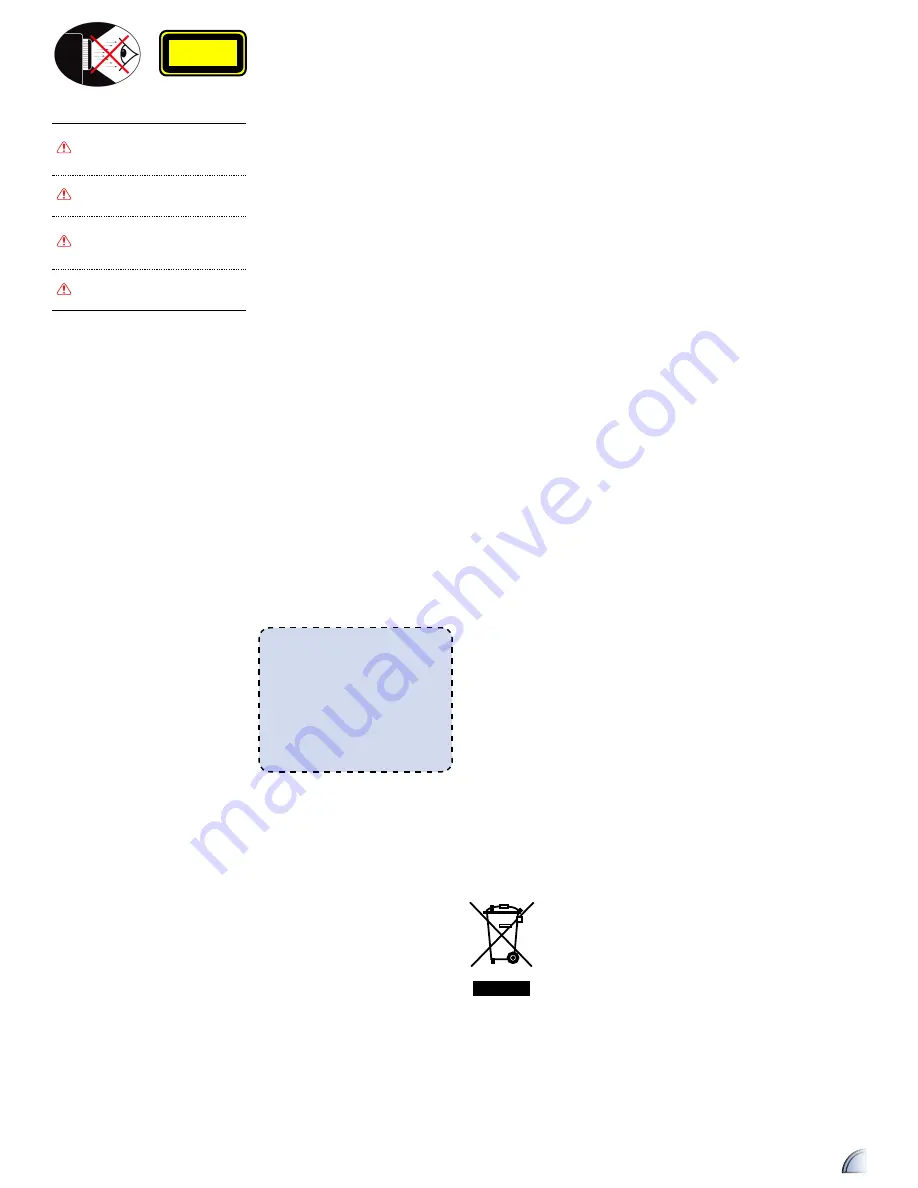
Avoid staring/facing directly into
the projector beam at all times.
Keep your back to the beam as
much as possible.
A stick or laser pointer is
recommended to avoid the need
for the user to enter the beam.
When the projector is used in a
classroom, adequately supervise
students when they are asked to
point out something on the screen.
In order to minimize power, use
room blinds to reduce ambient
light levels.
CLASS 1 LED PRODUCT
This appendix lists the general notices of
your projector.
FCC notice
This device has been tested and found
to comply with the limits for a Class B
digital device pursuant to Part 15 of the
FCC rules. These limits are designed to
provide reasonable protection against
harmful interference in a residential
installation. This device generates, uses,
and can radiate radio frequency energy
and, if not installed and used in accordance
with the instructions, may cause harmful
interference to radio communications.
However, there is no guarantee that
interference will not occur in a particular
installation. If this device does cause
harmful interference to radio or television
reception, which can be determined by
turning the device off and on, the user is
encouraged to try to correct the interference
by one or more of the following measures:
• Reorient or relocate the receiving
antenna.
• Increase the separation between the
device and receiver.
•
Connect the device into an outlet on
a circuit different from that to which
the receiver is connected.
• Consult the dealer or an experienced
radio/television technician for help.
Notice: Shielded cables
All connections to other computing
devices must be made using shielded
cables to maintain compliance with
FCC regulations.
Caution:
Changes or modifi cations not
expressly approved by the
manufacturer could void the
user’s authority, which is granted
by the Federal Communications
Commission, to operate this device.
Operation conditions
This device complies with Part 15 of the
FCC Rules. Operation is subject to the
following two conditions:
1. this device may not cause harmful
interference, and
2. this device must accept any
interference received, including
interference that may cause
undesired operation.
Notice: Canadian users
This Class B digital apparatus complies with Canadian
ICES-003.
Remarque à l’intention des utilisateurs canadiens
Cet appareil numerique de la classe B est conforme a la
norme NMB-003 du Canada.
Declaration of Conformity for EU countries
• EMC Directive 2004/108/EC (including
amendments)
• Low Voltage Directive 2006/95/EC
• R & TTE Directive 1999/5/EC (if product has
RF function)
R
EGULATION
&
SAFETY
NOTICES
D
ISPOSAL
OF
W
ASTE
E
LECTRICAL
&
E
LECTRONIC
E
QUIPMENT
(Applicable throughout the European
Union and other European countries
with separate collection programs)
This symbol found on your product or on
its packaging, indicates that this product
should not be treated as household
waste when you wish to dispose of it.
Instead, it should be handed over to an
applicable collection point for the recycling
of electrical and electronic equipment.
By ensuring this product is disposed of
correctly, you will help prevent potential
negative consequences to the environment
and human health, which could otherwise
be caused by inappropriate disposal of this
product. The recycling of materials will
help to conserve natural resources.
This symbol is only
valid in the European
Union.
If you wish to discard
this product, please
contact your local
authorities or dealer
and ask for the correct
method of disposal.


