


Version 02
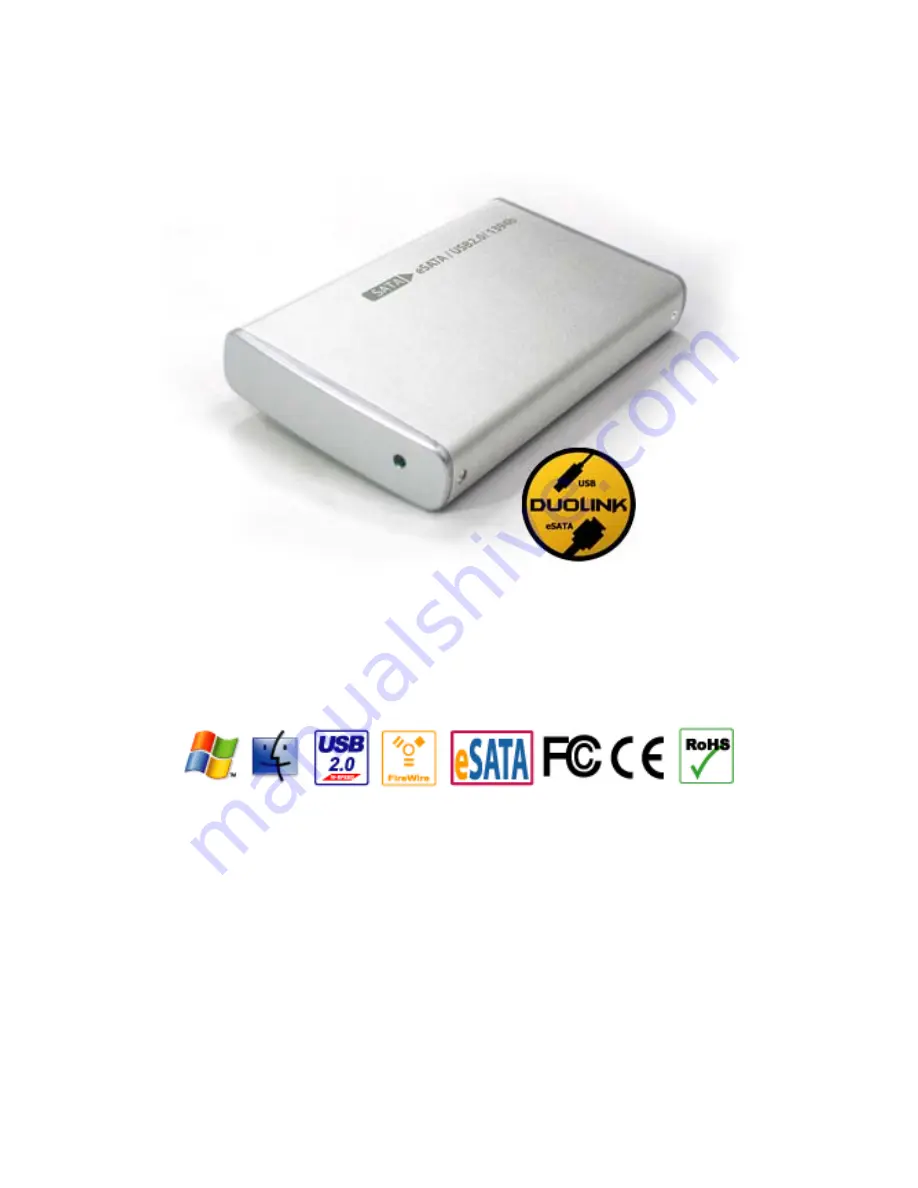
2.5" SATA HDD Enclosure
Speedy Data Transfer and Flexible Connectivity
User’s Manual
The product information provided in this manual is subject to change without prior
notice and does not represent a commitment on the part of the vendor. The
vendor assumes no liability or responsibility for any errors that may appear in this
manual
Copyright 2007, Onnto Corporation. All rights reserved.


